
What Is an Invoice?
An invoice is a detailed request for payment that includes:
-
Services performed
-
Parts and materials used
-
Labor costs
-
Taxes and totals
It’s typically created after a job is completed or ready for billing.
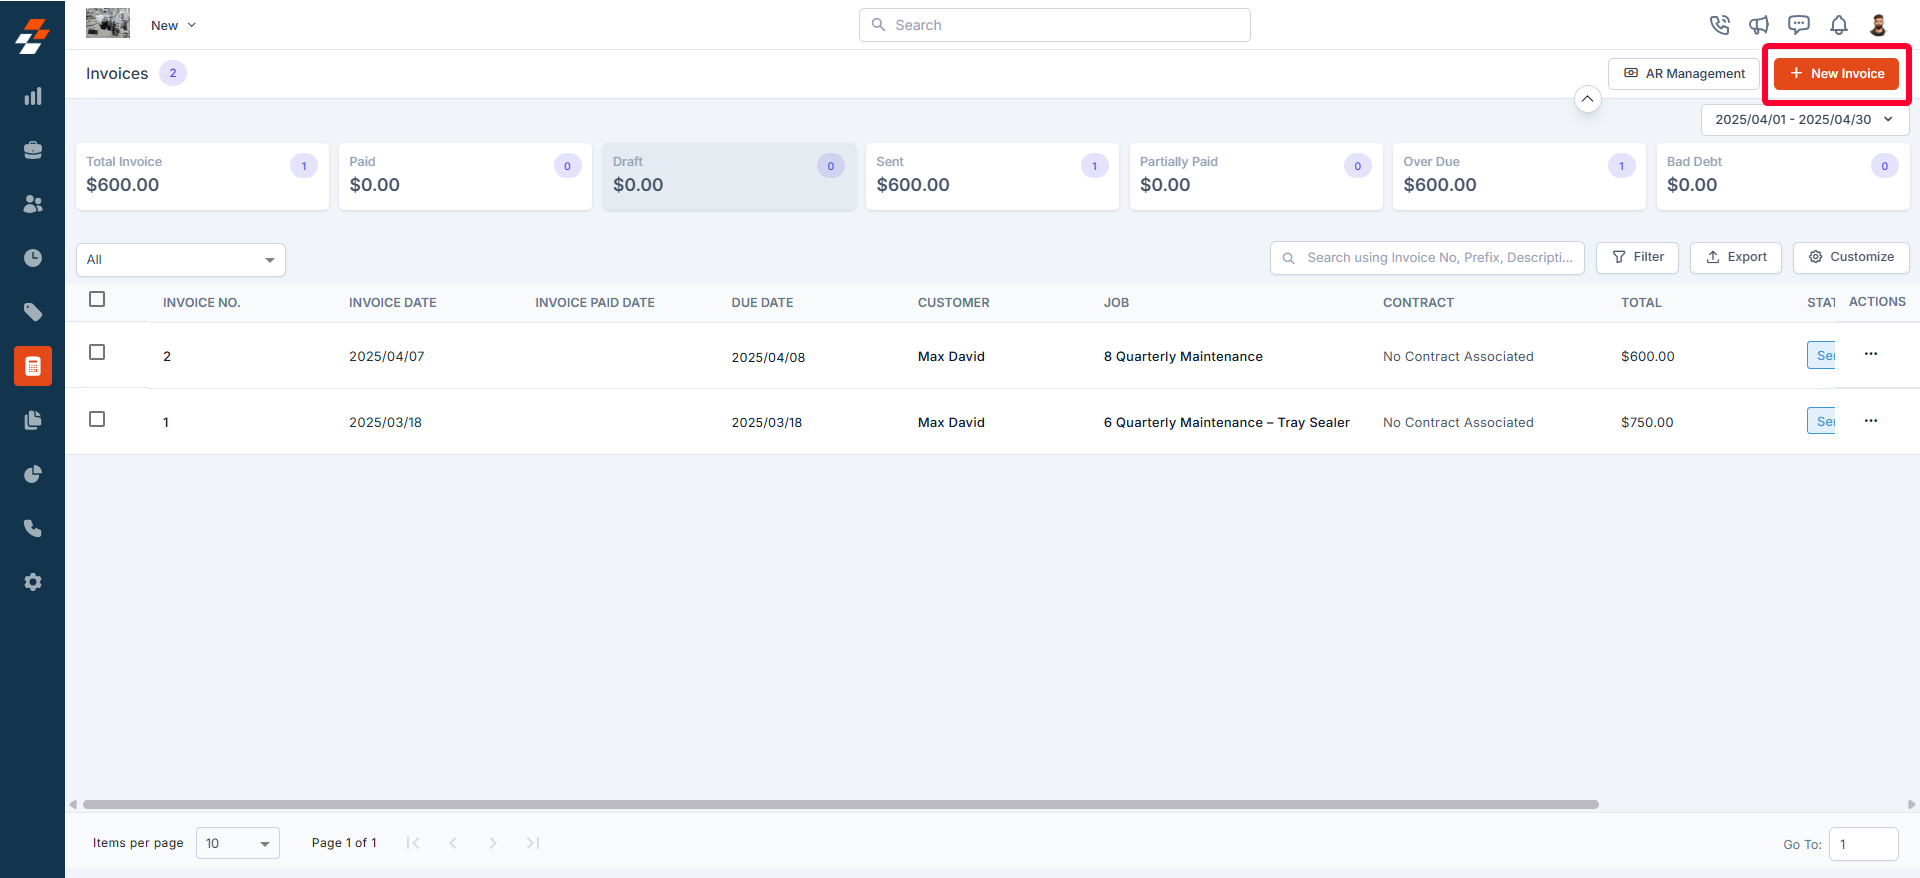
How to Create a New Invoice (Desktop)
-
Go to Accounting
-
Click Invoices

-
Select + New Invoice
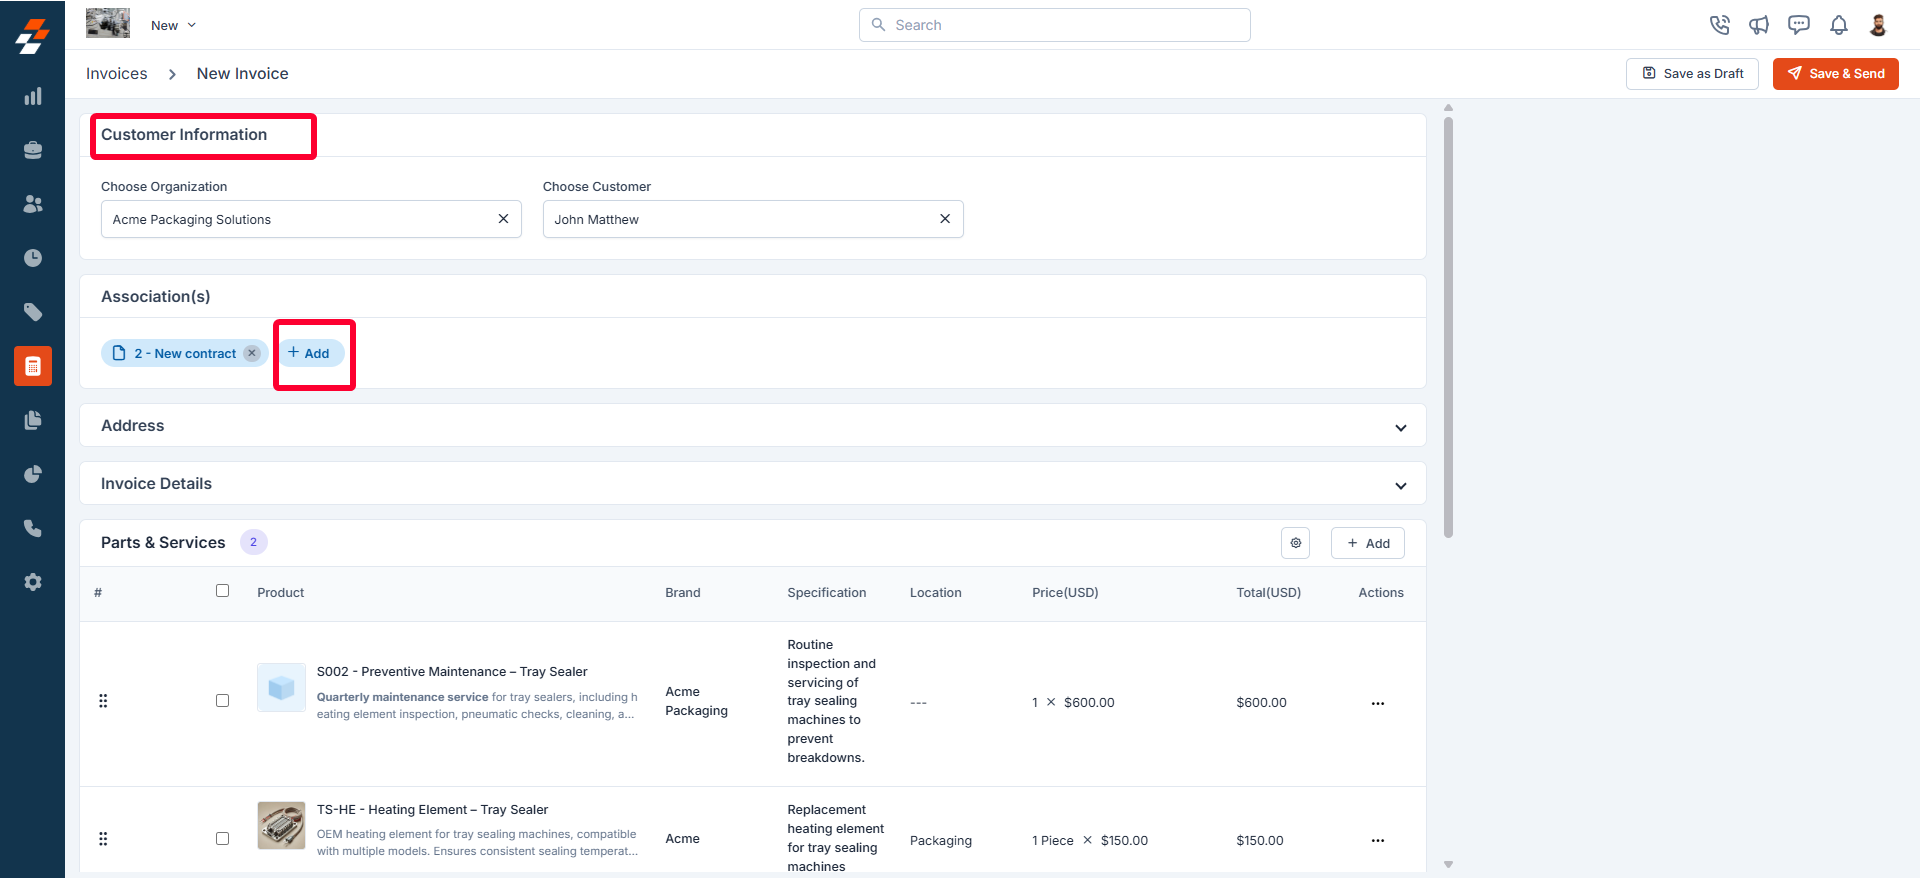
Step 1: Associate the Customer
Start by linking the invoice to:
-
Customer
-
Organization
-
Property
You can also associate:
-
Jobs
-
Quotes
-
Projects
💡 Once selected, billing and service details will auto-fill.
Step 2: Fill Out Invoice Details
Complete the required fields:
-
Invoice Date
-
Payment Terms
-
Due Date
-
Invoice Template
Step 3: Add Parts & Services
Click + Add and choose from:
-
Line Items
-
Bundles
-
Item Groups
-
Custom Line Items
💡 Best Practice:
Use bundles for installs or maintenance packages to speed things up and keep pricing consistent.
Important Note on Non-Billable Items
-
If added directly to the invoice → they WILL show in totals
-
If coming from a job/contract → they may NOT carry over
Make sure you review your totals before sending.
Step 4: Adjust Pricing (Markup & Discounts)
To edit a line item:
-
Click the edit icon / menu
-
Select Edit
From there, you can:
-
Apply markup:
-
Flat ($)
-
Percentage (%)
-
Multiplier (x)
-
-
Add discounts:
-
Percentage (%)
-
Fixed amount ($)
-
Step 5: Taxes & Totals
Zuper will automatically:
-
Calculate totals
-
Apply taxes
-
Adjust based on discounts and markup
⚠️ Keep in mind:
-
Custom tax items may override global discounts
-
Mixed tax settings can affect totals
Step 6: Add Attachments
Upload anything relevant:
-
Job photos
-
Signed agreements
-
Scope documentation
Step 7: Save the Invoice
Click Save as Draft to save your progress.
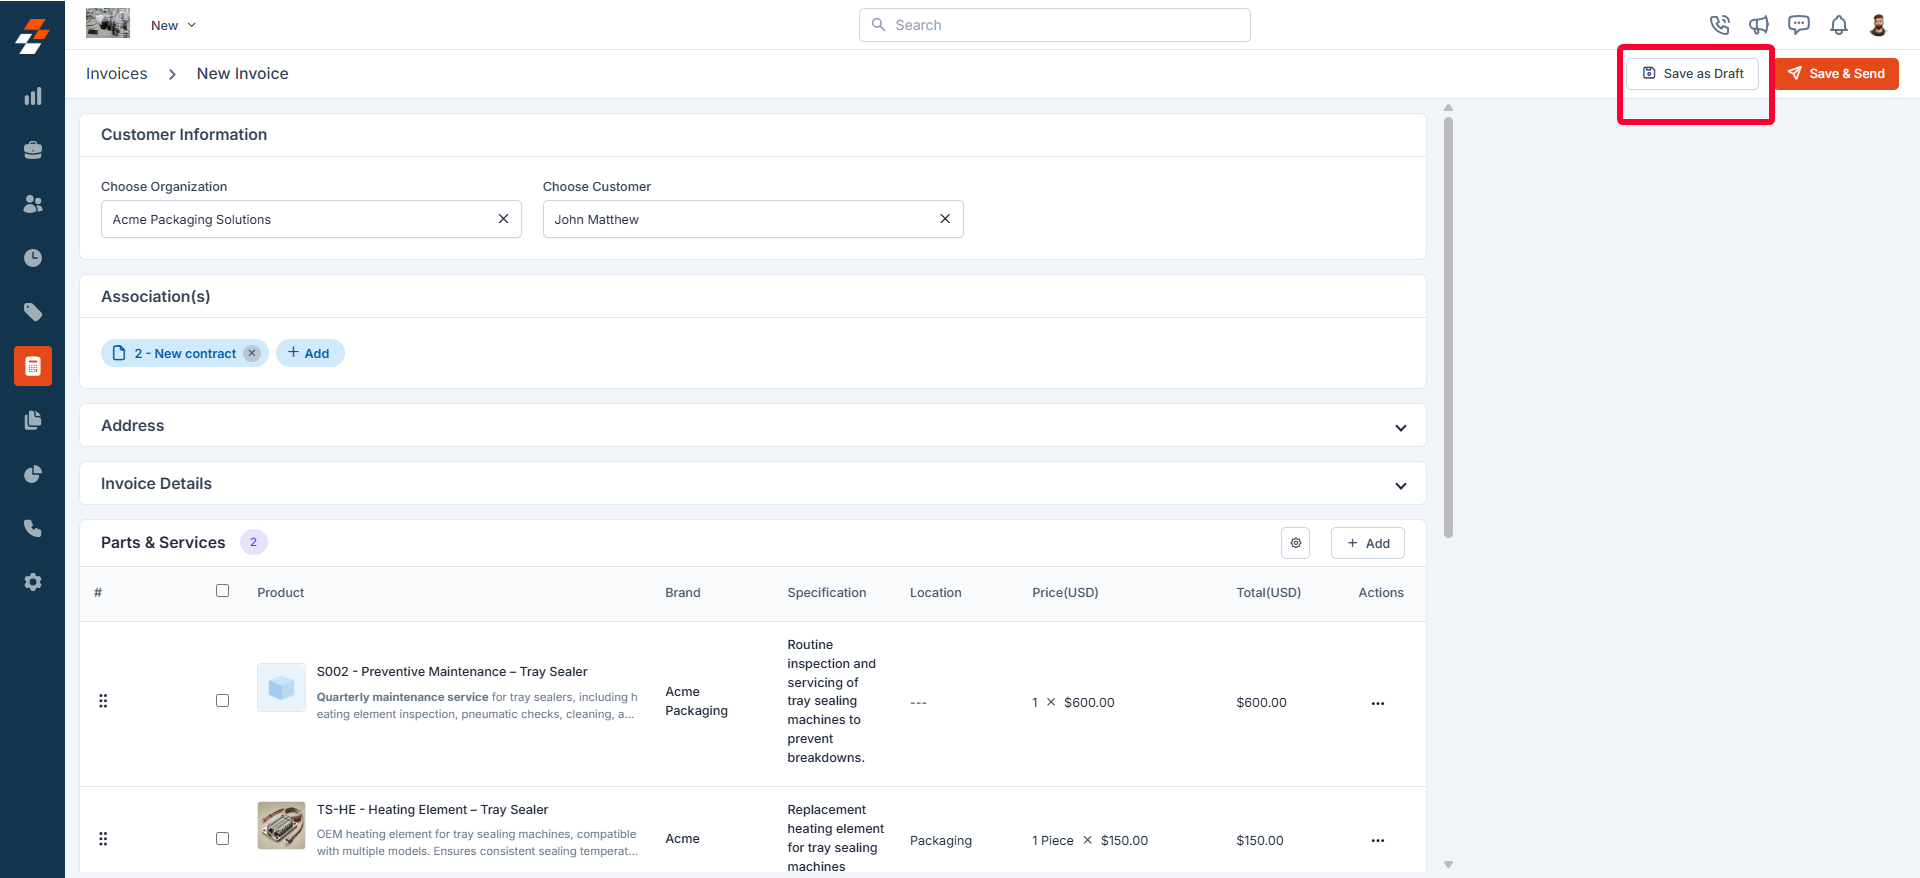
Once finalized, send the invoice to the customer for payment.
What Happens Next?
After sending:
-
Customer reviews the invoice
-
Payment is made (full or partial)
-
Invoice status updates in real time
Creating an Invoice (Mobile App)
Your technicians can also create invoices directly from the field.
Steps:
-
Open the Zuper Mobile App
-
Navigate to the Job
-
Go to the Invoice or Line Items section
-
Tap Create Invoice (or similar action button)
-
Review or add:
-
Parts & services
-
Pricing
-
Notes
-
-
Save or send the invoice directly to the customer
💡 Best Practice:
Have techs generate invoices immediately after completing the job to speed up payment collection.
Summary
Creating invoices in Zuper allows you to:
-
Capture revenue accurately
-
Keep billing consistent
-
Get paid faster
It’s the final step in turning completed work into cash.
Pro Tips
-
Create invoices immediately after job completion
-
Double-check pricing before sending
-
Use bundles to simplify billing
-
Encourage field techs to handle invoicing on-site
What’s Next?
👉 Learn how to record payments and manage outstanding invoices.