
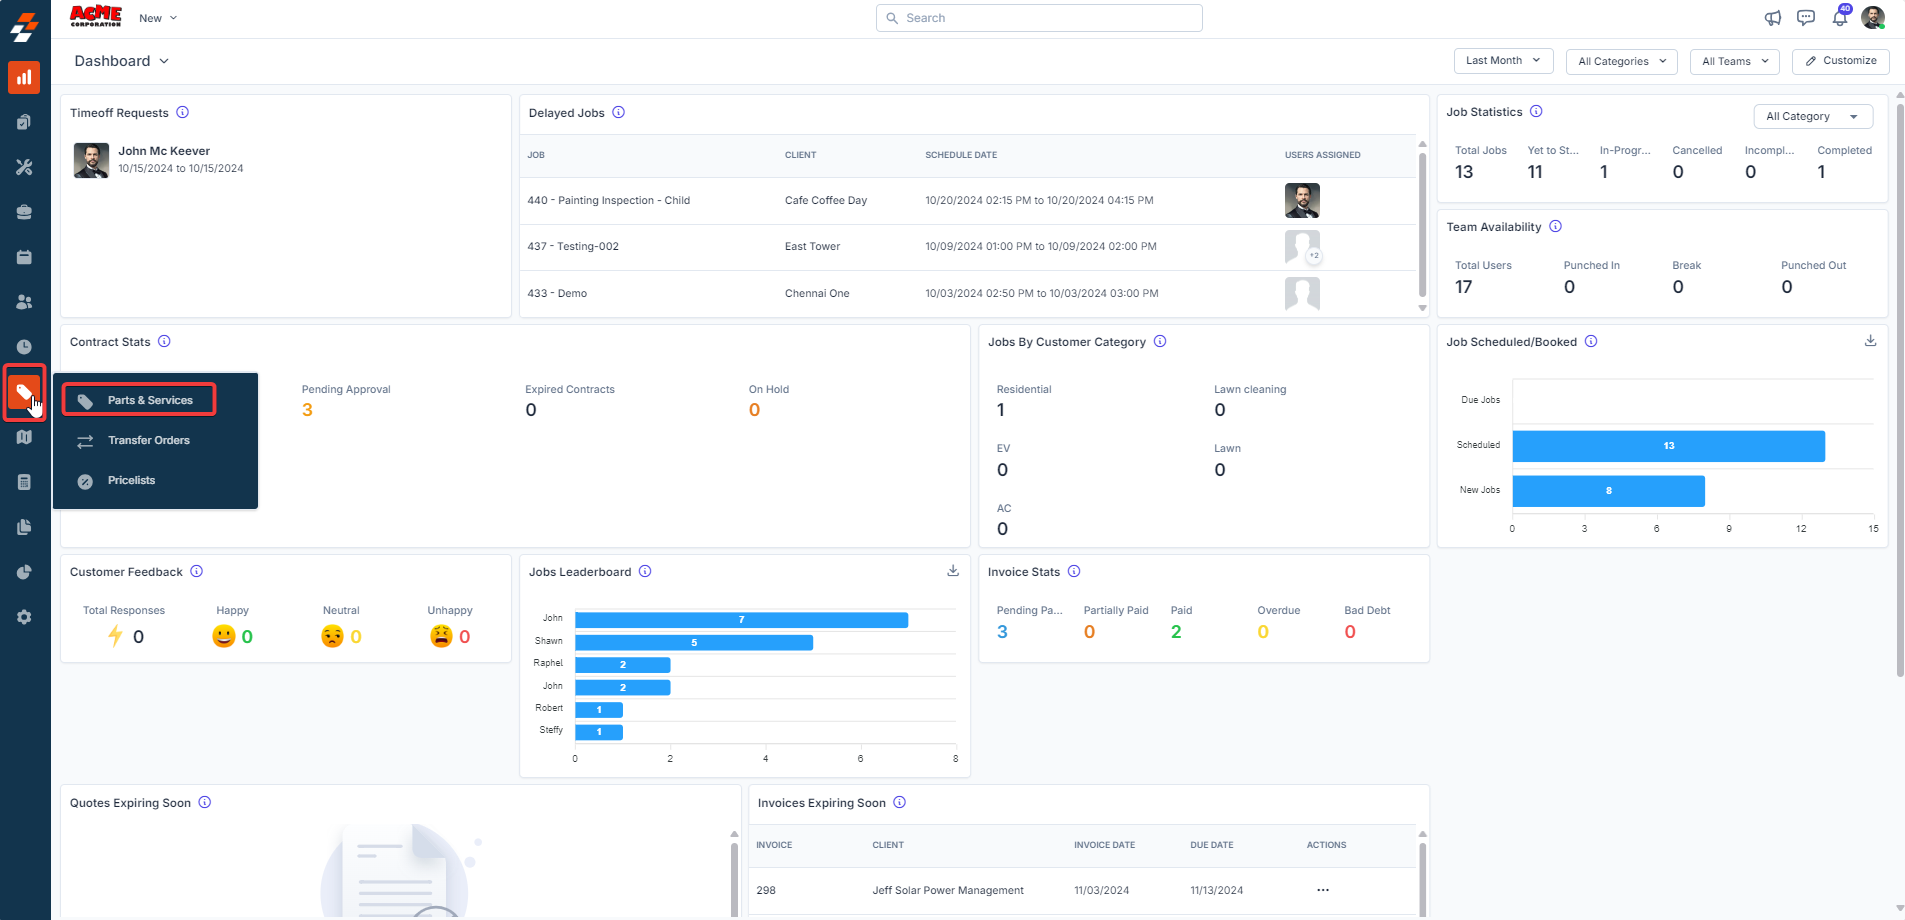
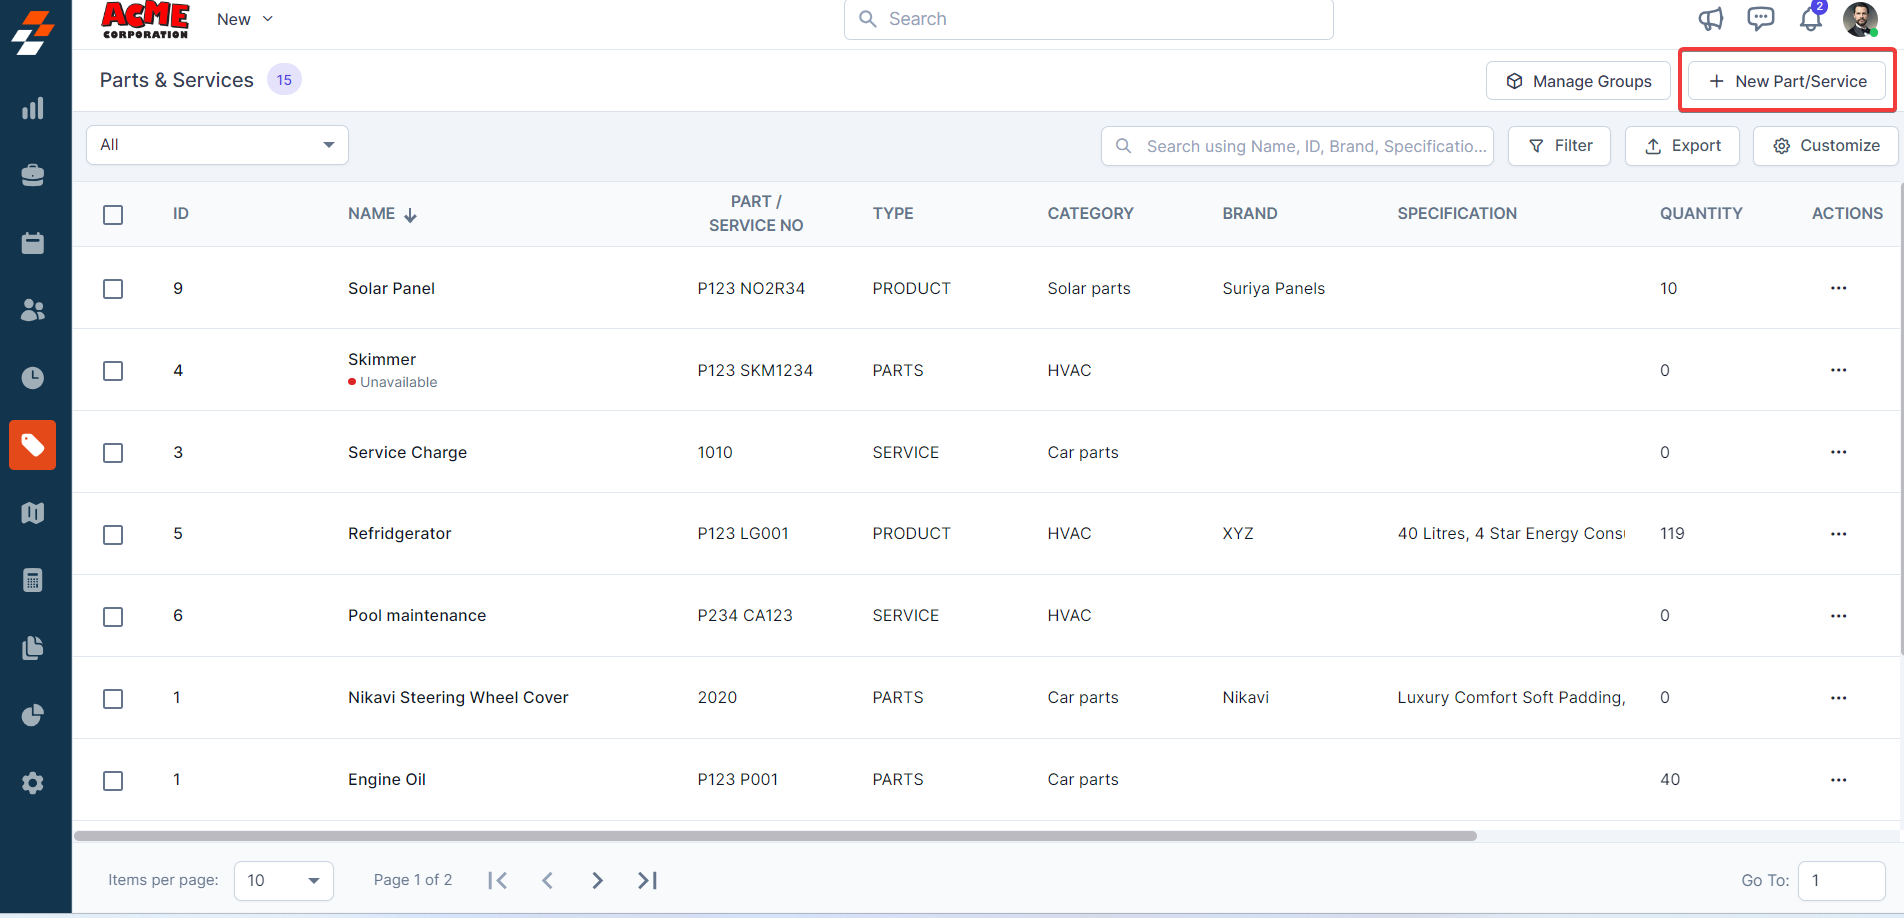
How to Access Parts & Services
1. Go to Parts & Services
2. Click Create New Part
Setting Up Your Item
When creating a new item, you’ll start in the Details Panel.
Choose a Type
Select what you’re creating:
-
Part/Product → Physical items (filters, batteries, generators)
-
Service → Labor (install, maintenance, troubleshooting)
-
Bundle → Pre-built packages (PM plans, install kits)
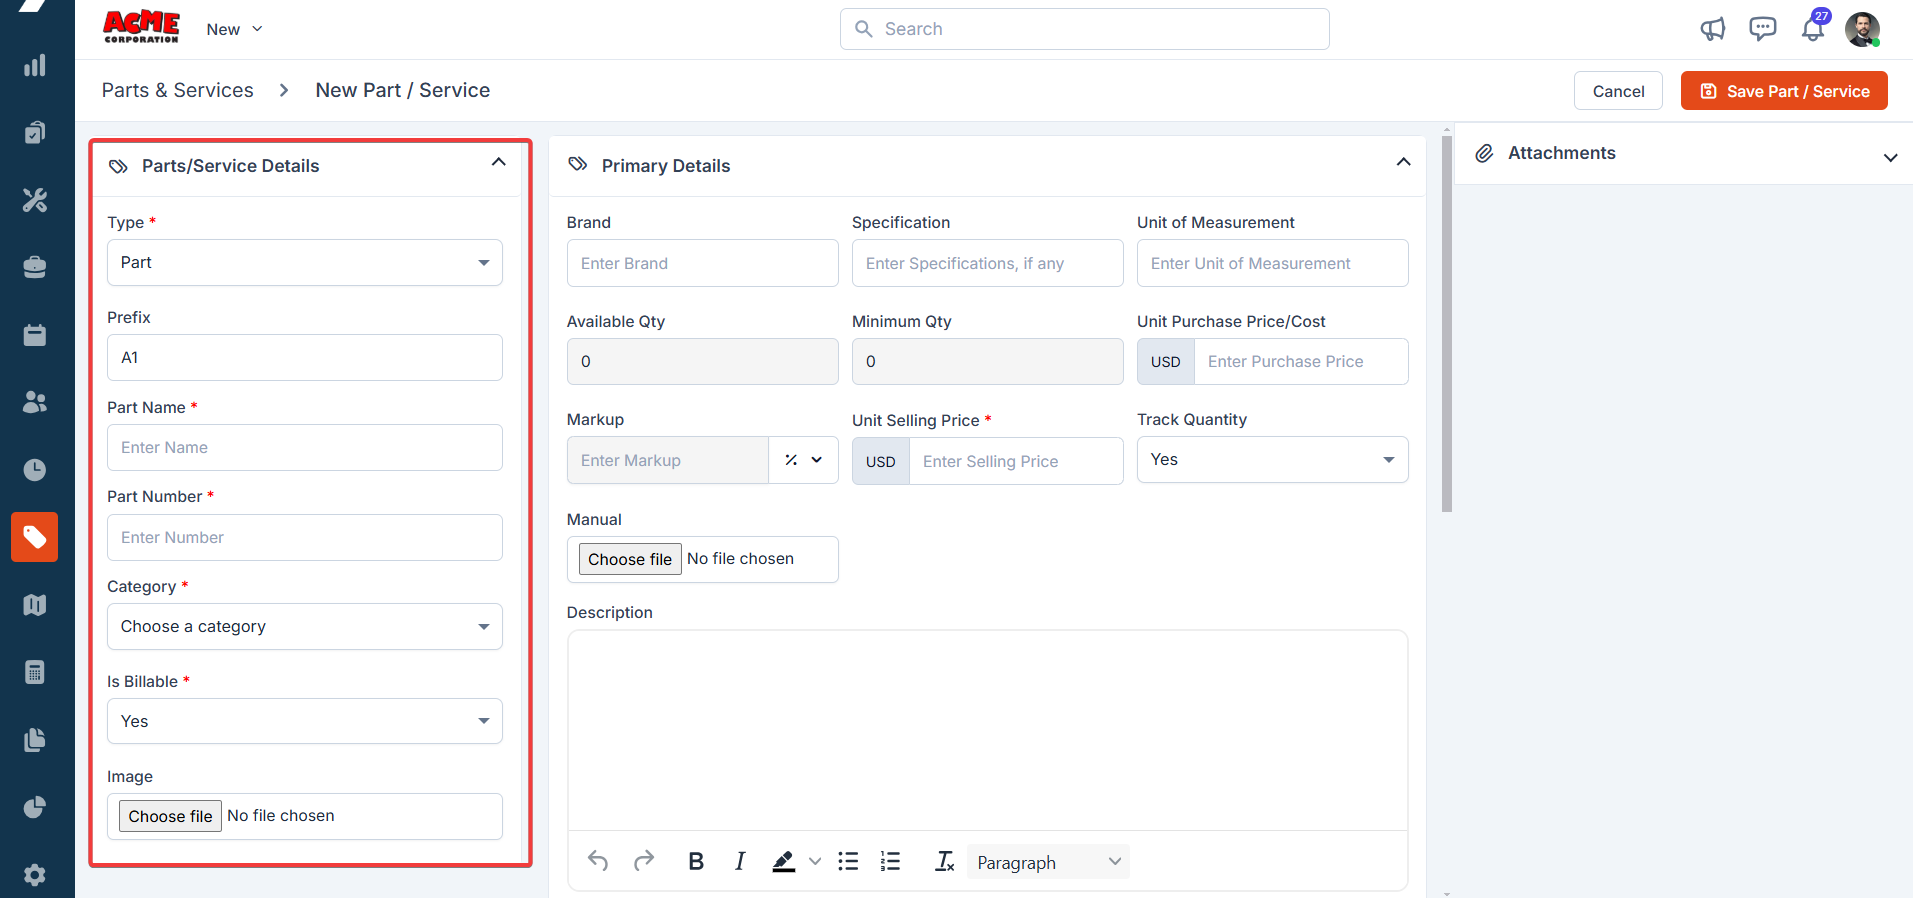
Basic Setup
Fill in the following:
-
Name (Required)
-
Item Number (Unique identifier)
-
Billable or Non-Billable
-
Include in Profitability
💡 Best Practice:
Most items should be billable unless they’re internal-use or warranty-related.
1. Primary Details
This is where you define pricing, categories, and inventory behavior.
Pricing & Markup
You can set:
-
Unit Cost (Purchase Price)
-
Selling Price
-
Markup (auto-calculates price)
Markup options include:
-
Flat ($)
-
Percentage (%)
-
Multiplier (x)
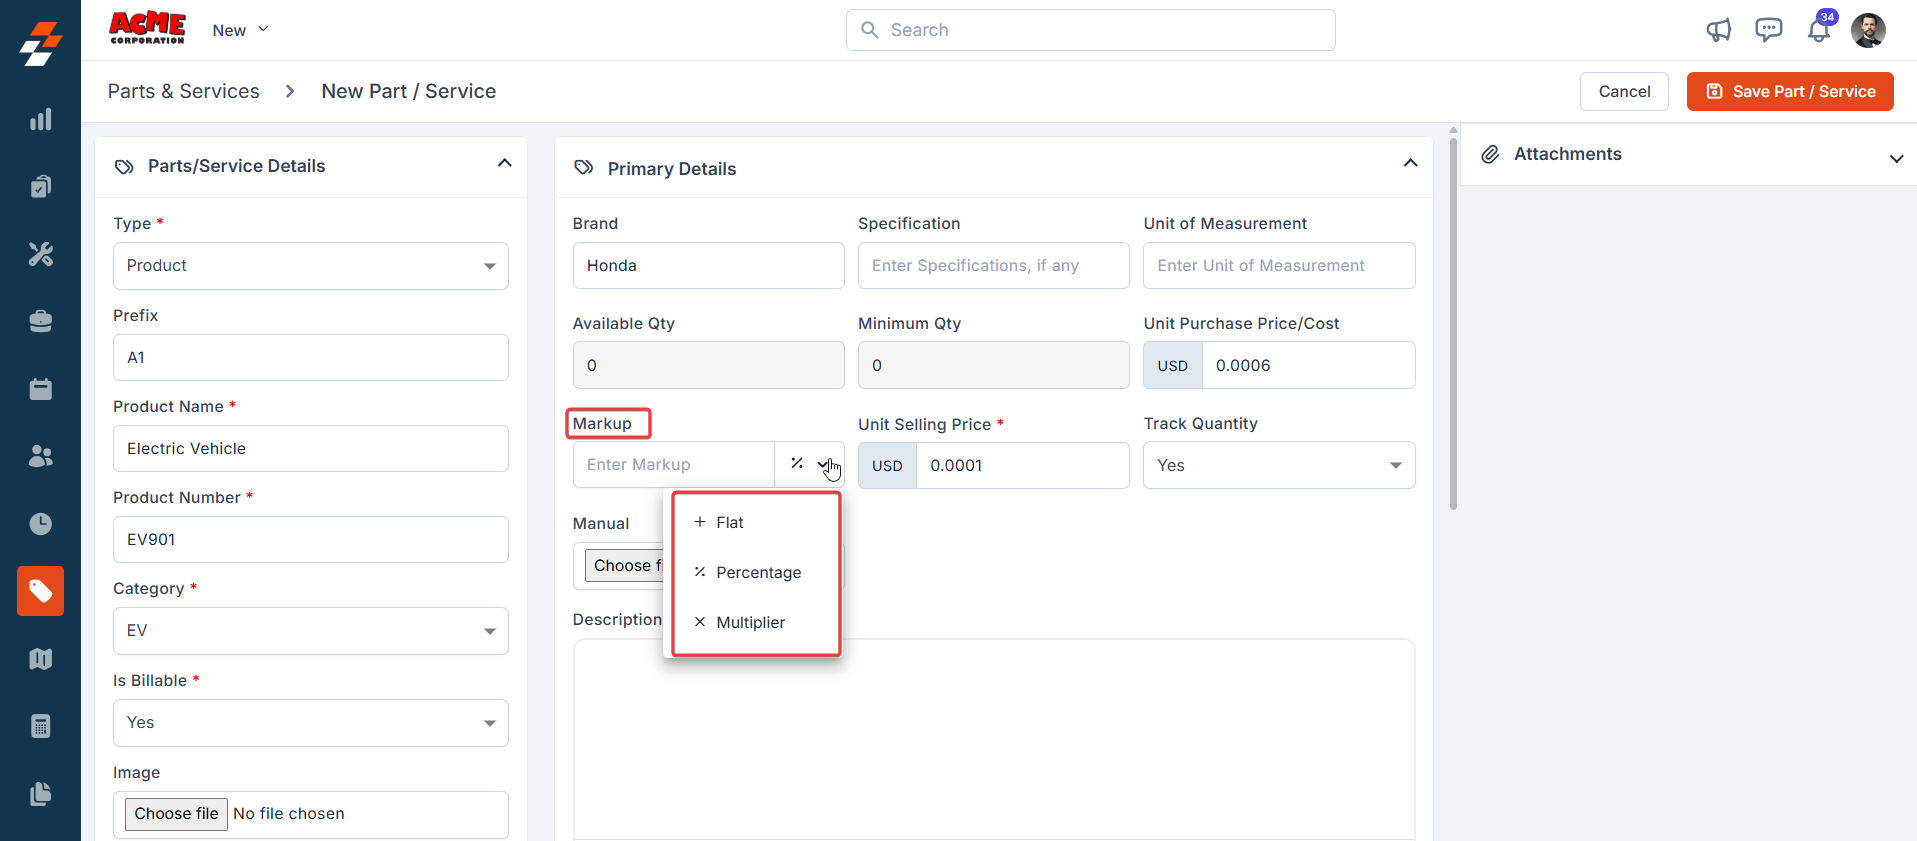
💡 Example:
If a battery costs $100 and you use a 50% markup → selling price = $150
Categories & Trade Types
Assign the item to:
-
A Category (Install, Service, Maintenance)
-
A Trade Type (if applicable)
This helps organize your system and improves reporting.
Inventory Tracking
-
Track Quantity → Enables inventory tracking
-
Minimum Quantity → Triggers low-stock alerts
If you’re stocking parts like oil filters or spark plugs, this should be turned ON.
2. Tax Details
Define how this item is taxed:
-
Taxable → Add tax rate and name
-
Tax Exempt → Optional reason
3. Options (Advanced)
Options allow you to create selectable variations for customers.
Examples:
-
Generator size options
-
Material selections
-
Add-ons or upgrades
You can:
-
Add images
-
Create labels for proposals
-
Enable customer selection
💡 Use Case:
Let customers choose between multiple generator sizes or accessories directly in the proposal.
4. Other Details
This section includes any custom fields your organization has set up.
5. Location Availability
Manage where this item exists and how it’s tracked.
-
Assign inventory to specific locations
-
Set available quantities
-
Enable serial number tracking (important for generators)
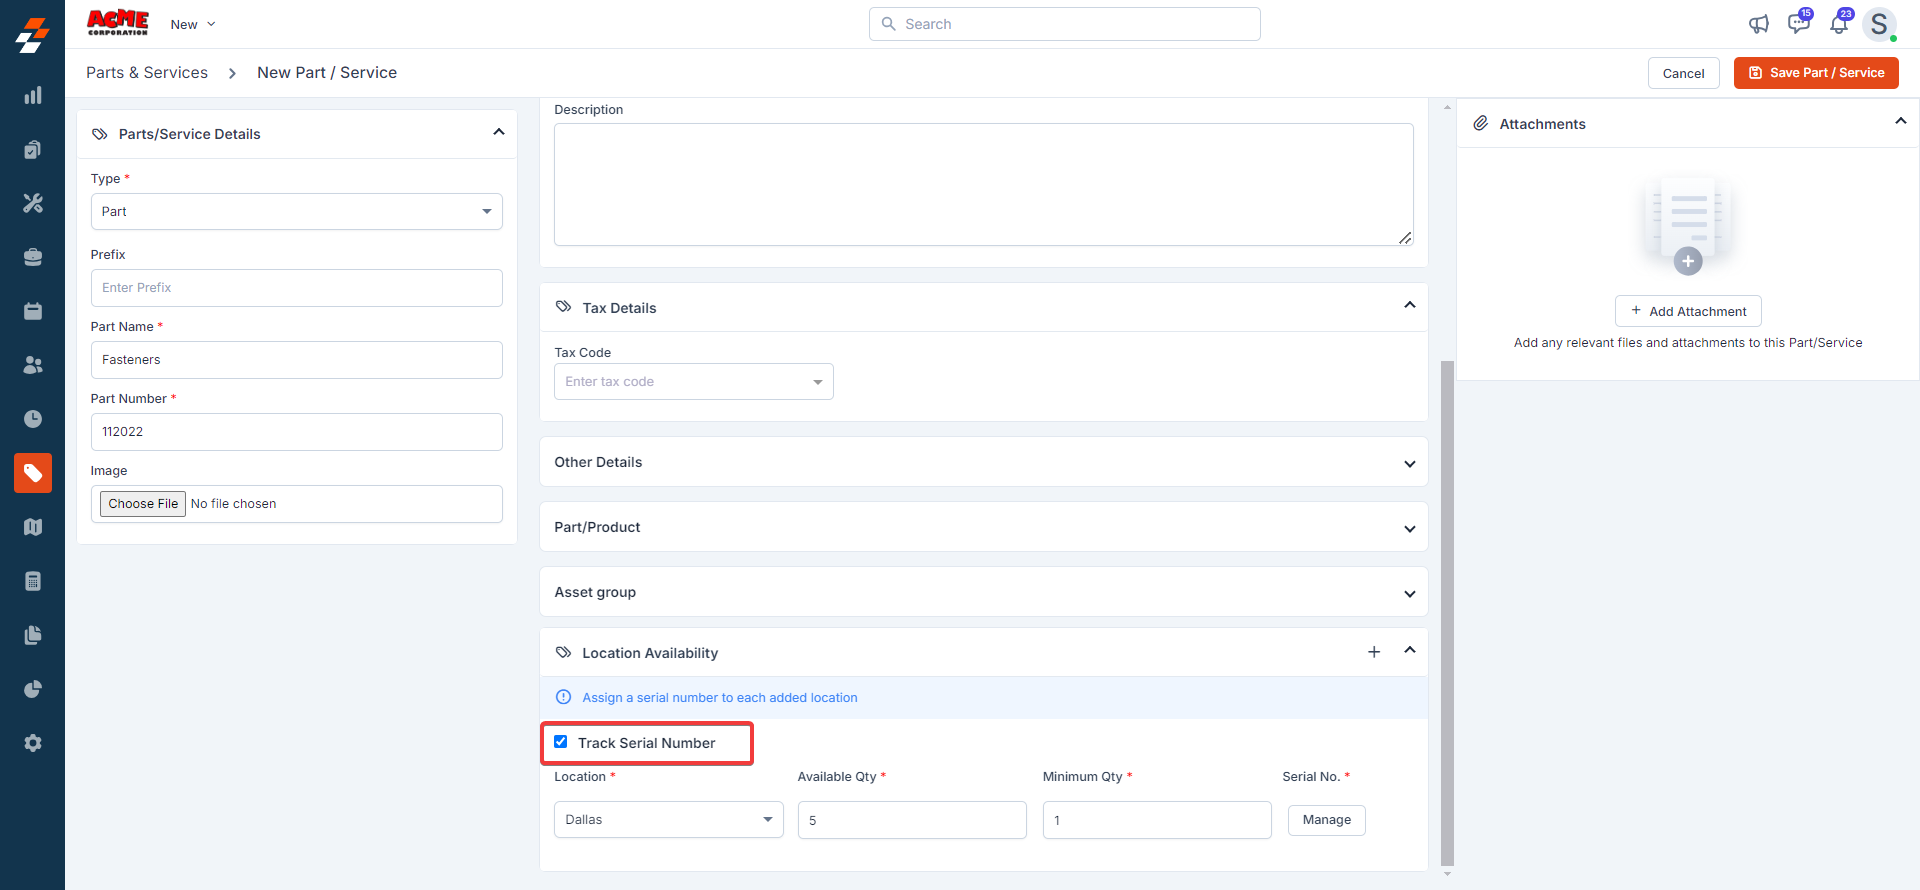
If enabled, you’ll need to input serial numbers individually.
6. Attachments
Upload supporting files such as:
-
Spec sheets
-
Product images
-
Installation guides
Save Your Item
Once everything is complete:
👉 Click Save Part/Service
Your item is now available for use in jobs, quotes, and invoices.
Editing Parts & Services
You can update items in two ways:
From the Master List
-
Go to Parts & Services
-
Select the item
-
Click Edit
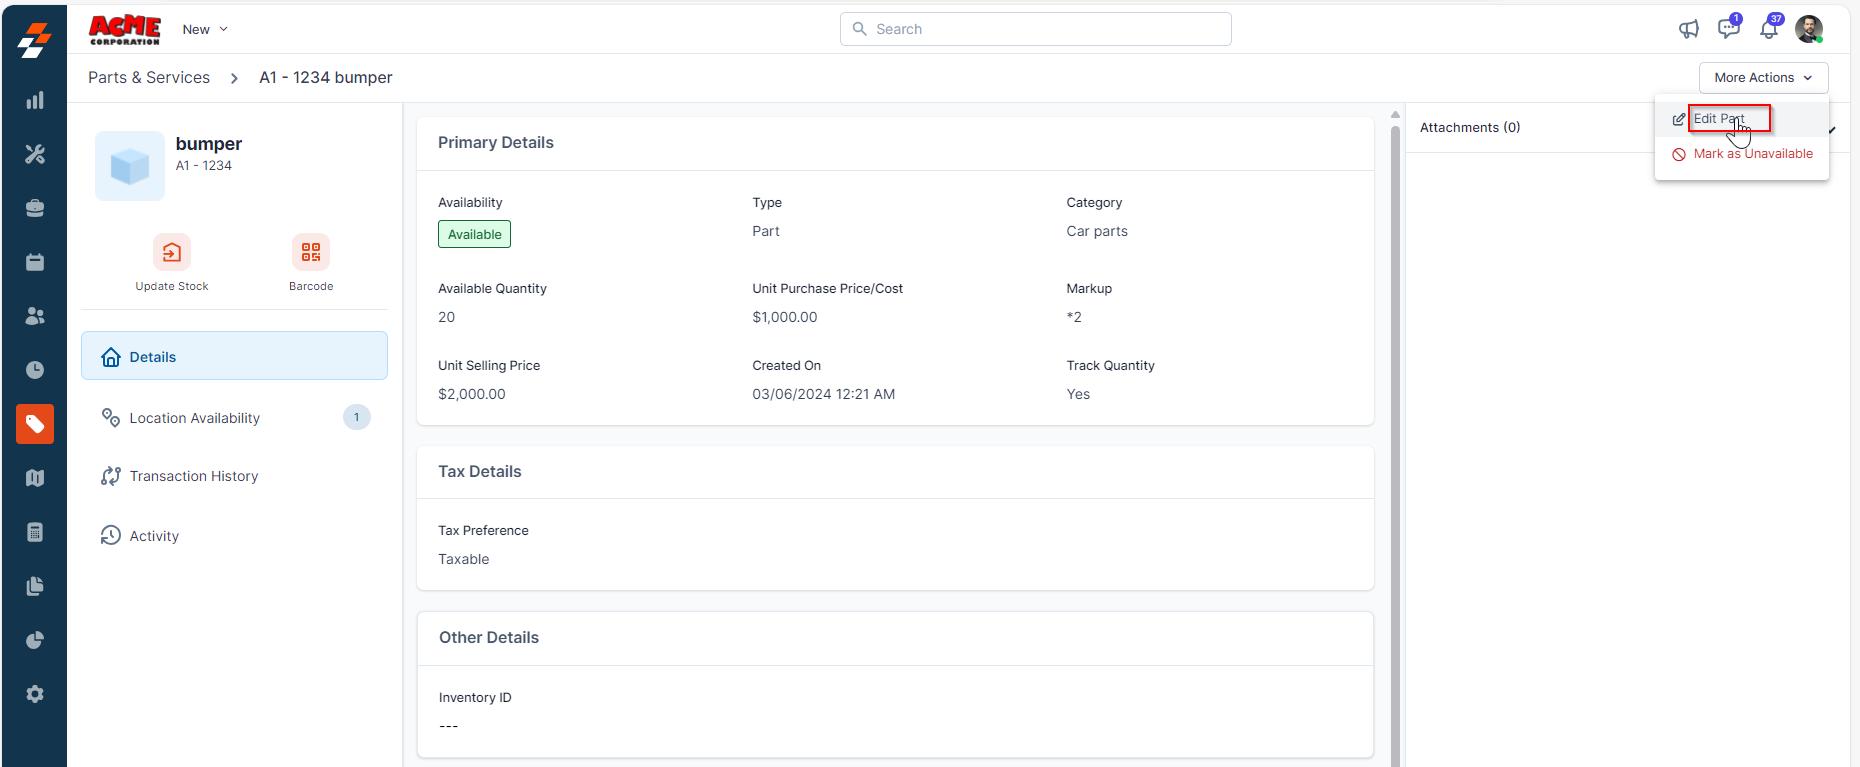
Changes here apply system-wide.
From Jobs, Quotes, or Invoices
-
Open the job or quote
-
Locate the item
-
Click Edit Line Item
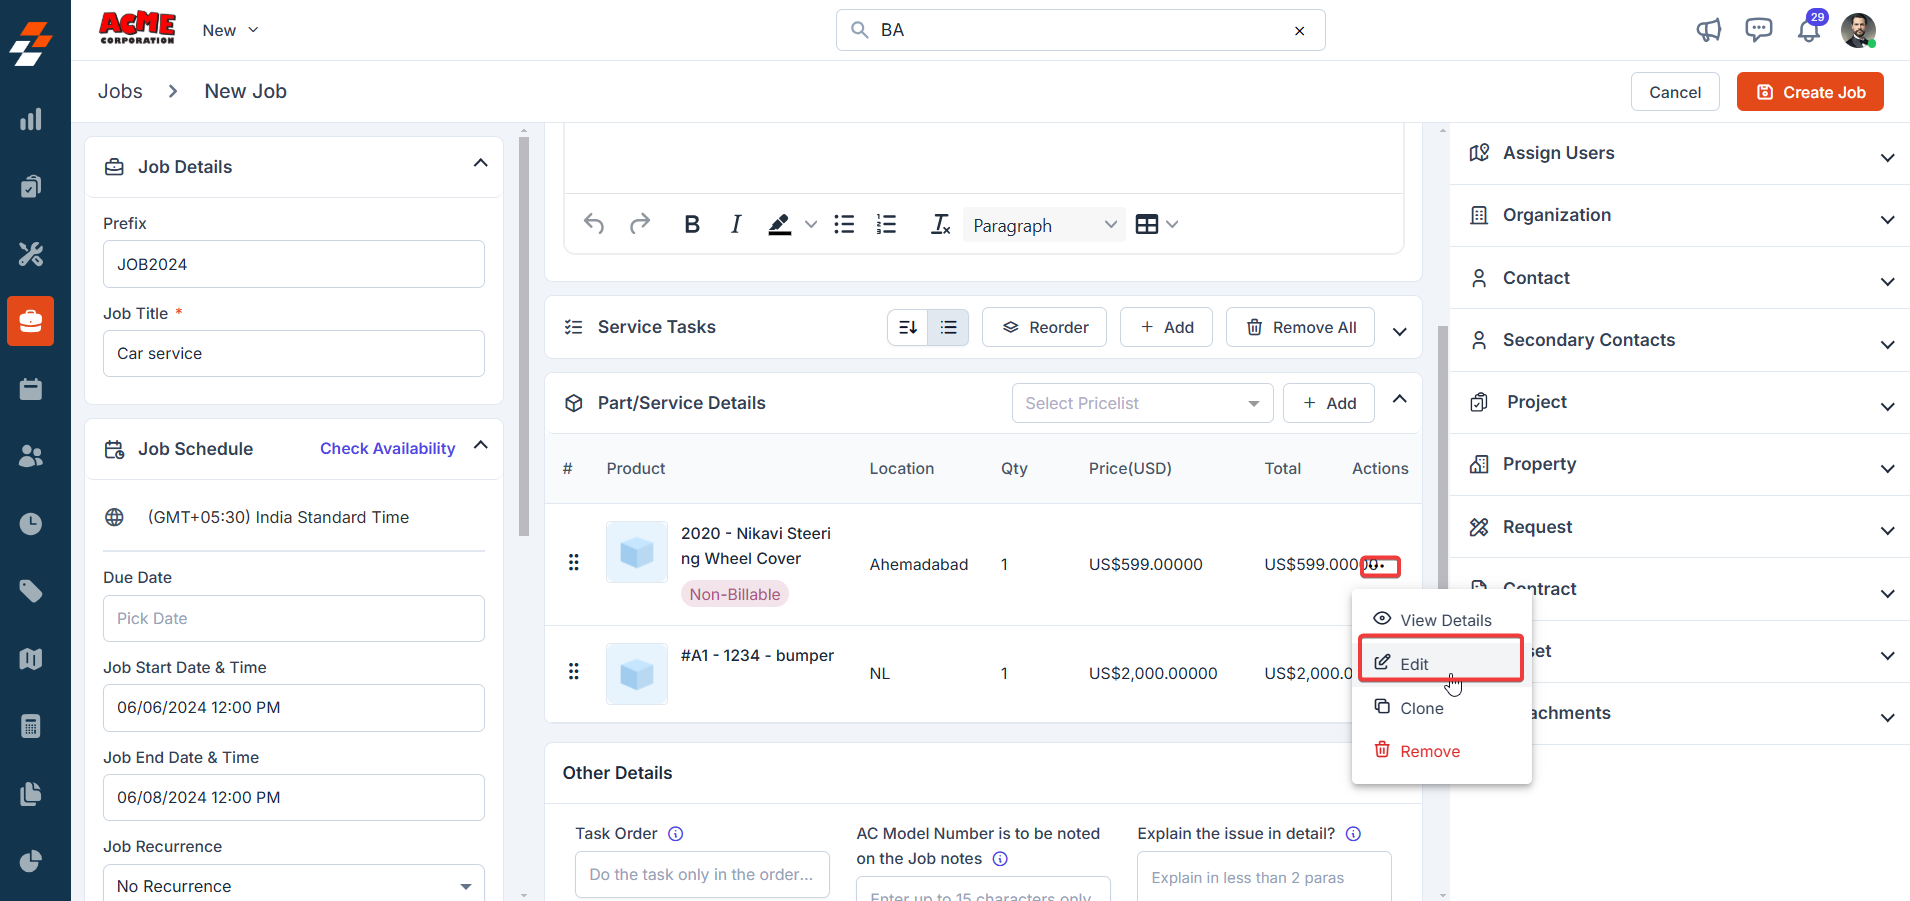
⚠️ Note:
Changes made here only apply to that specific transaction.
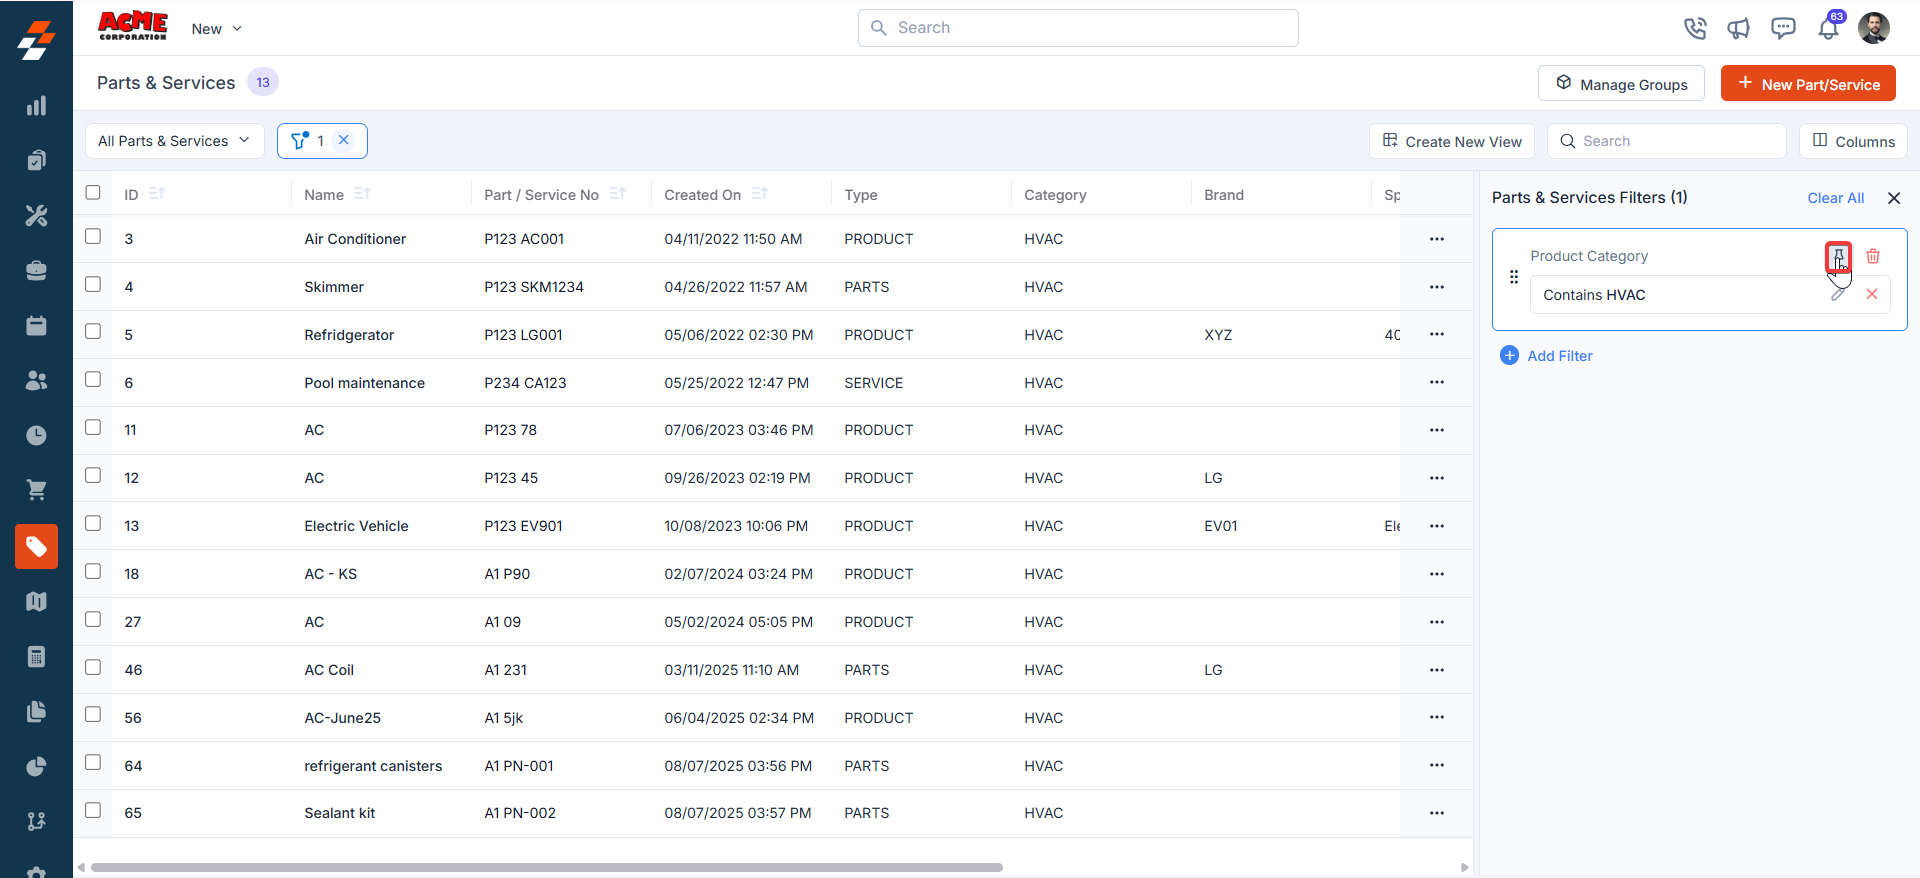
Listing Views & Filters
You can customize how your parts list appears:
-
Add/remove columns
-
Save custom views
-
Share views with your team
Pin Filters for Faster Access
If you frequently use certain filters:
-
Click Pin Filters
-
Access them instantly in future sessions
Pro Tips
-
Use bundles for repeatable work like installs and maintenance plans
-
Always enable inventory tracking for stocked items
-
Standardize naming so your team can find items quickly
-
Keep pricing updated to protect your margins
What’s Next?
👉 Start adding your most common parts and services, or create bundles for your standard installs and maintenance packages.