
This walkthrough will show you how to create a new product for a 14kW Generator, assign serial numbers to stock, and then assign one of those serial numbers to a new customer through a generator installation job. This process will automatically remove the serial number from stock and associate it to the customer record.
Creating a new Generator Product & Receive Serials into Inventory
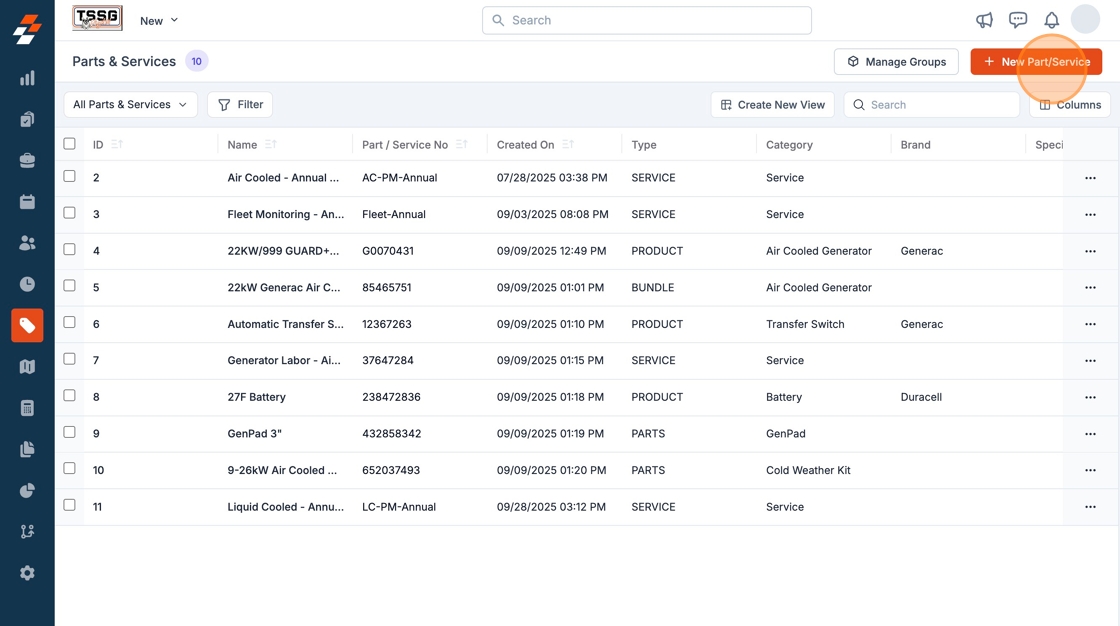
1. Click "New Part/Service"
2. Click on Type and select Product
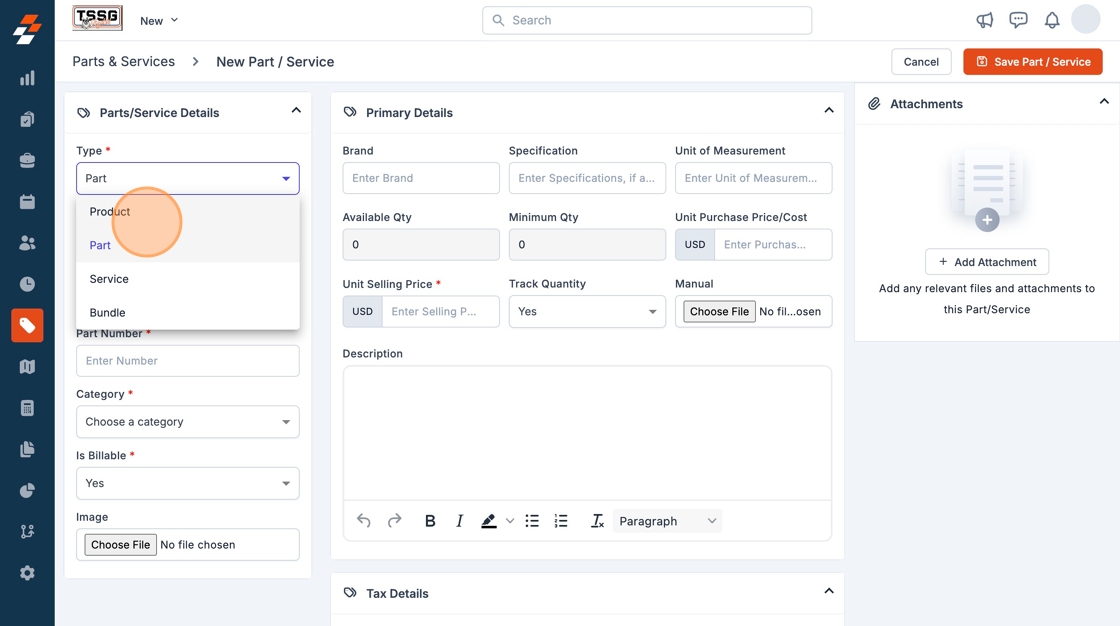
Tip: The difference between products and parts is that products can have serial numbers assigned to them.
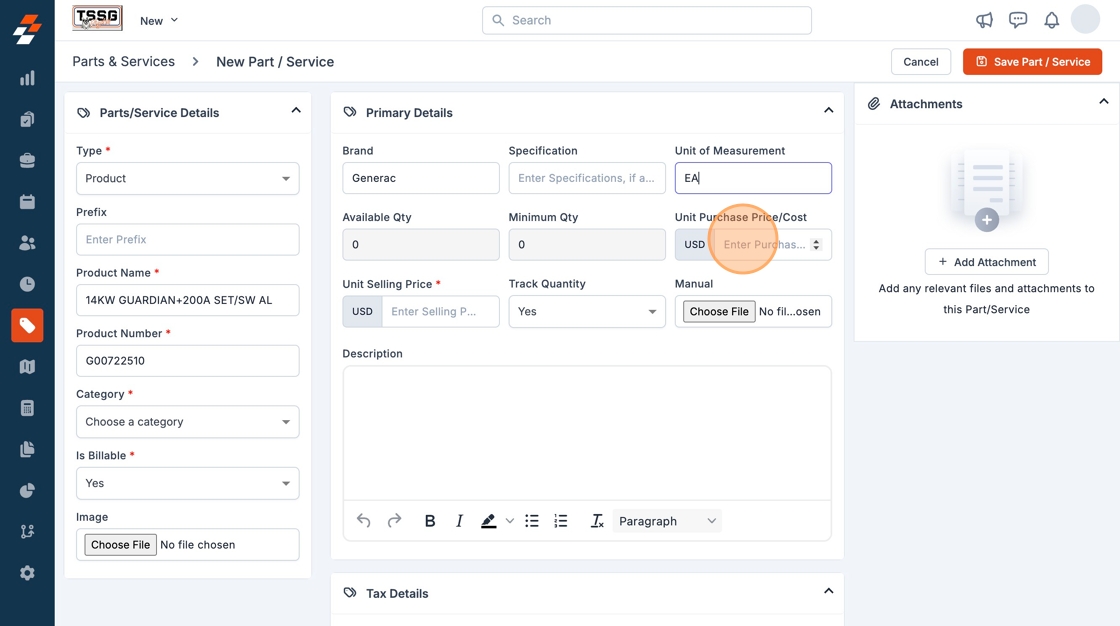
3. Click the "Brand" field and enter Generac

4. Enter the Product Name

5. Enter the Product Number

6. Enter the "Unit of Measurement" field.

7. Enter the Product Name
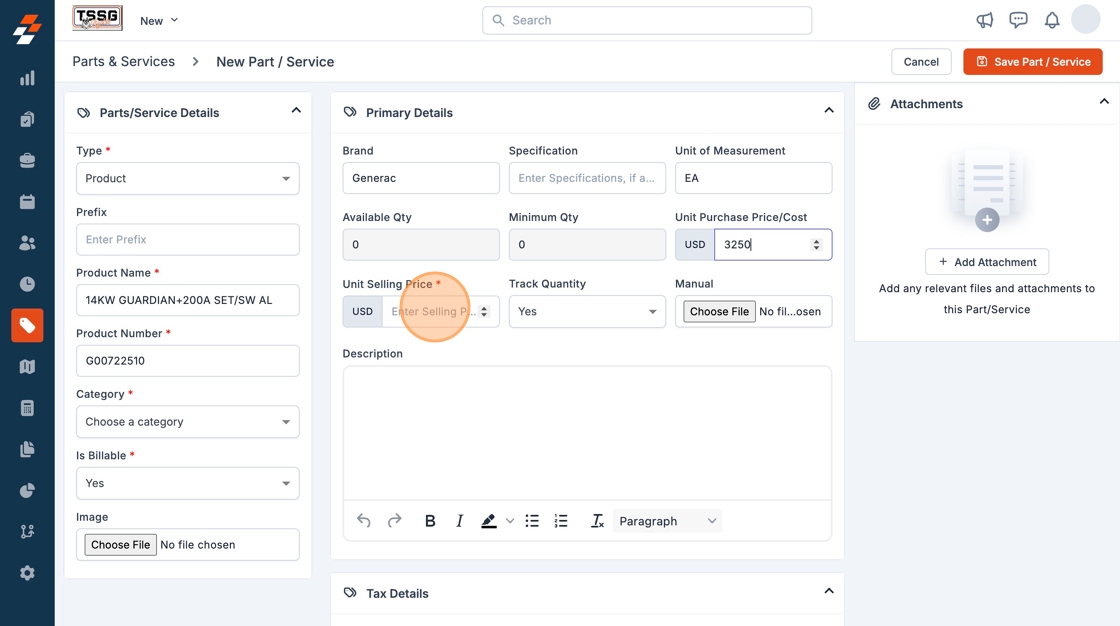
8. Type "3250"

9. Fill out the following information
Brand, Unit of Measure, Cost, Price, Product Name, Product Number, Category.
You can also add an image of the generator, and a product manual.
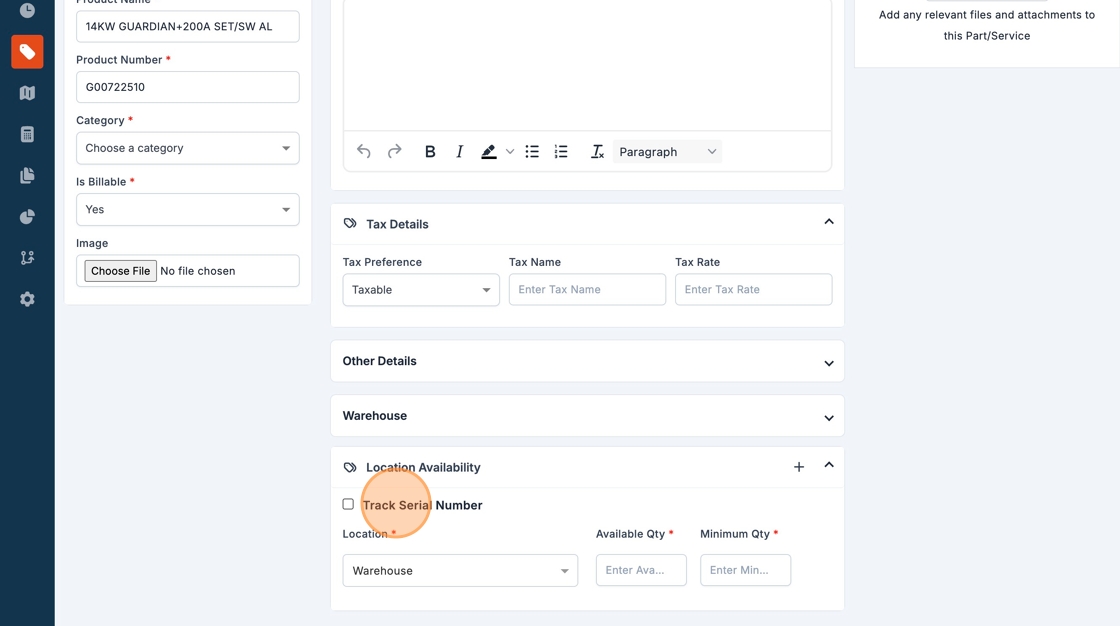
10. Under Location and Availability check the Track Serial Number checkbox.
11. Update Availability to match the Qty currently on hand.
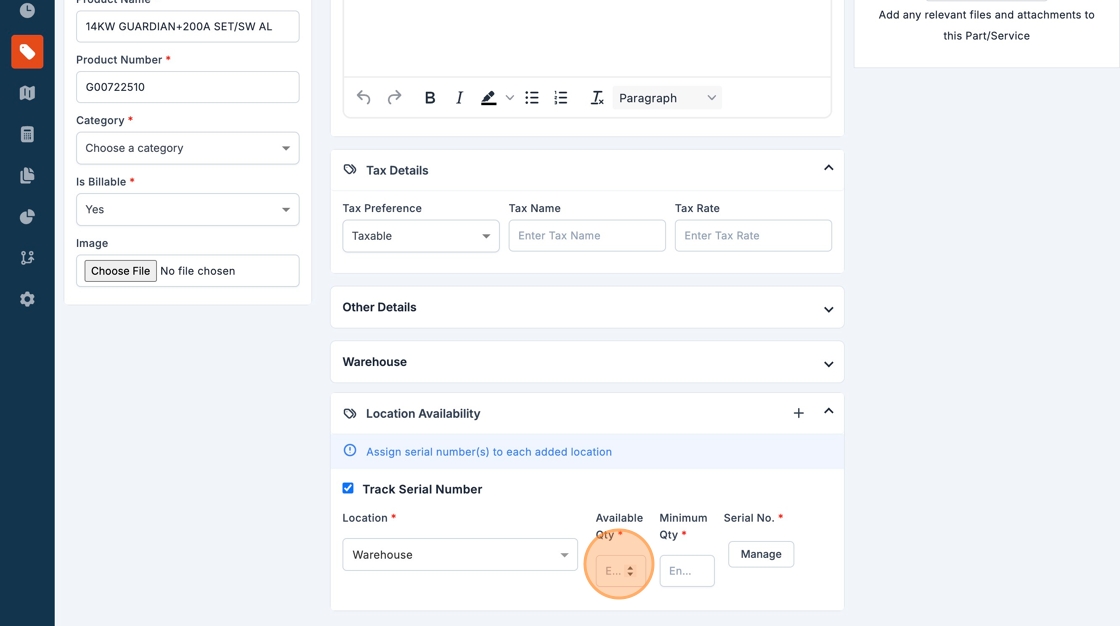
12. Click the "Enter Minimum Qty" field.

Tip: When Availability Qty falls below Minimum Qty Zuper will alert you
13. Click "Manage" to add in Serial Numbers

14. Click the "Enter the Serial Numbers" field.

15. Enter each serial number and press enter. This screen will require you enter as many Serials as you have Qty in stock.

16. Click "Update Item"

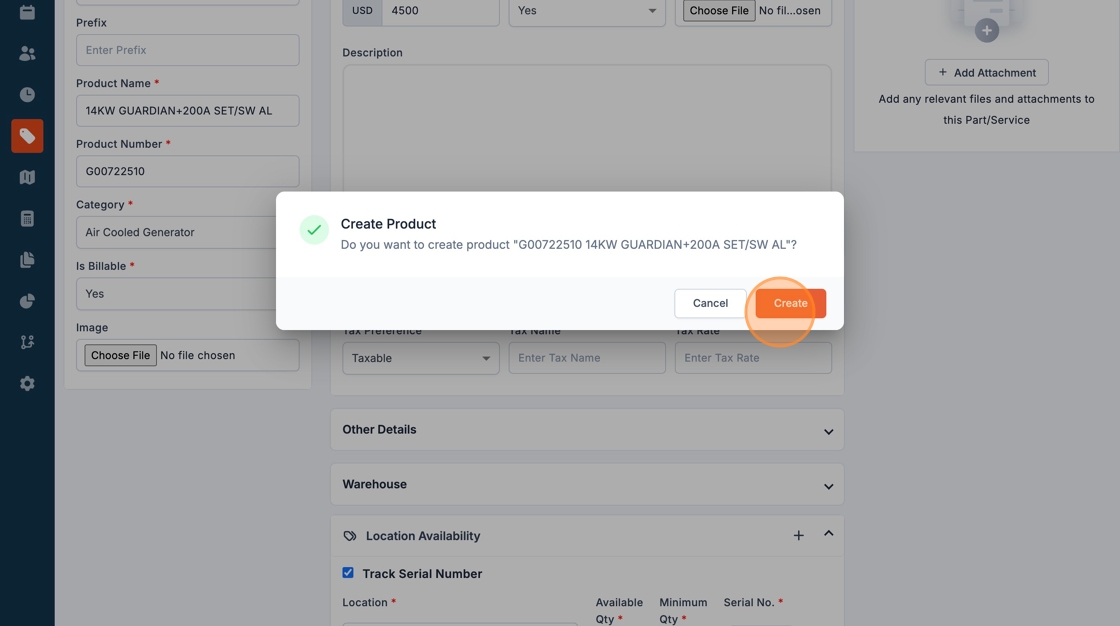
17. Click "Save Part / Service"

18. Click "Create"
19. To check serials in stock click Location Availability
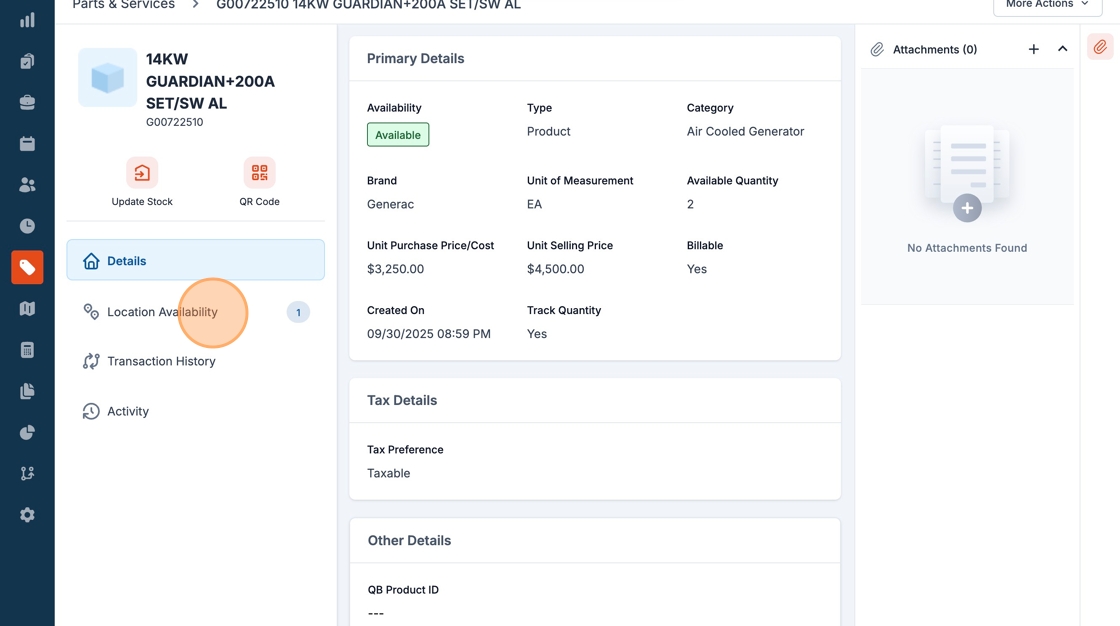
20. Click "View Details"
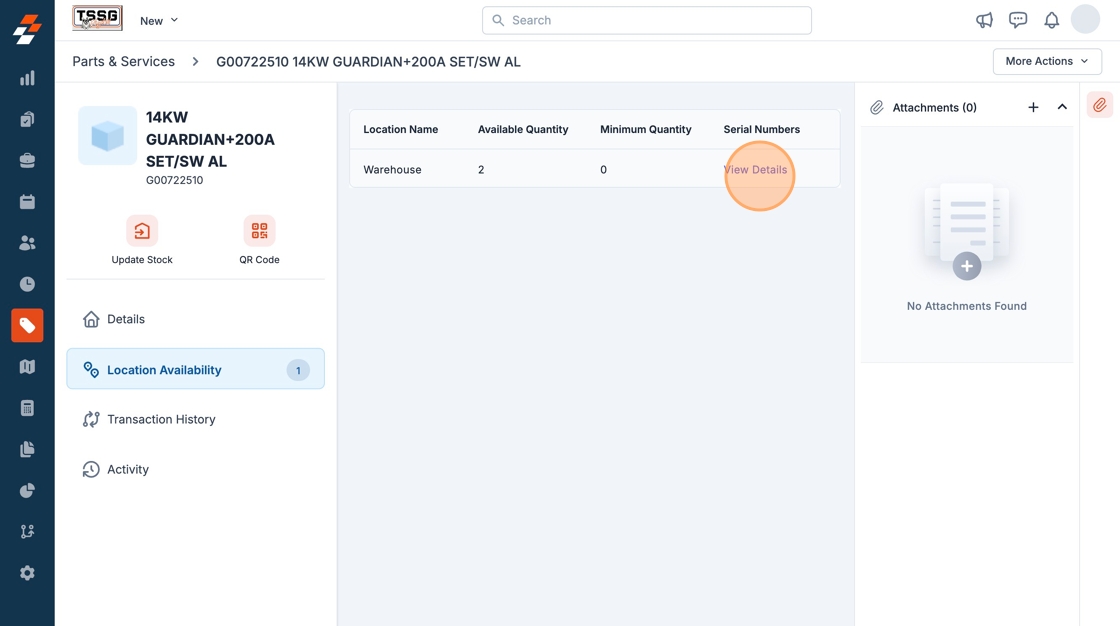
21. This screen will display the serials currently in stock

Assigning Serials in Stock to Customer via Generator Install
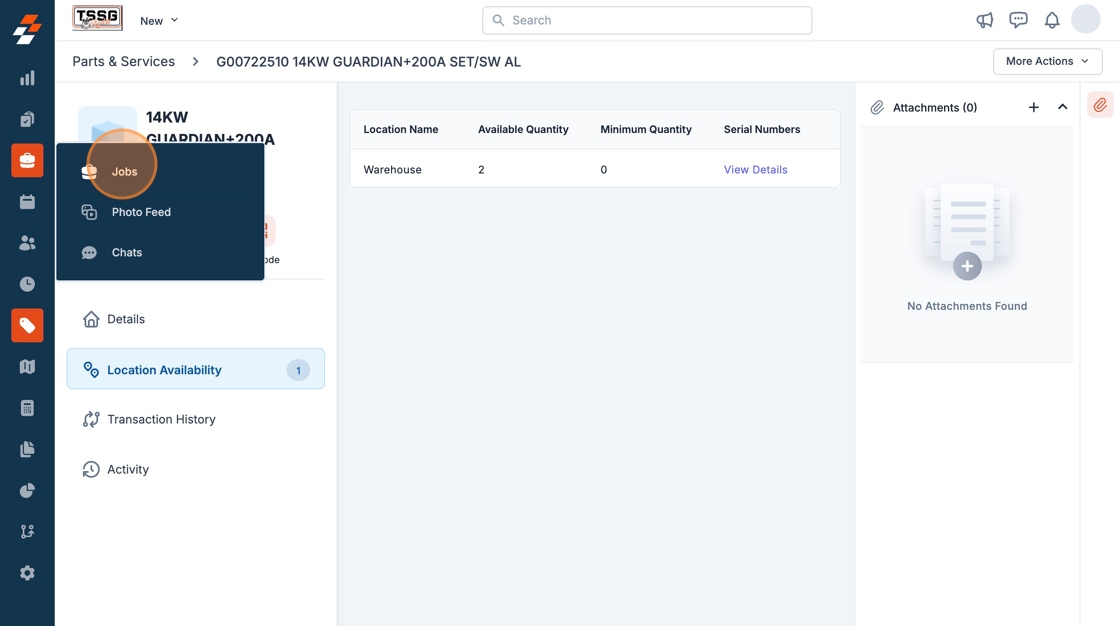
22. First we're going to create a new Generator Installation. Start by clicking "Jobs" in the left navigation.
23. Click "New Job"

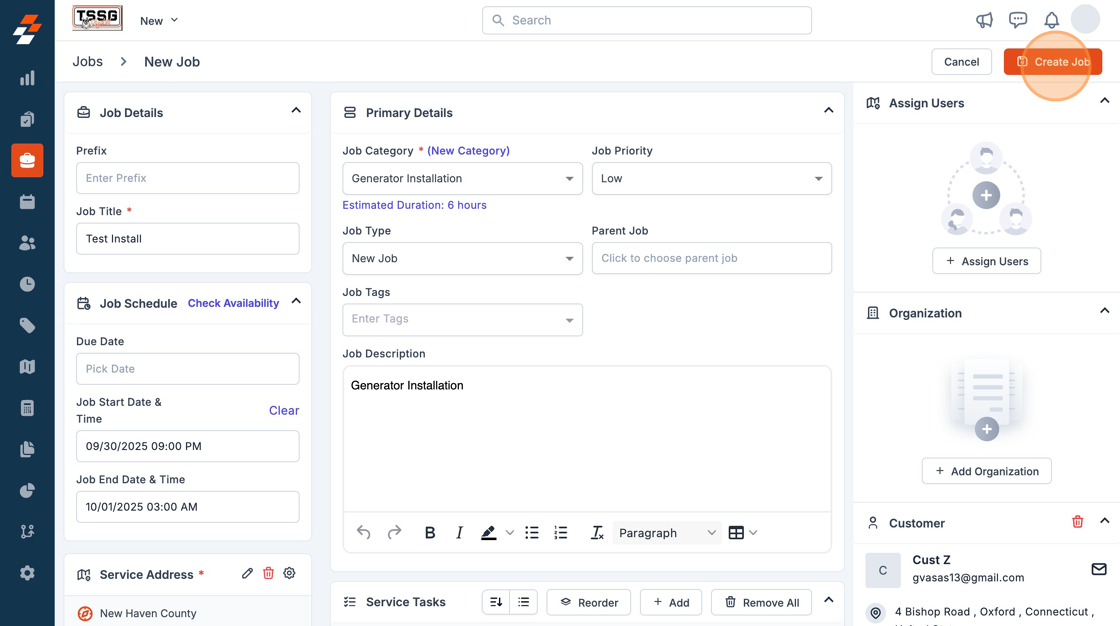
24. Click Job Category and select "Generator Installation"

25. Create the job by filling out Job Title, Job Category, Job Start Date.
Select a Customer from the right navigation column and click Create Job.
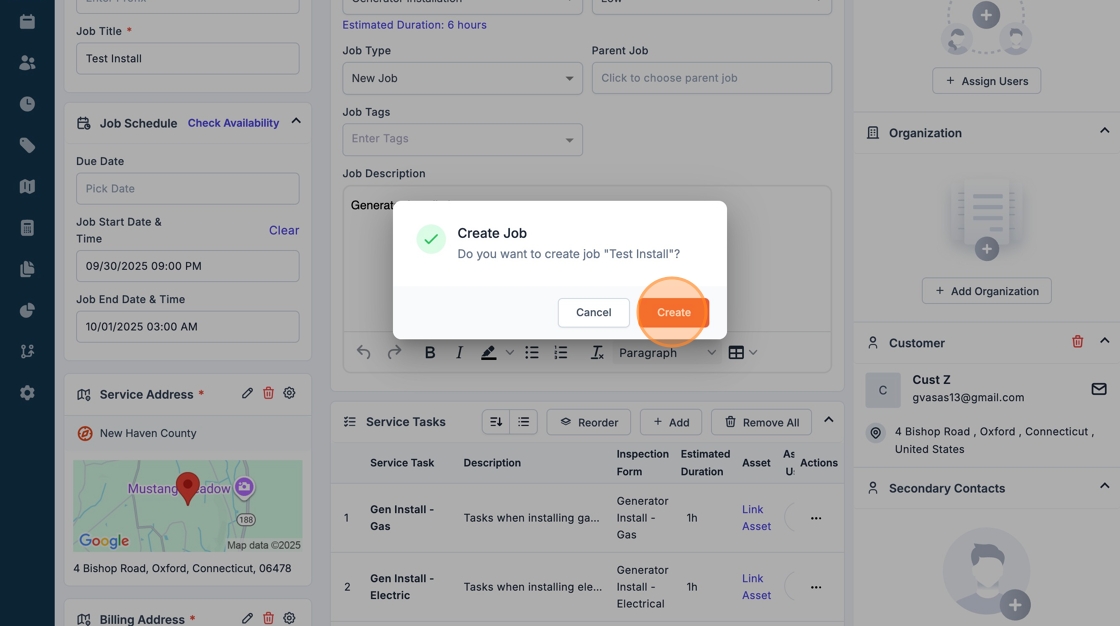
26. Click "Create"
27. Now we're going to associate the Generator Serial that we're installing on this job.
Click the + next to Assets Associated in the right navigation.

28. Click "New Asset"

29. Click the "Product" field.

30. Find the correct generator that you're installing on this job and click the radio button to the left.

31. Scroll to the right and find the Serial No drop down and click it.
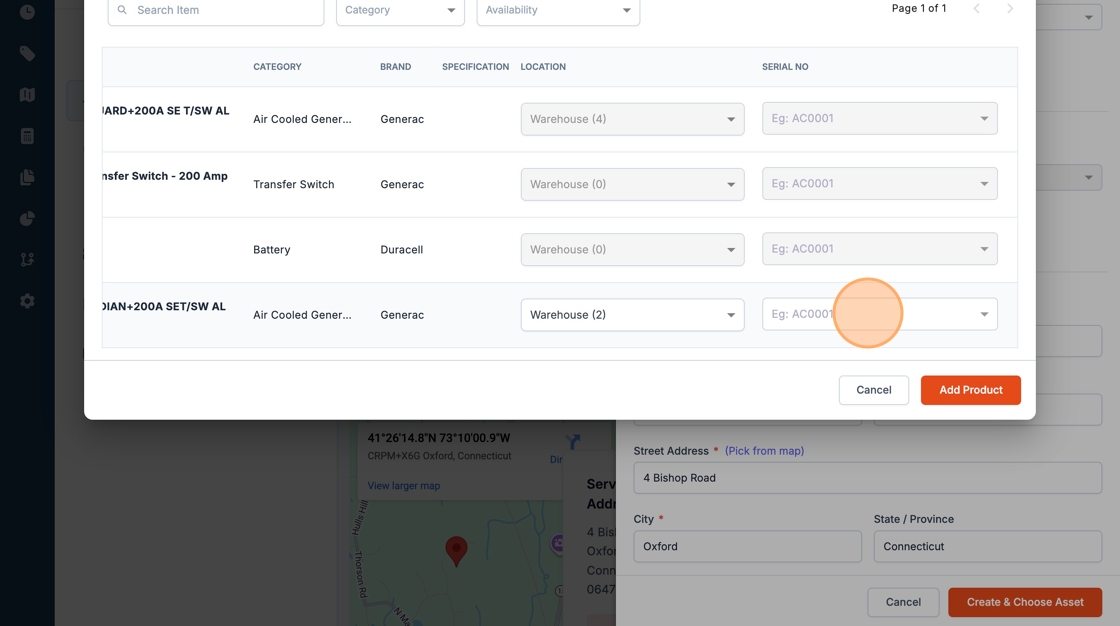
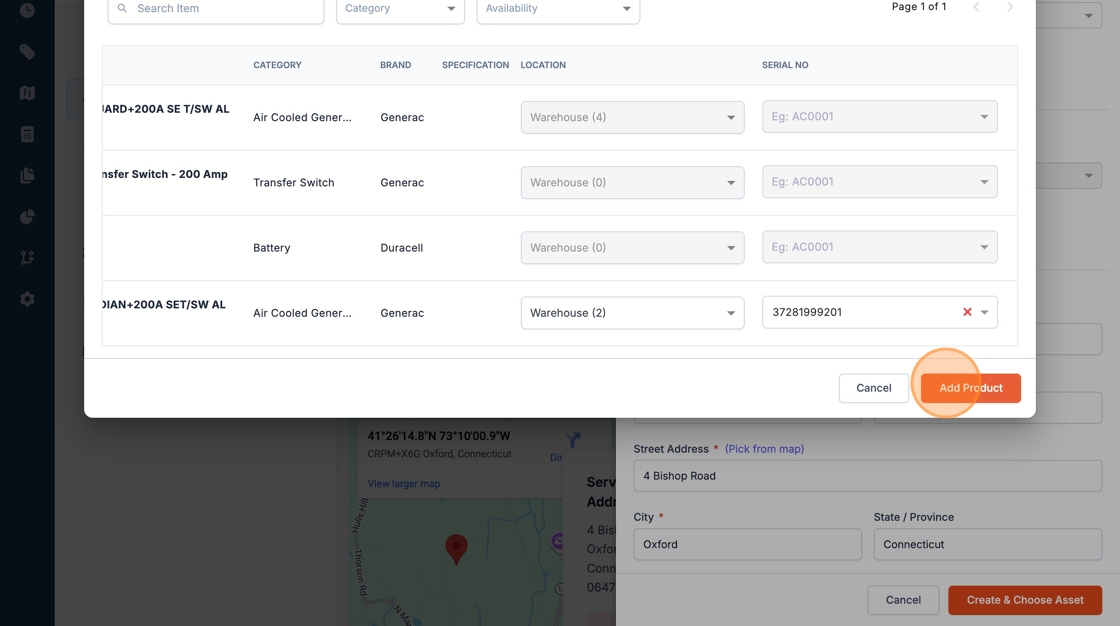
32. Select the correct serial nbr.

33. Click "Add Product"
34. Fill out the appropriate information including Asset Category, Asset Ownership etc.
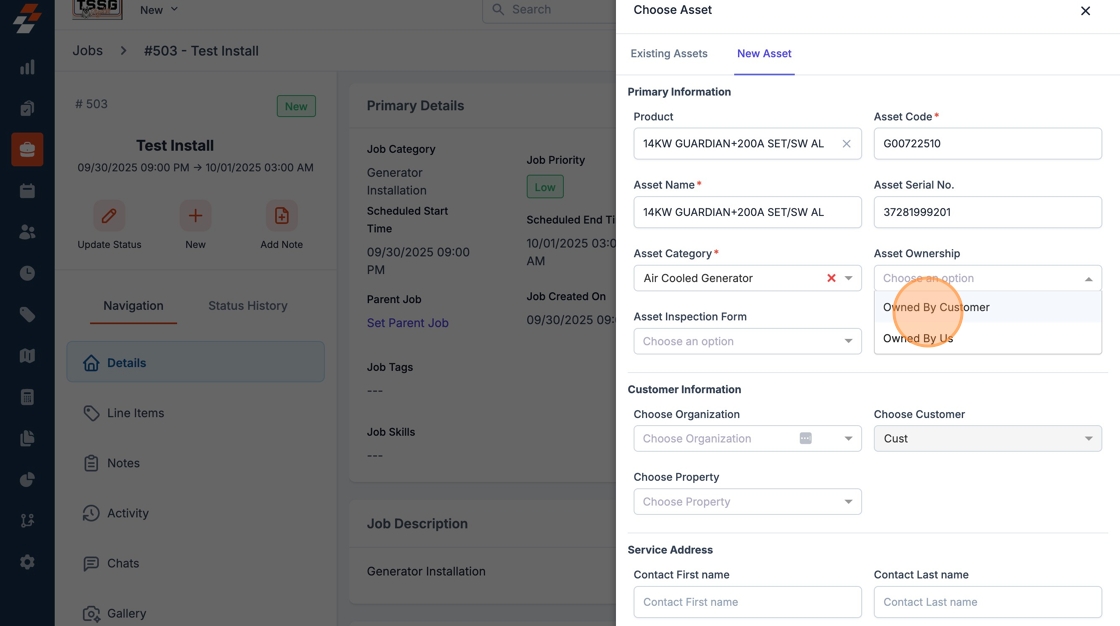
35. Click "Create & Choose Asset"

36. These steps will assign the new serial number to the customer and remove that serial from inventory.
