
Why Timesheets Matter
Using timesheets correctly allows you to:
-
Track technician hours accurately
-
Verify arrival at job locations
-
Improve payroll accuracy
-
Understand job profitability
-
Reduce missed or unlogged time
Accessing Timesheets
-
Go to Timesheets
-
Click Timesheets
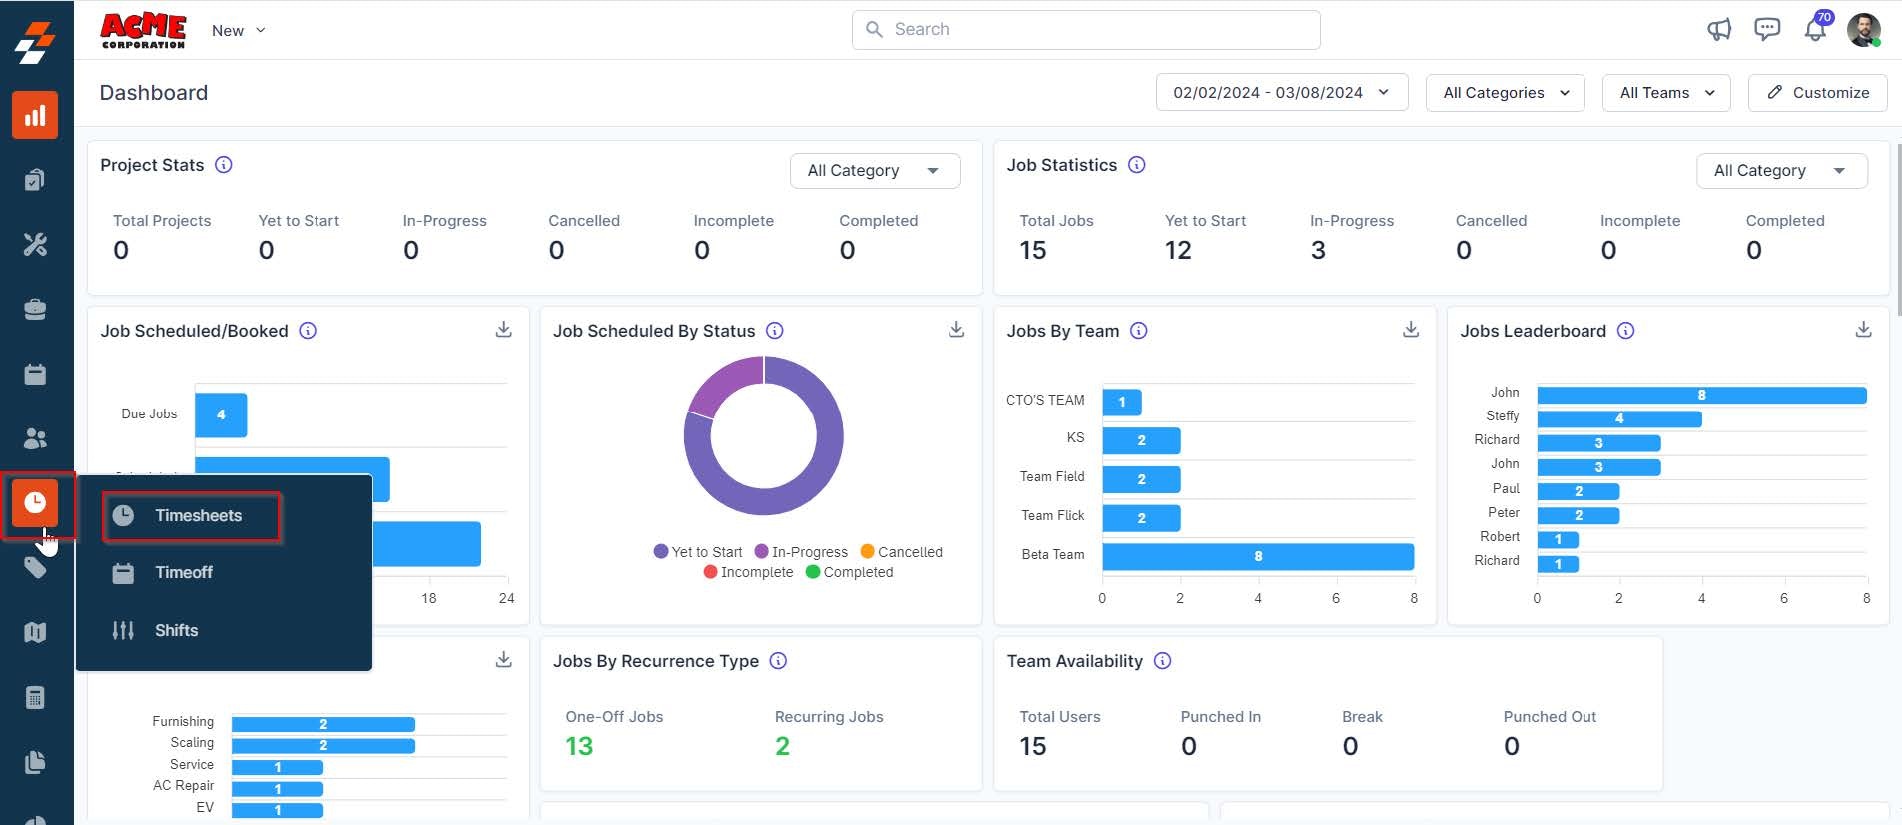
You’ll land on the main timesheet view where you can see activity for your team.
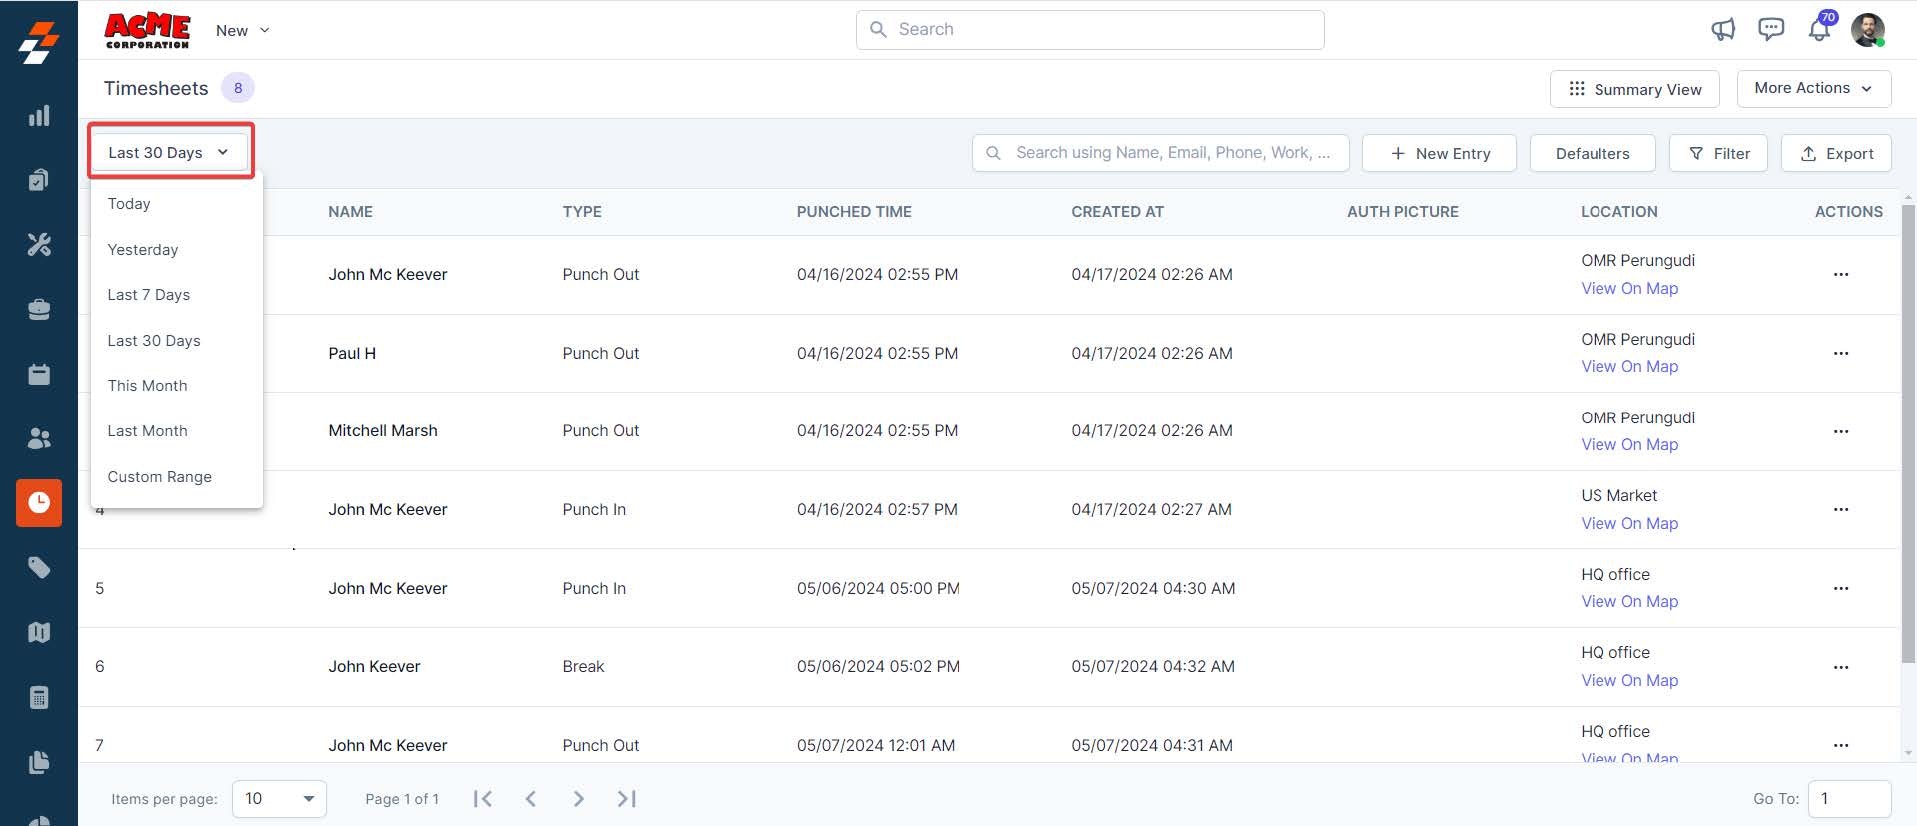
Understanding the Views
List View (Default)
Shows detailed activity for each technician:
-
Punch in/out times
-
Breaks
-
Locations
-
Activity timestamps
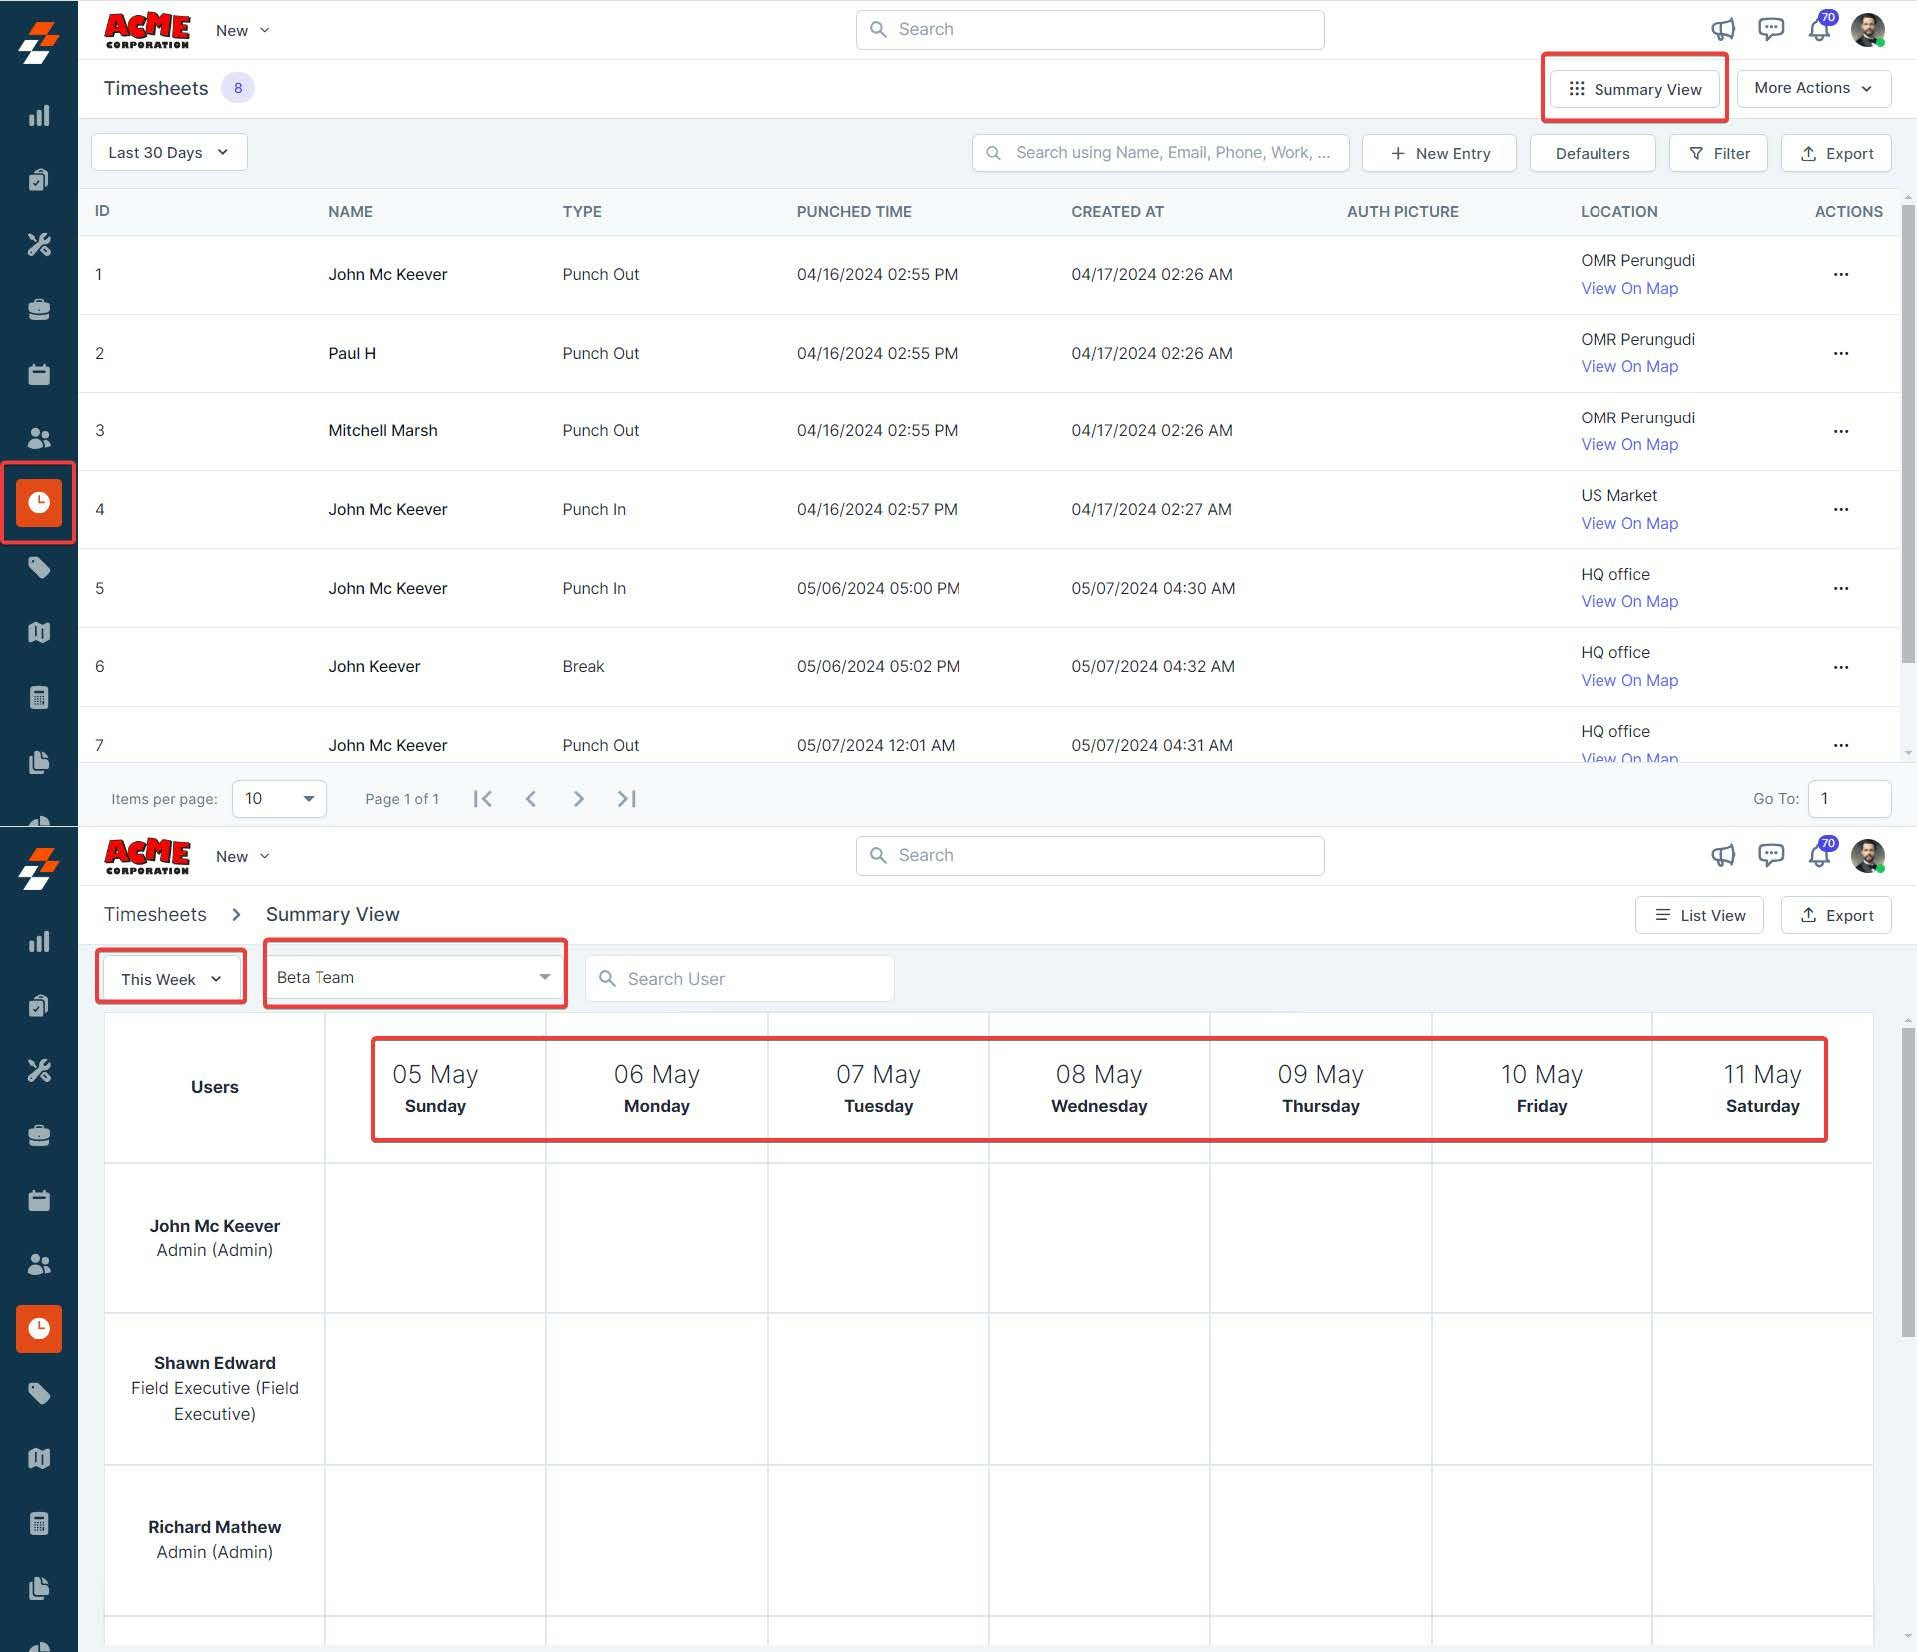
Summary View
Gives you a high-level overview:
-
Team performance
-
Hours worked over multiple days
-
Quick comparisons across users
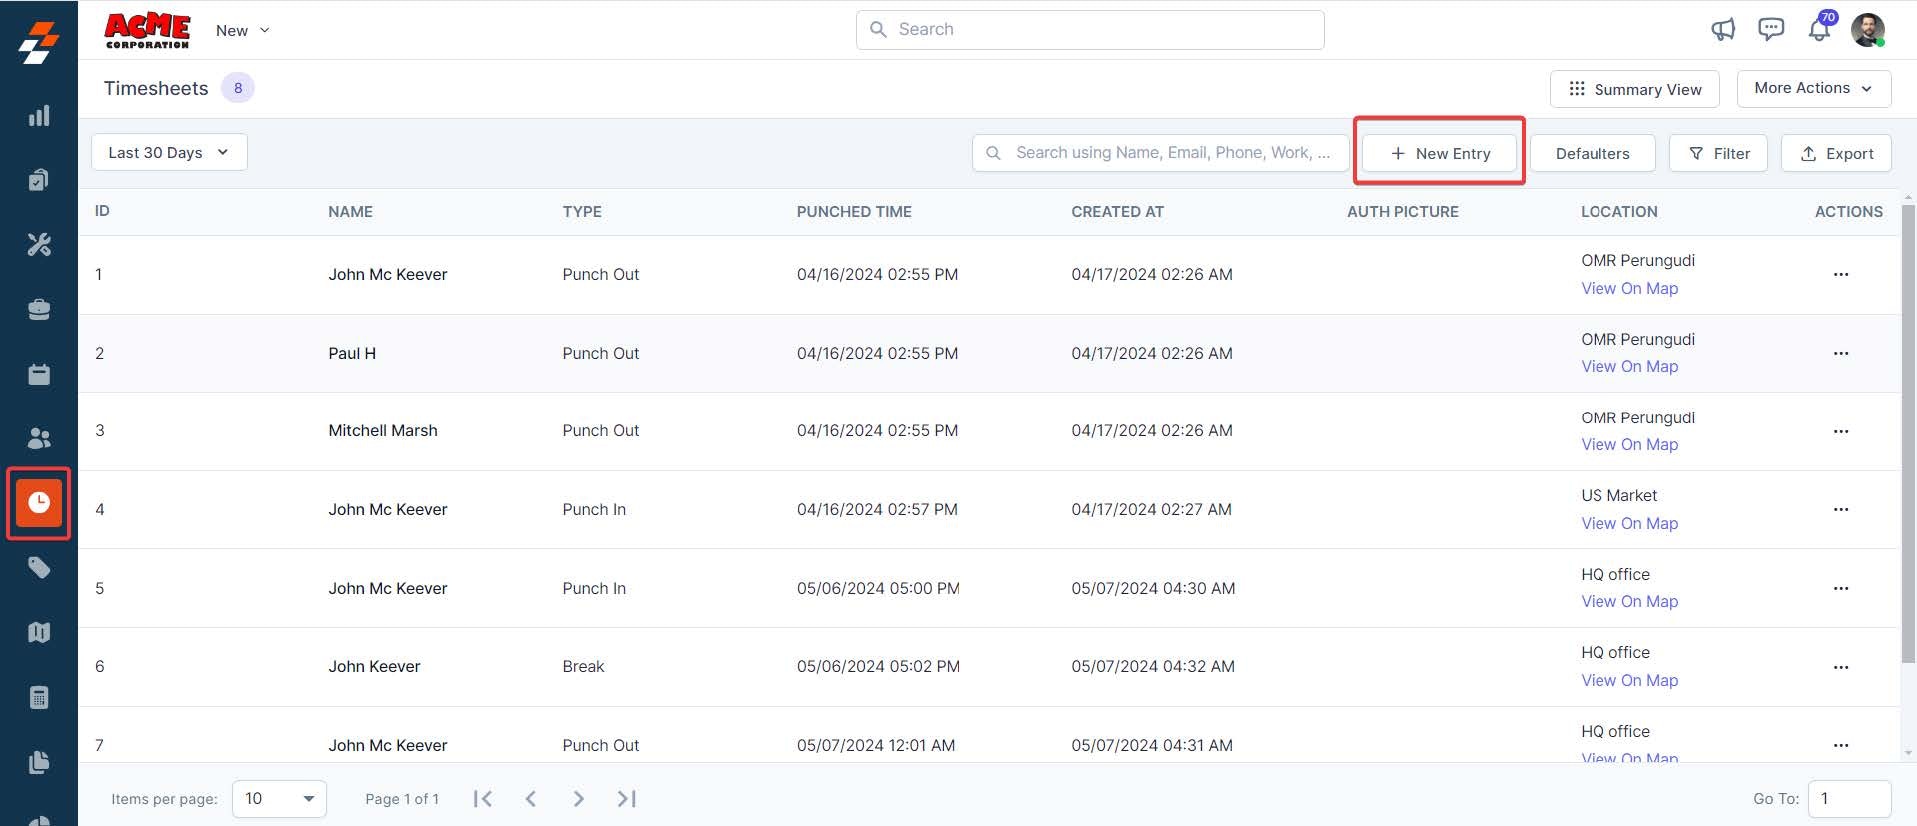
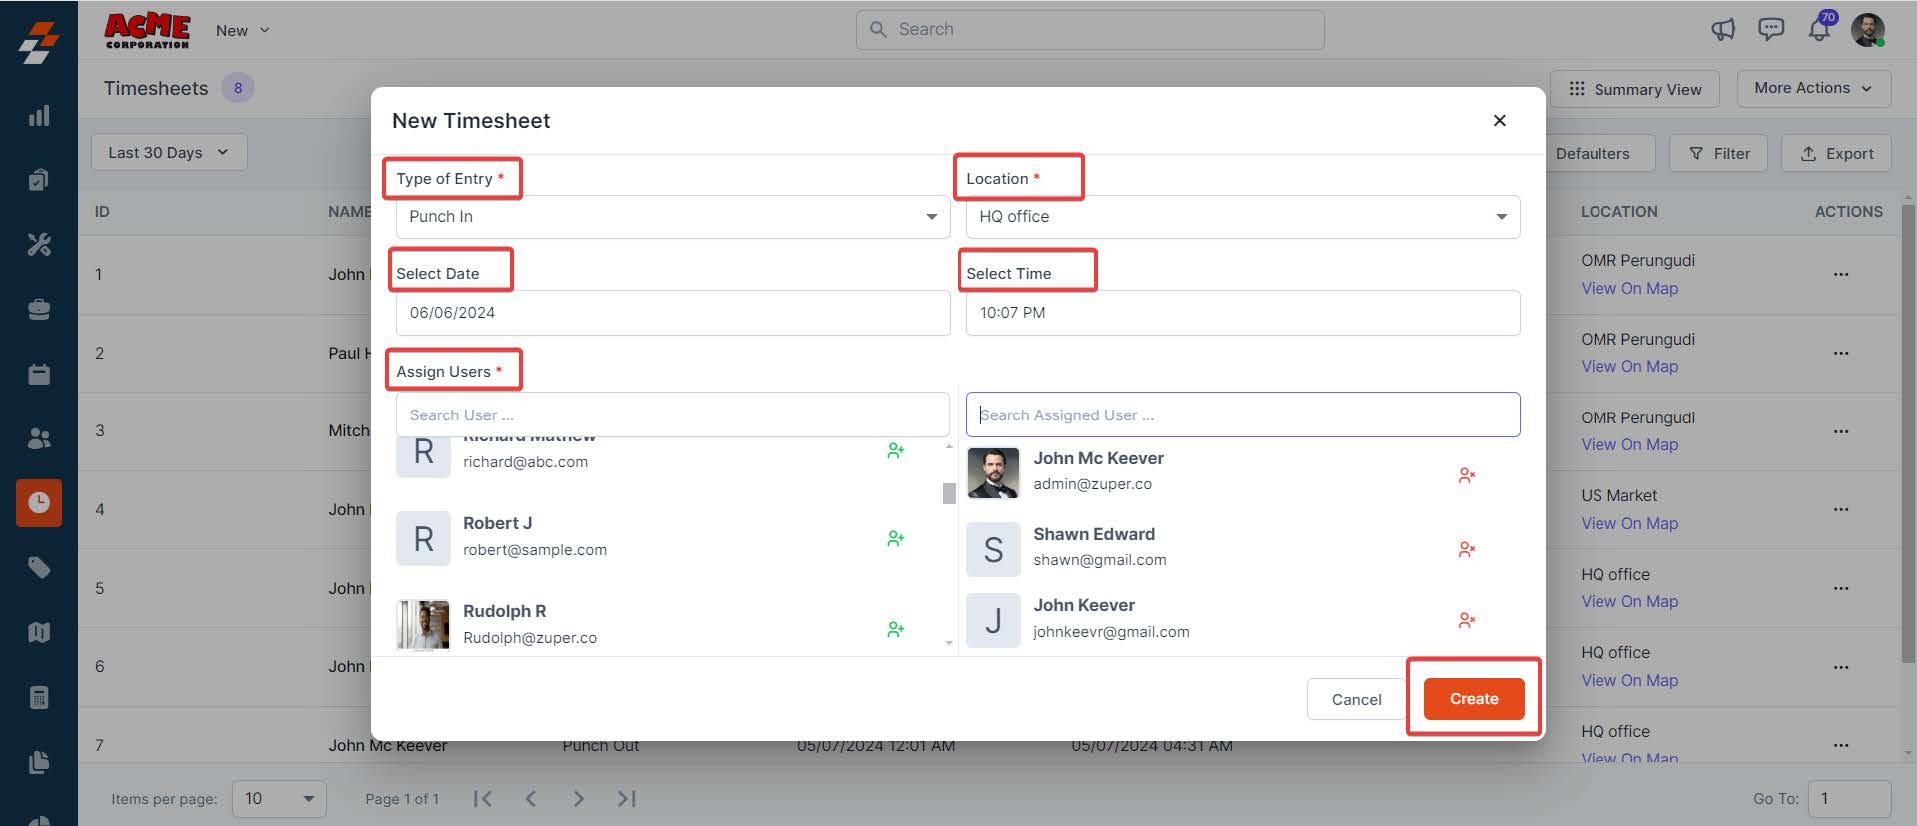
Creating a Manual Time Entry (Admin)
If a technician forgets to clock in/out, you can add it manually.
Steps:
-
Go to Timesheets
-
Click + New Entry
-
Fill in:
-
Entry Type (Required)
-
Punch In
-
Break
-
Resume Work
-
Punch Out
-
-
Location (Required)
-
Date & Time
-
Assign User (Required)
-
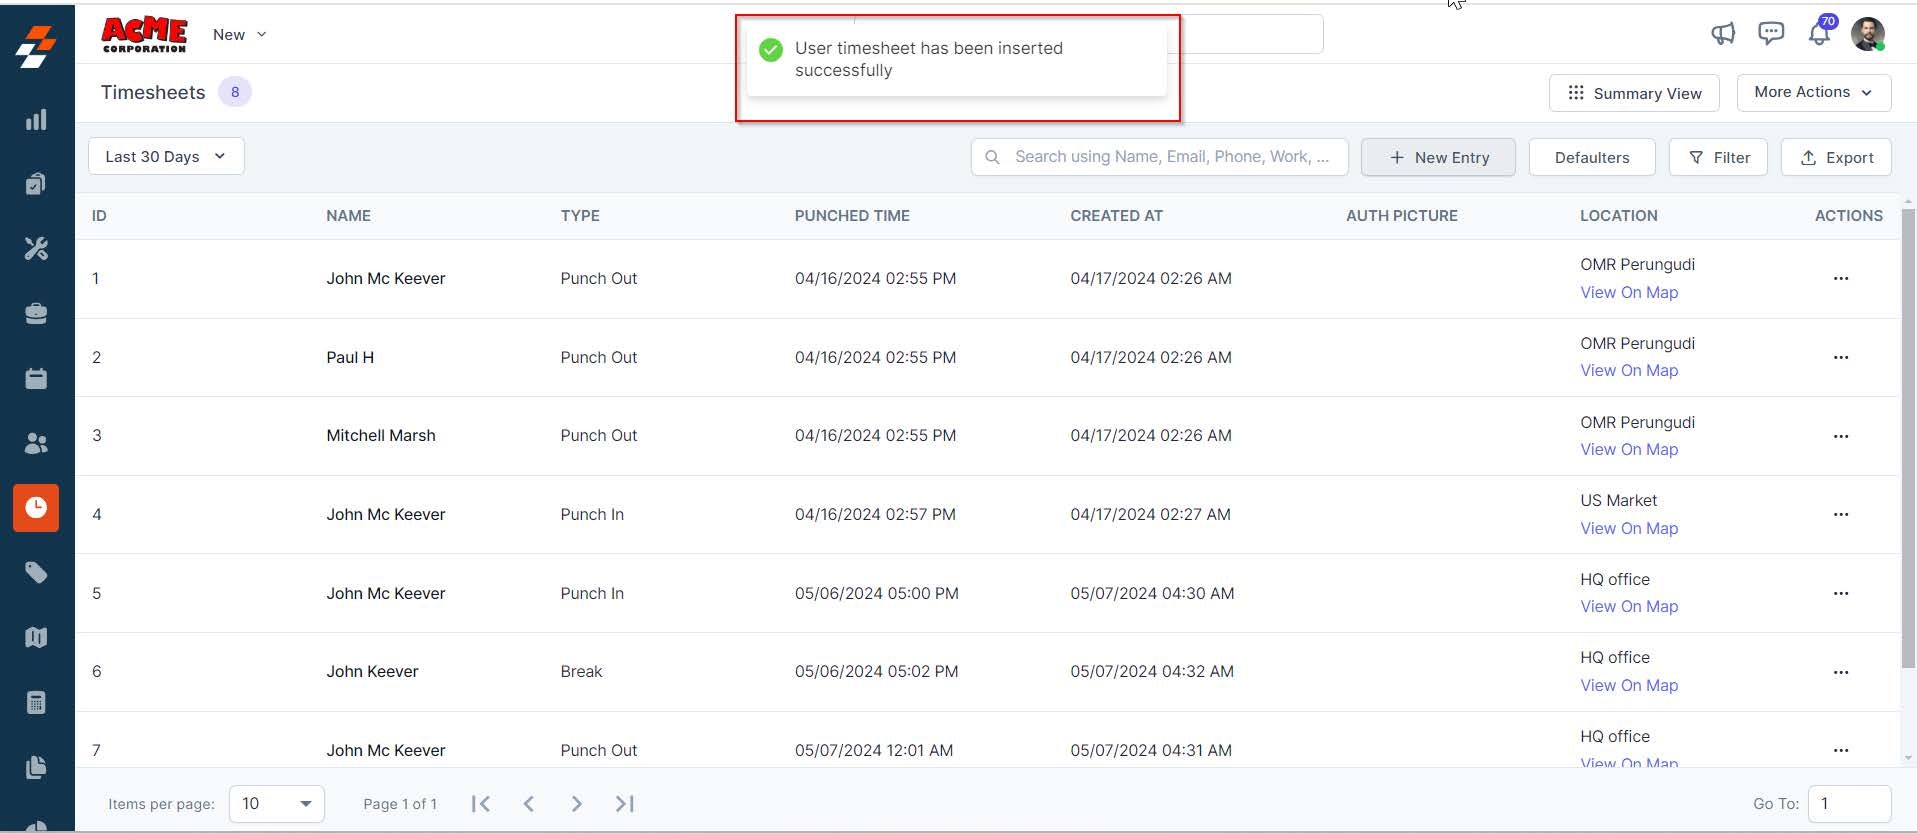
Click Create
Editing or Deleting Entries
-
Click the menu (ellipsis) next to an entry
-
Choose:
-
View Details
-
Edit
-
Delete
-
⚠️ Note:
Only time and date can typically be edited after creation.
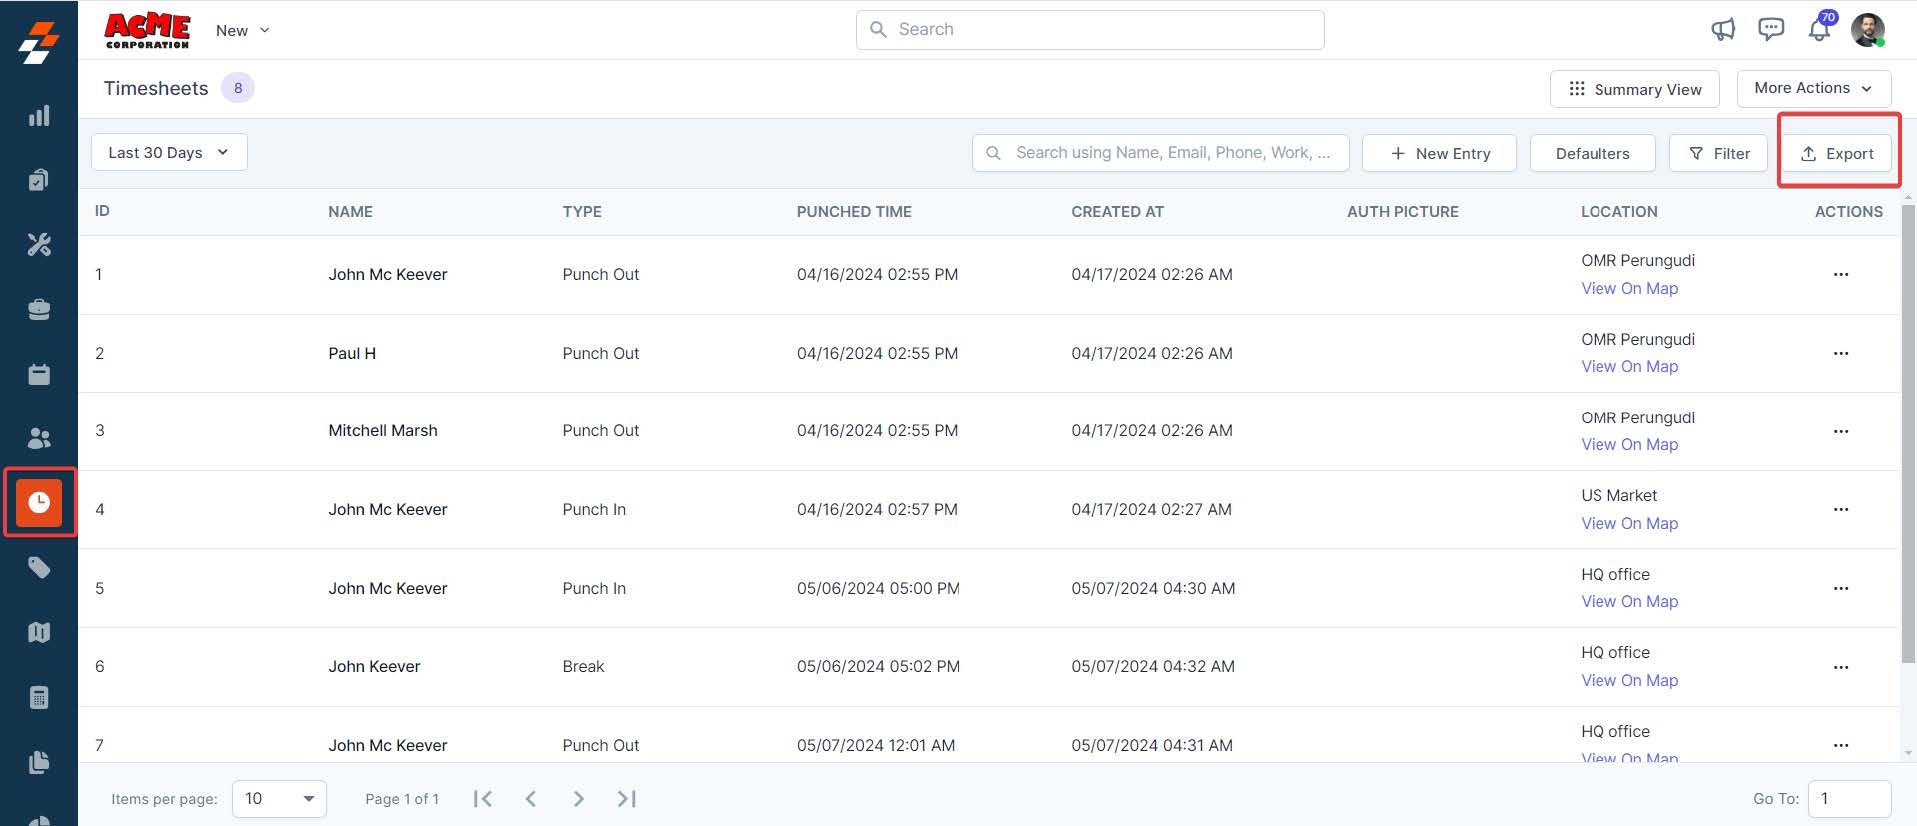
Exporting Timesheet Reports
You can export timesheet data for payroll or reporting.
Steps:
-
Click Export
-
Select:
-
Date range
-
Filters (team, type, location)
-
-
Click Generate Report
-
Download as Excel
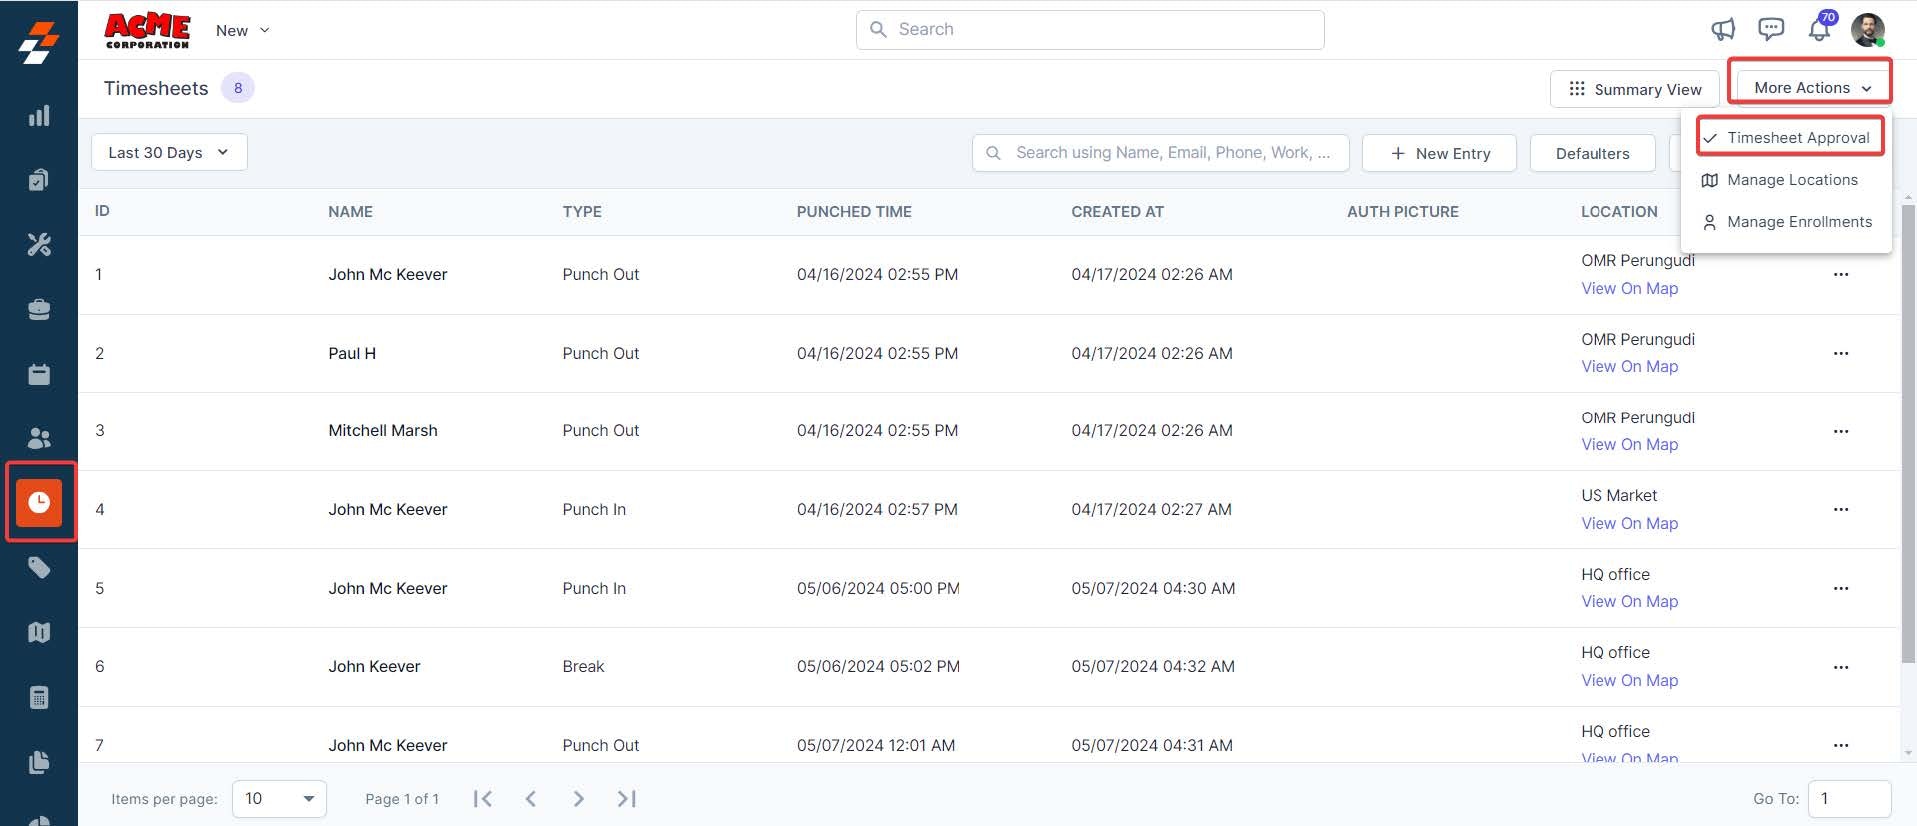
Timesheet Approvals
You can review and approve technician timesheets.
What You Can Do:
-
View submitted timesheets
-
Review total hours, breaks, overtime
-
Approve or reject entries
Creating an Approval Request
-
Go to More Actions → Timesheet Approval
-
Click + New Approval
-
Select:
-
Date range
-
Team
-
User
-
-
Submit for review

Using Filters & Pinned Filters
Filters help you quickly find what you need.
You can filter by:
-
User
-
Team
-
Entry type
-
Date
Pin Filters
-
Save up to 3 commonly used filters
-
Apply them instantly
💡 Example:
Create a pinned filter for “Today’s Activity” or “Missing Punch Outs”
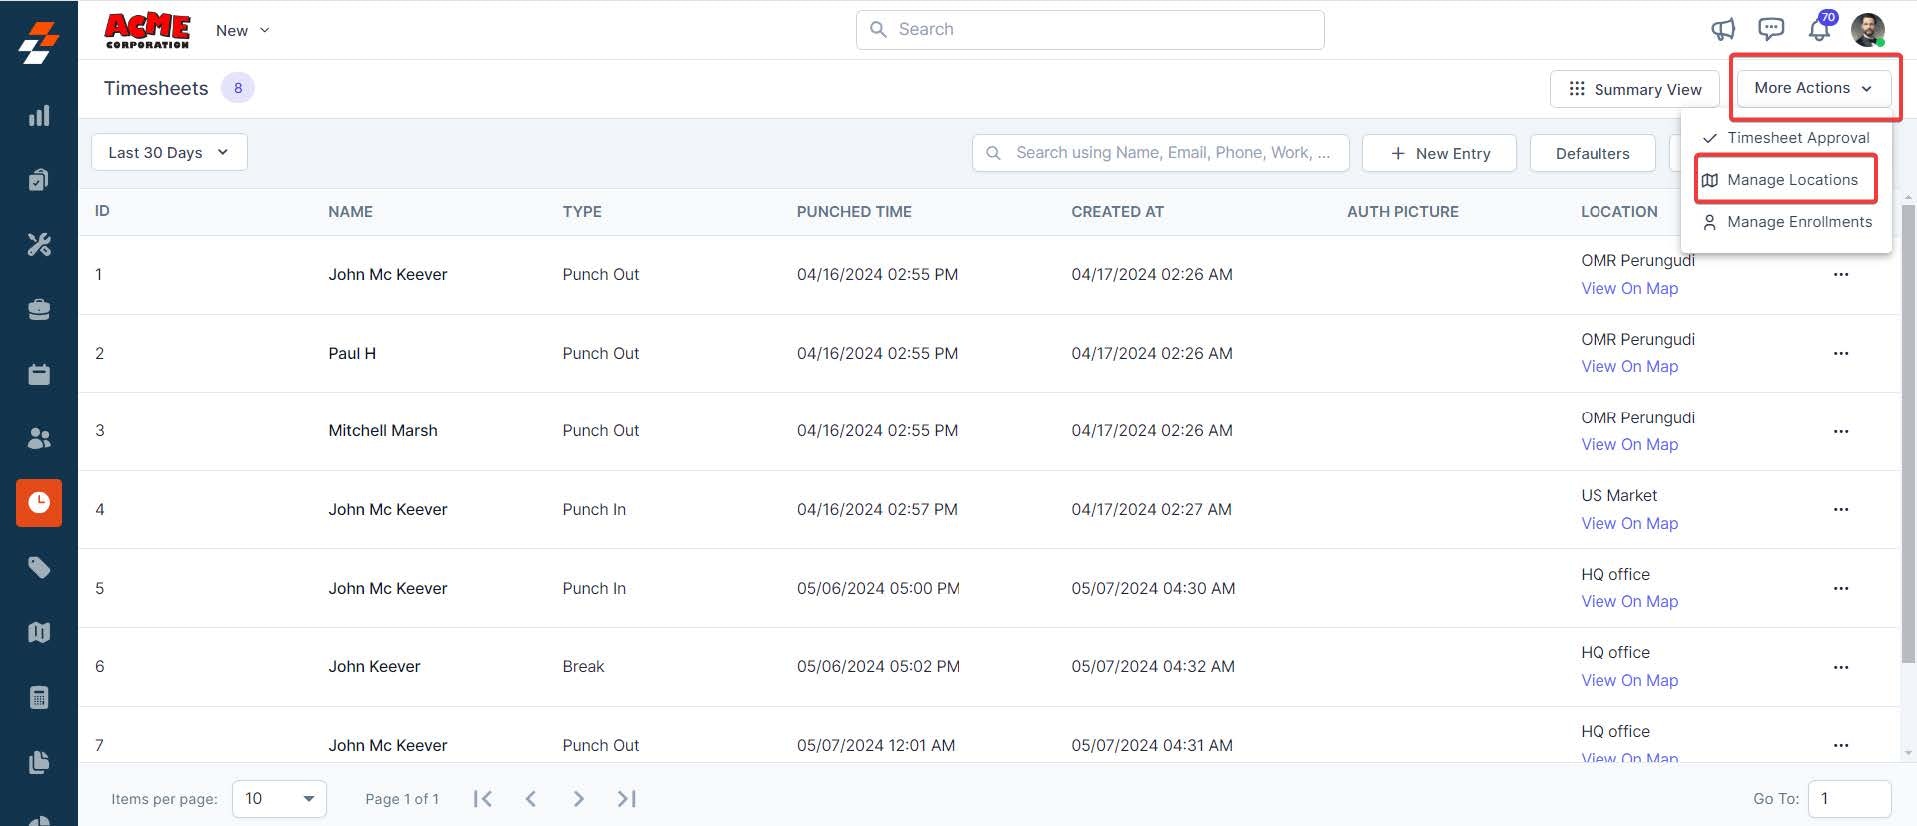
Managing Locations
Locations define where technicians are allowed to log time.
You Can:
-
Create new locations
-
Set geo-fence radius
-
Edit or delete locations
💡 This helps ensure technicians are clocking in at the correct job site.
Facial Authentication (Optional)
Zuper supports facial authentication for time tracking.
This allows:
-
Secure punch in/out
-
Verification of technician identity
-
Reduced time fraud
Quick Actions
From the timesheet page, you can:
-
Search users
-
Apply filters
-
View defaulters
Viewing Defaulters
Defaulters are technicians who:
-
Missed clock-ins
-
Have incomplete time entries
-
Didn’t submit timesheets
Use this to quickly identify gaps and follow up.
Using Timesheets on Mobile
Your technicians will primarily interact with timesheets in the field.
What Techs Can Do:
-
Punch in / out
-
Start and end breaks
-
Track time automatically through jobs
-
Log activity based on location
- Request time off
How It Works (Mobile)
-
Open the Zuper Mobile App
-
Navigate to the Job or Timesheet section
-
Tap:
-
Punch In
-
Start Break
-
Resume Work
-
Punch Out
-
💡 Best Practice:
Have technicians punch in when they arrive on-site and punch out when they leave. This keeps labor tracking accurate and improves job costing.
Summary
Timesheets give you visibility and control over your workforce.
When used correctly, they:
-
Improve accountability
-
Reduce payroll errors
-
Help you understand job profitability
-
Keep your operations running smoothly
Pro Tips
-
Review timesheets daily or weekly
-
Monitor defaulters regularly
-
Use location tracking for accuracy
-
Train techs to log time in real-time
What’s Next?
👉 Learn how to manage shifts, time off, and job-based time tracking for even better workforce control.