Customize Dispatch Board Colors and Icons
This guide offers a comprehensive walkthrough for customizing the Dispatch Board's display, colors, and icons enhancing user experience and efficiency. By following the steps, users can tailor the interface to better suit their workflow, making it easier to manage jobs and routes. The ability to add attributes and set filters allows for a more organized and visually appealing dispatching process. Viewing this guide will empower users to optimize their dispatching tasks effectively.
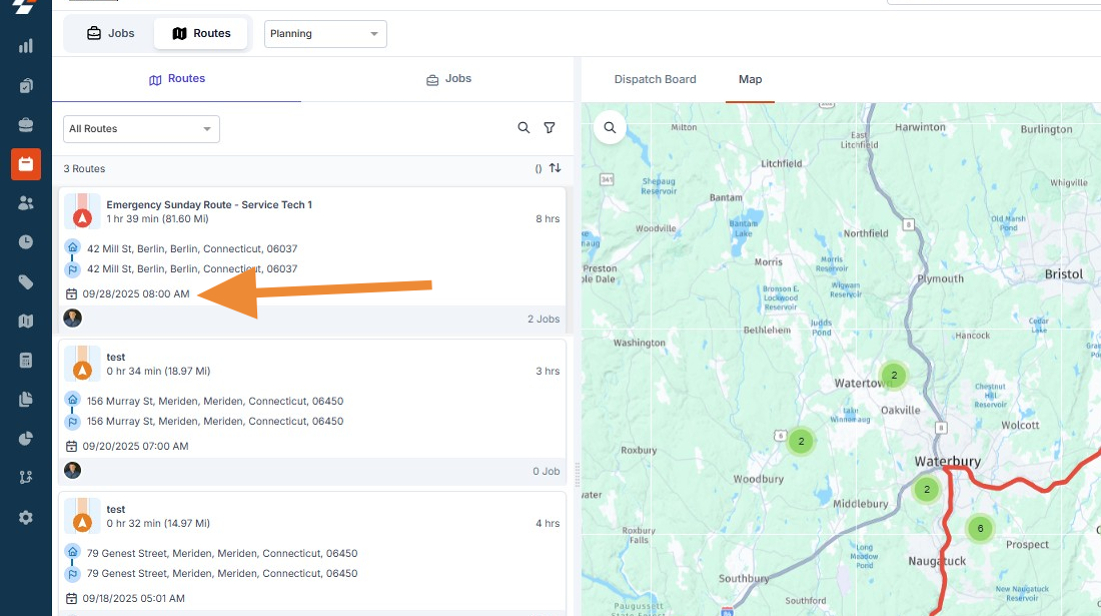
1. To Navigate to the Dispatch Board - Click the Calendar Icon and "Dispatch Board"

2. Click "Routes"
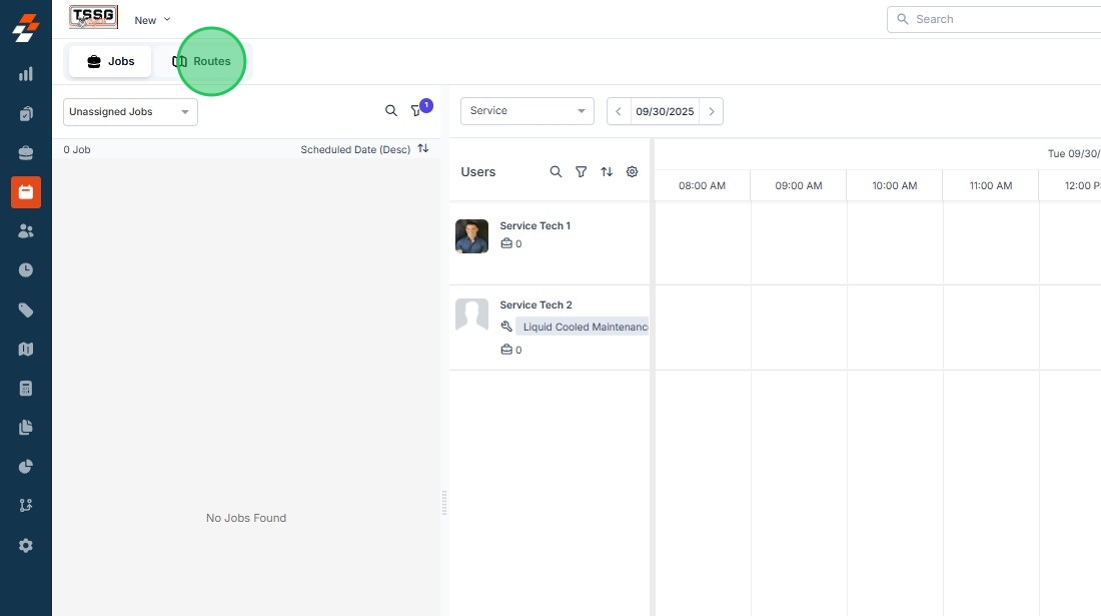
3. Click "Jobs"

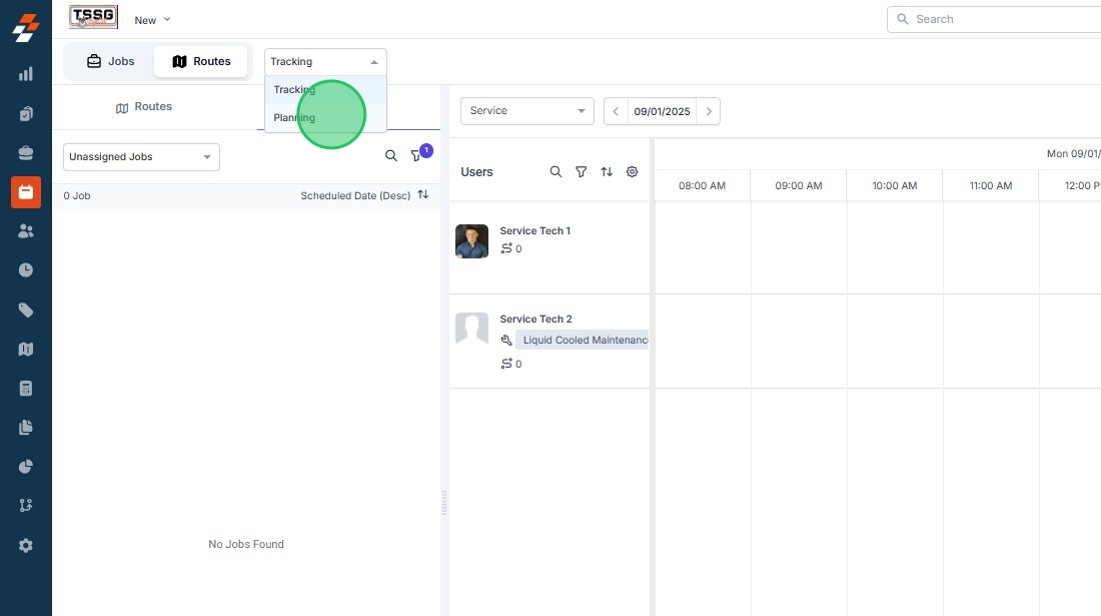
4. Click "Planning"
5. Click "Map"

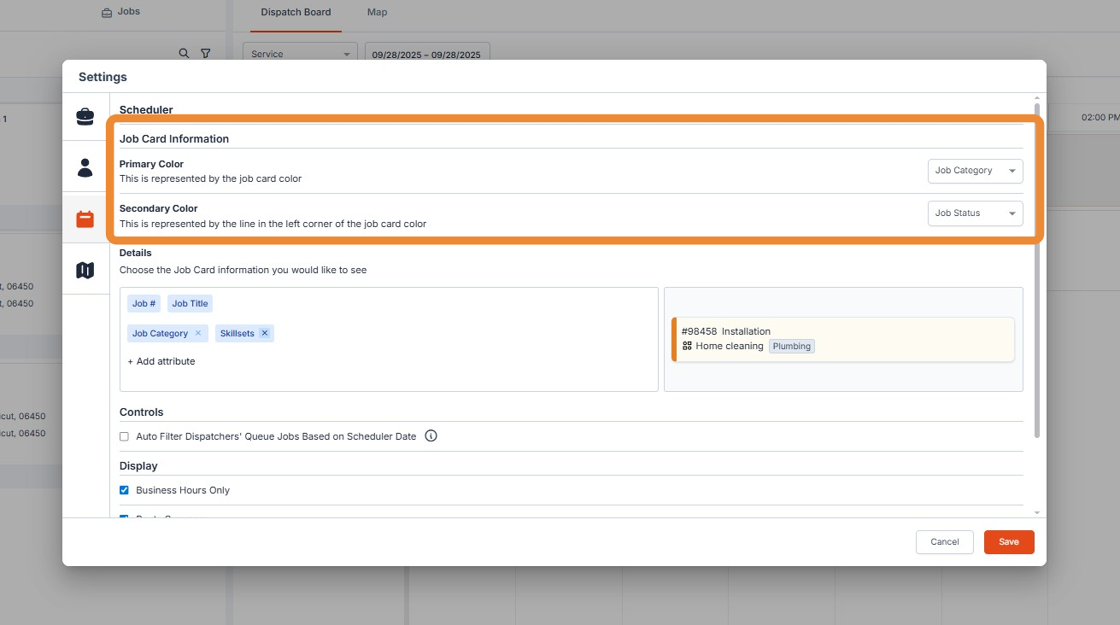
6. Click the gear in the upper right to open the settings.
Tip: The settings is broken up into 4 sections. Each one controls a different portion of the screen
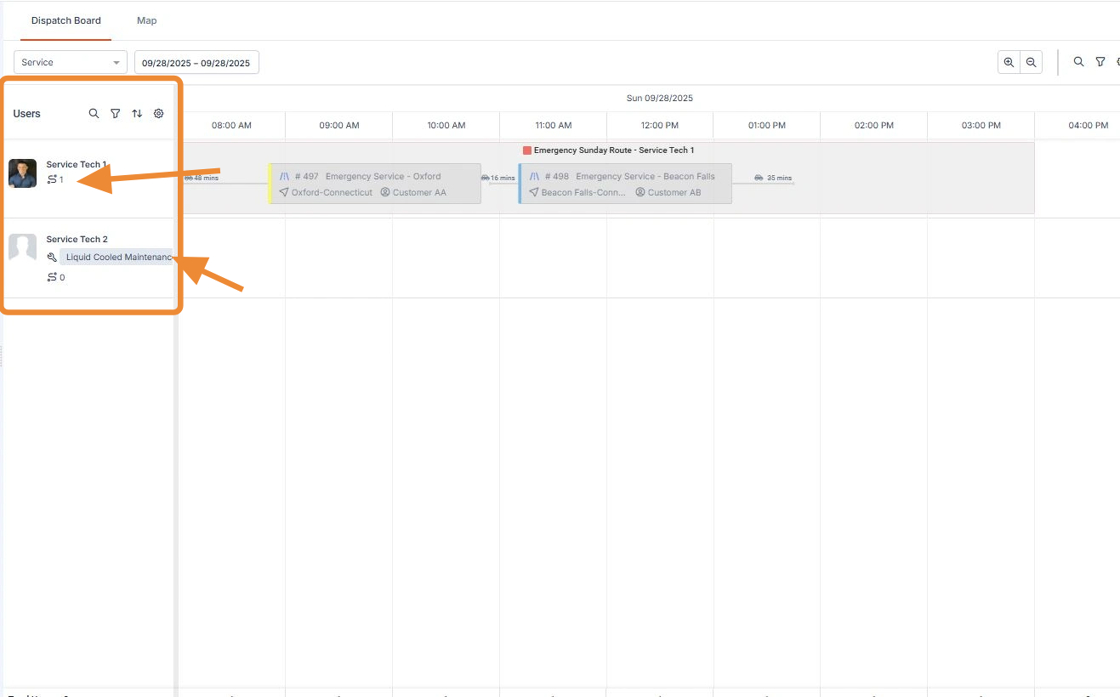
1 - Dispatchers Queue
2 - Users
3 - Scheduler
4 - Map
Dispatchers Queue
Tip: Picture of the Dispatchers Queue
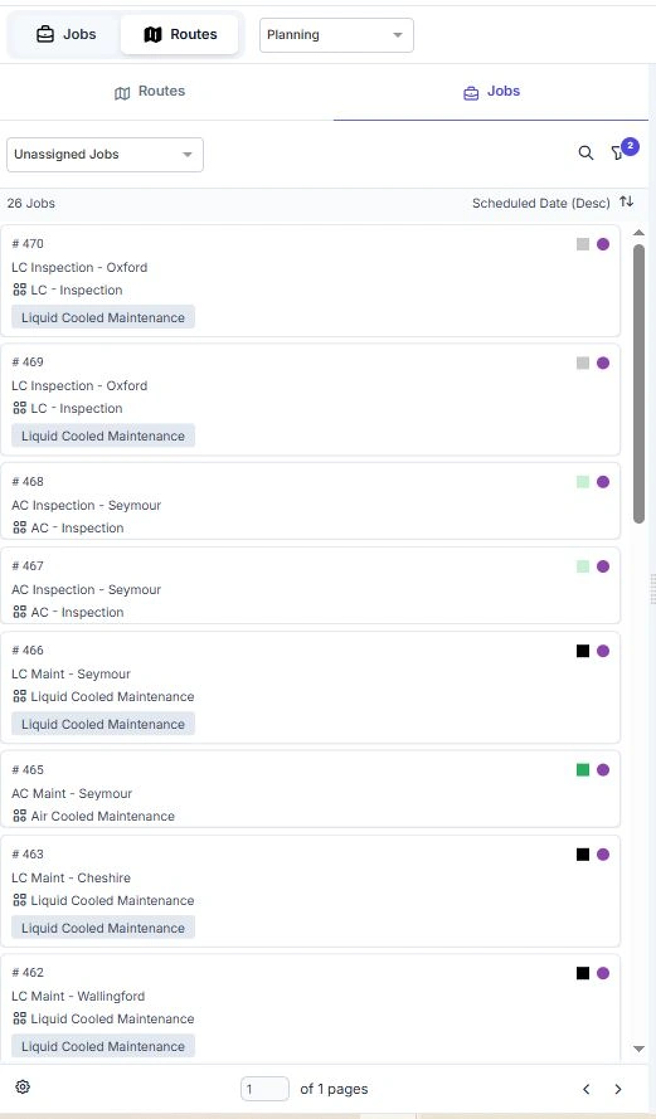
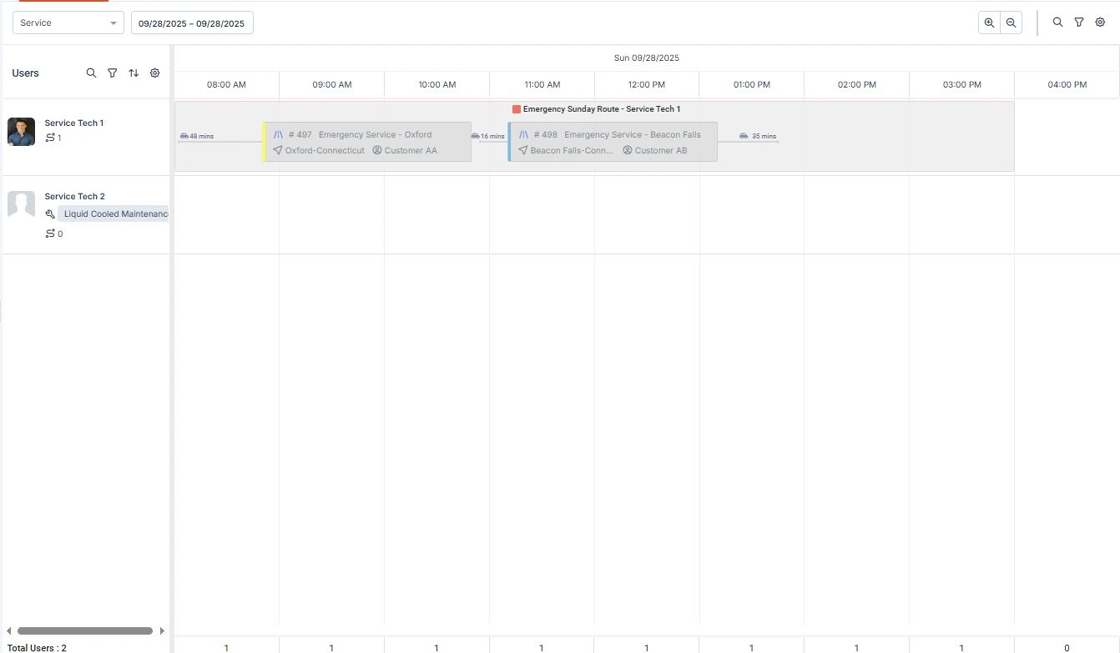
7. The dispatchers queue is everything shown on the left hand side of the screen. The Jobs list and the Routes List.
The first two options are Primary and Secondary Color - These control the color shown next to each job in the Dispatchers Queue.

8. Job Category and Job Status are the preferred settings but Team can also be selected.

9. The next setting is Jobs per page. I always prefer 100 over the default of 10. Lets show as many jobs as we can in this queue.

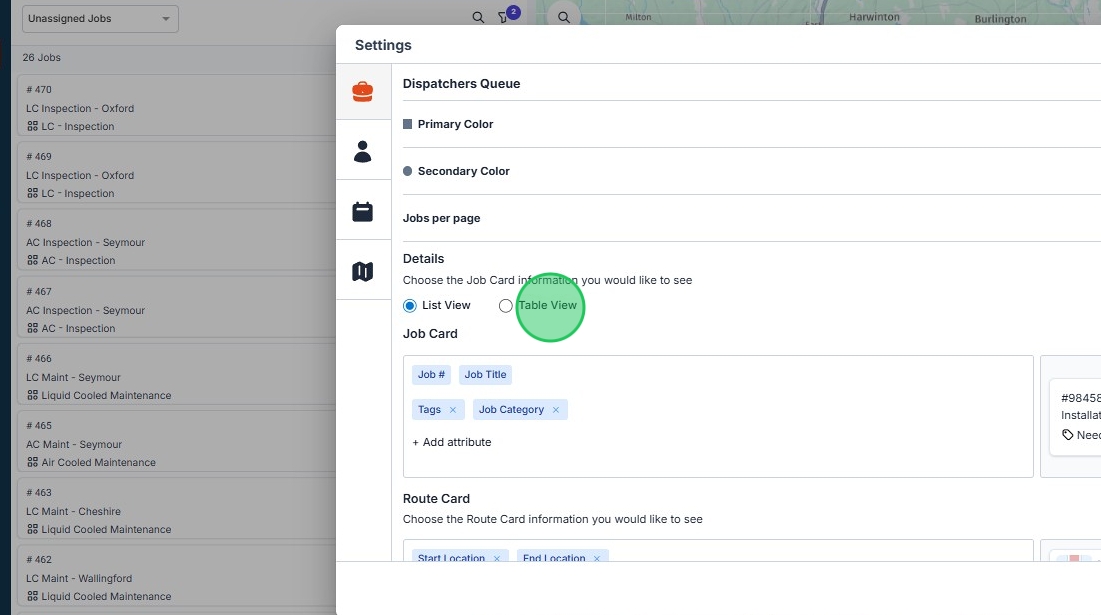
10. List View vs Table View
It really comes down to preference on how you want the data displayed.
List view is currently shown below.

11. Click "Table View" to change to Table View
12. Table View is now displayed below.

13. Table View has an option to show on the left or bottom of the screen.

14. Below is what Bottom position looks like.

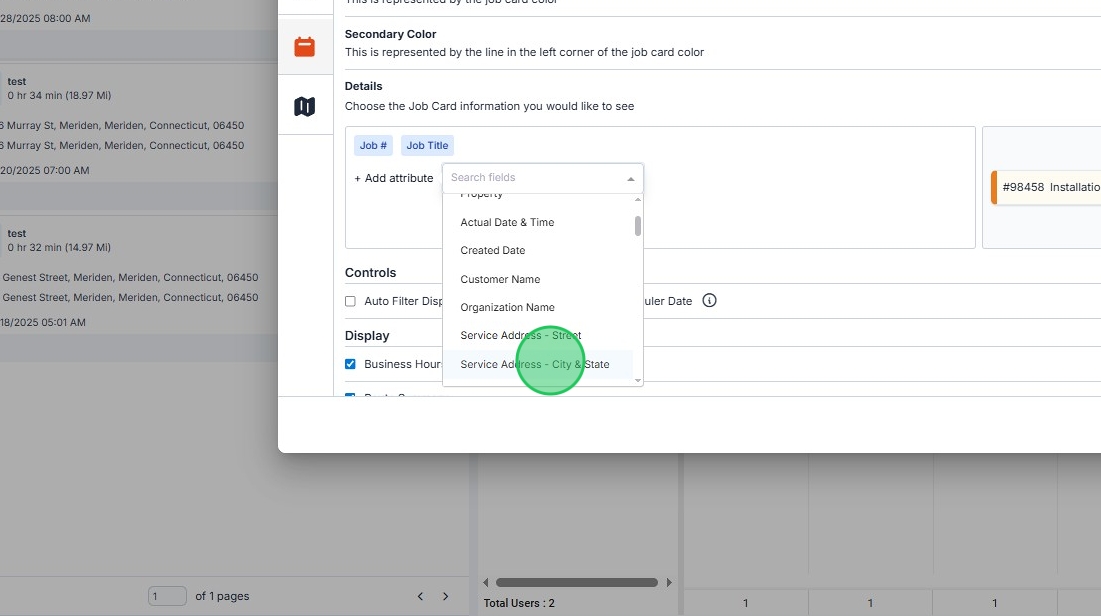
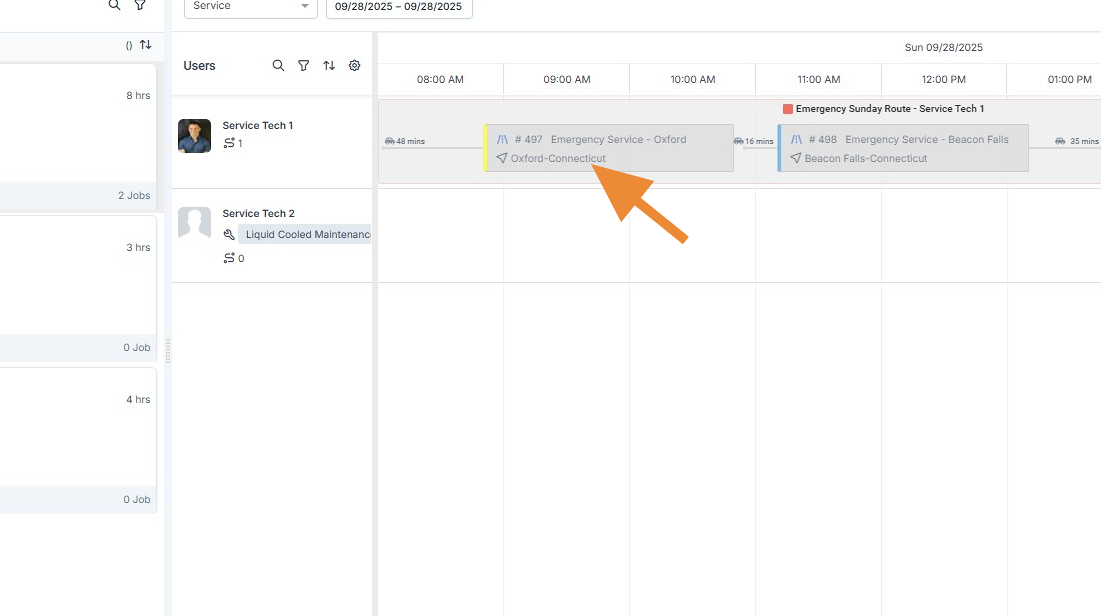
15. The screen also lets you update Job Card and Route Card Properties. Click +Add Attribute to show additional job properties on the dispatch board.

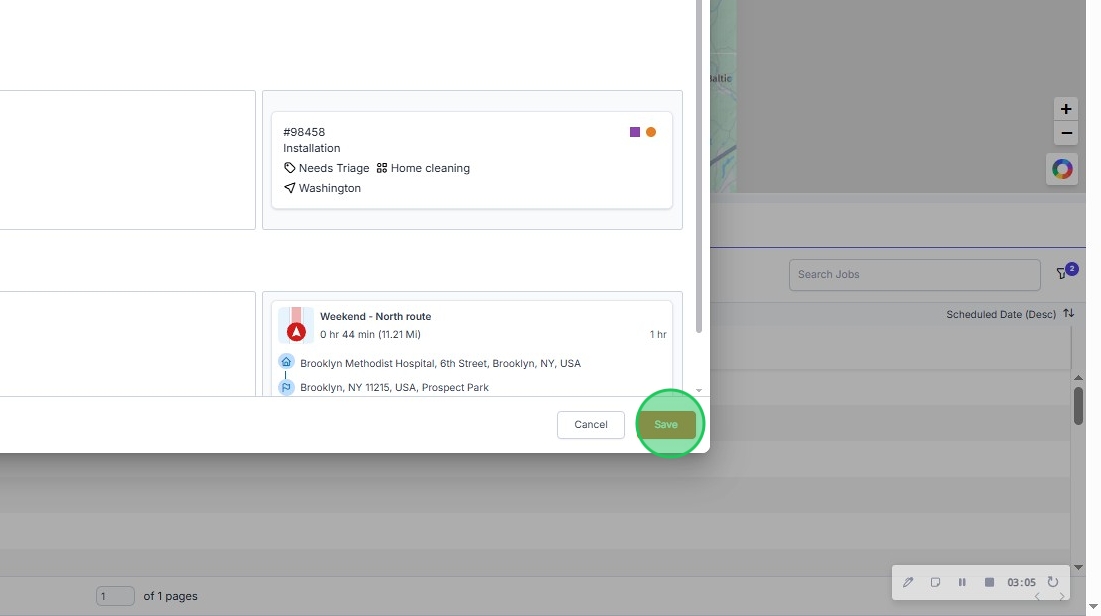
16. Click "Service Address - City & State"

17. Click "Save"
18. Now that we've added City State you'll see the properties shown below.

19. Here we have Job Skillset shown. Job Skillsets can be assigned to each job type to help ensure only properly trained techs are on each job.
20. We can also add properties to Routes by the same action. Click "+ Add attribute"

21. Here we're adding Departure Information.
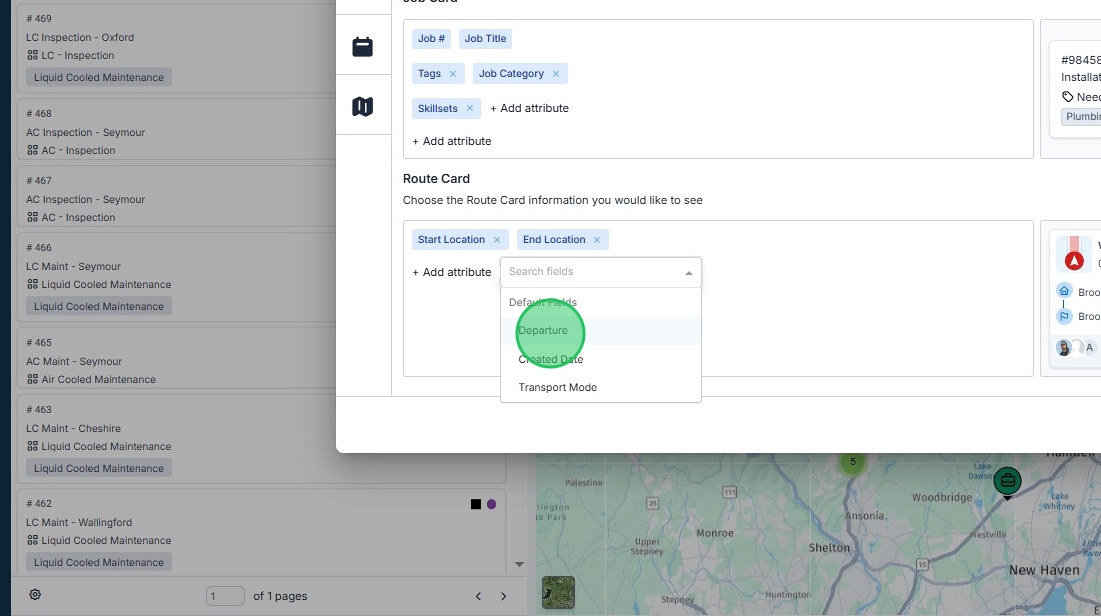
22. In the Routes tab you'll see Departure Date and Time.
Users Settings
23. The Users settings control User information presented on the Dispatch Board.
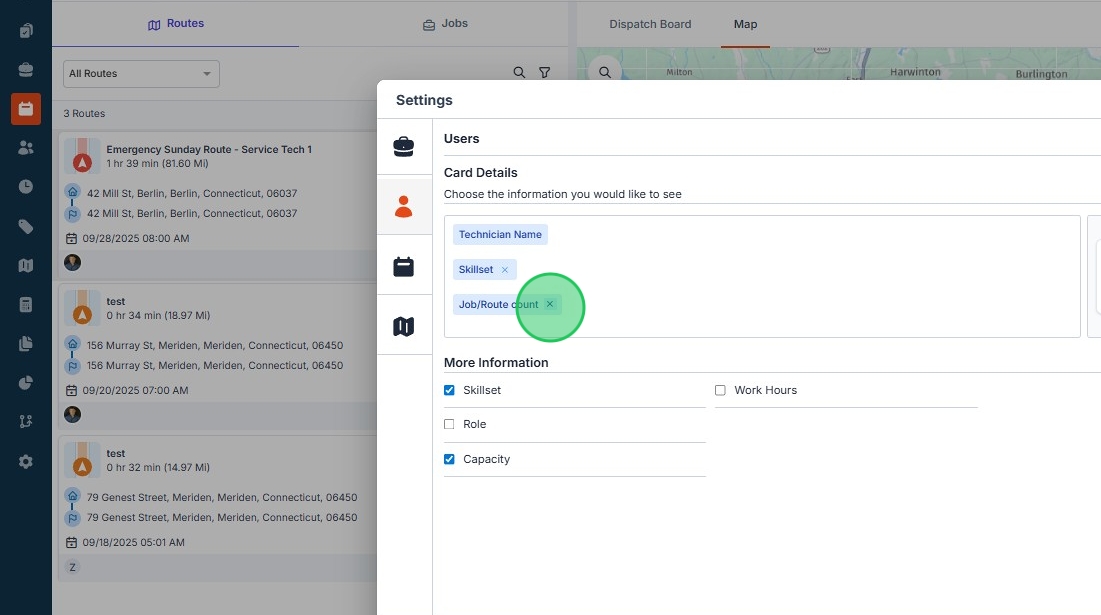
Tip: This is the Users Section
Scheduler Settings
Tip: Scheduler Settings Controls what's shown on the dispatch board.
24. Primary and Secondary Color are the same as the Dispatchers Queue but this updates specifically the jobs on the board.
25. Update properties shown by Clicking "+ Add attribute"

26. This shows us adding "Service Address - City & State"
27. Click "Save"
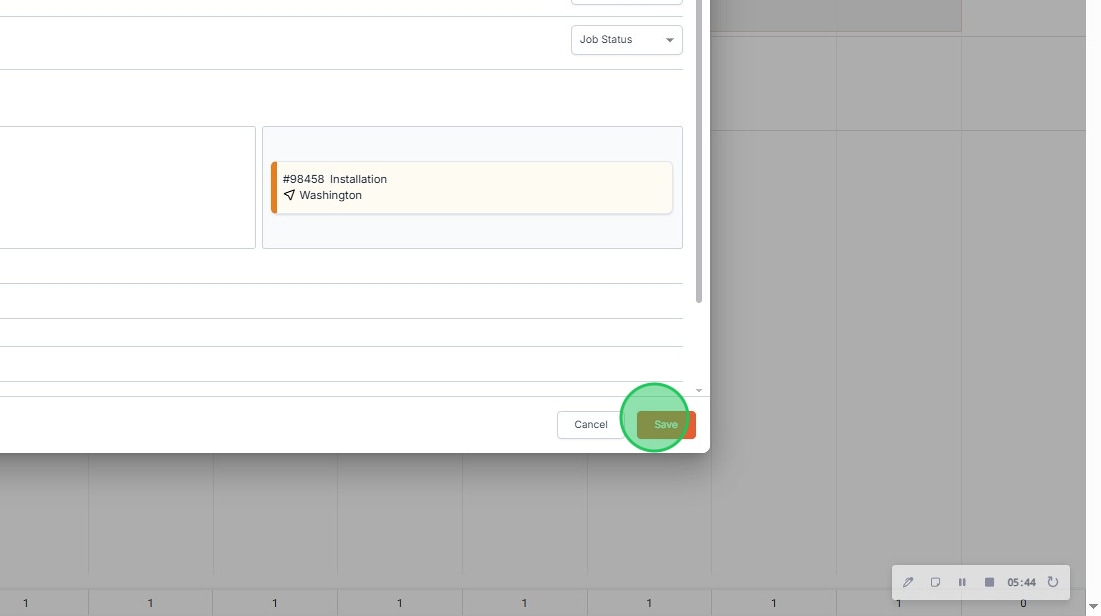
28. Now we're showing City & State on the job card.
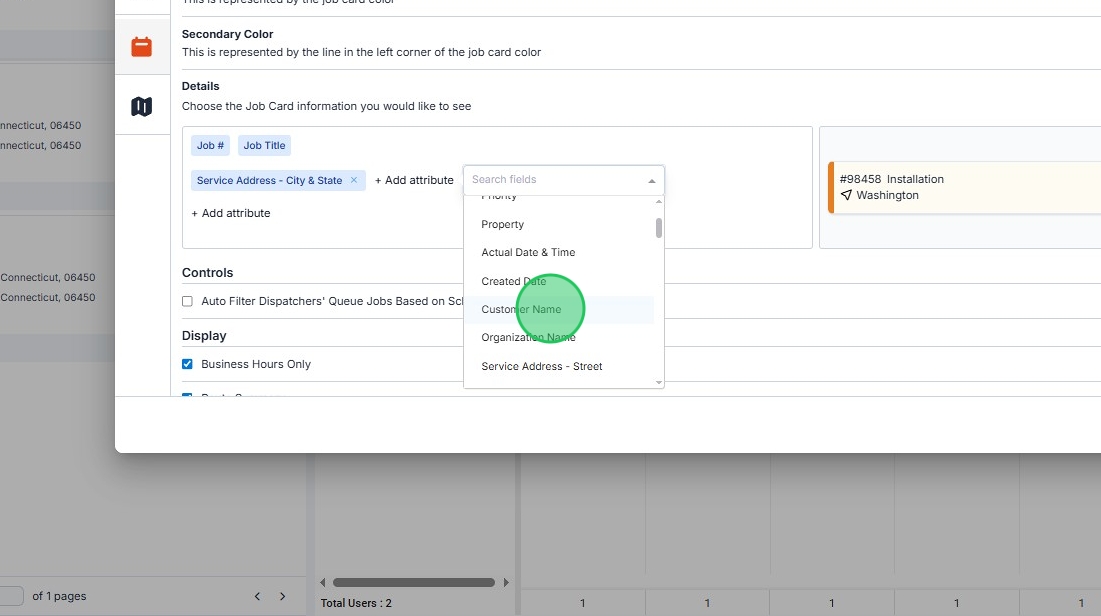
29. Now we're adding "Customer Name"
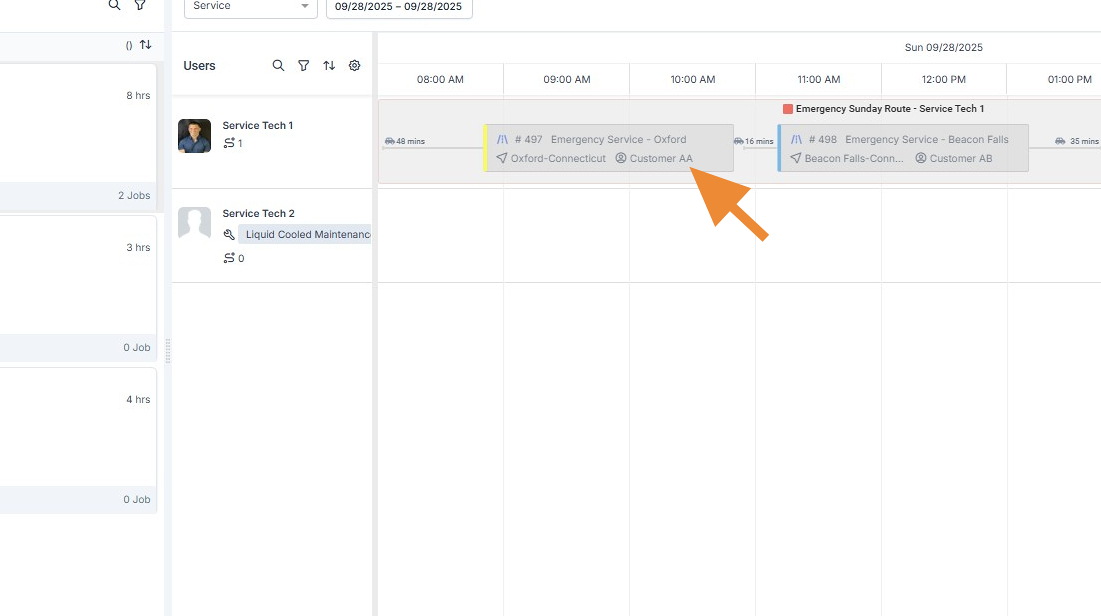
30. And Customer Name is displayed on the job
31. Display contains a few helpful settings
Business Hours Only - Recommended On. This will remove extra space on the calendar for the hours you aren't open.
Route Summary - Recommended On. Shows route summary details on the dispatch board.
Weekends - Toggle on or off based on if you'd like to see Weekend's on the calendar / Dispatch board.
Week Numbers - Simply numbers the weeks of the month.

Map Settings
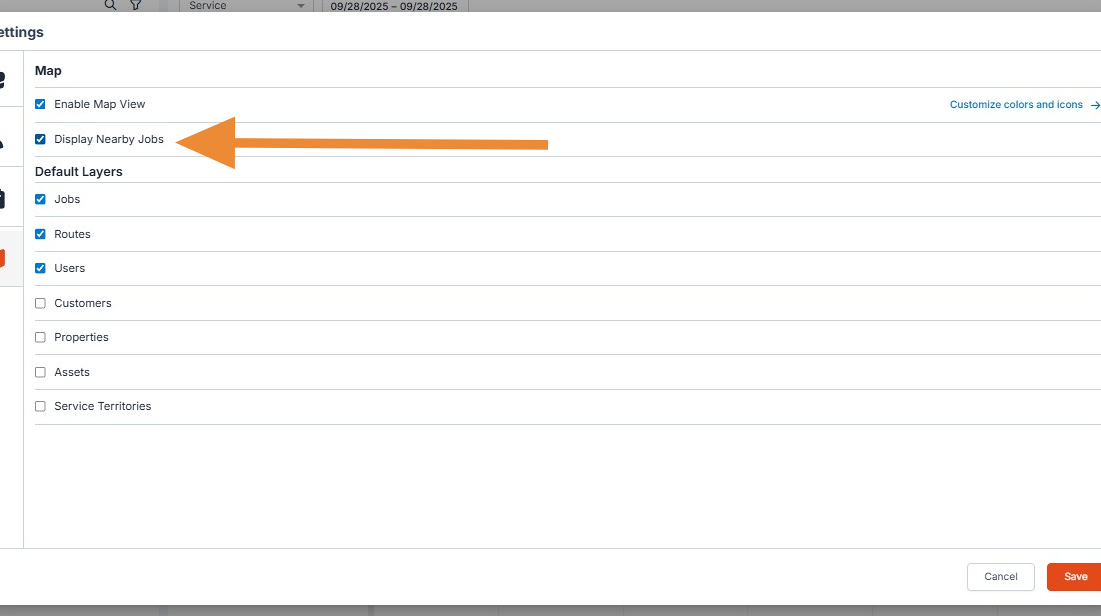
32. Enable Map View - Turn on to show the Map View - Recommended On
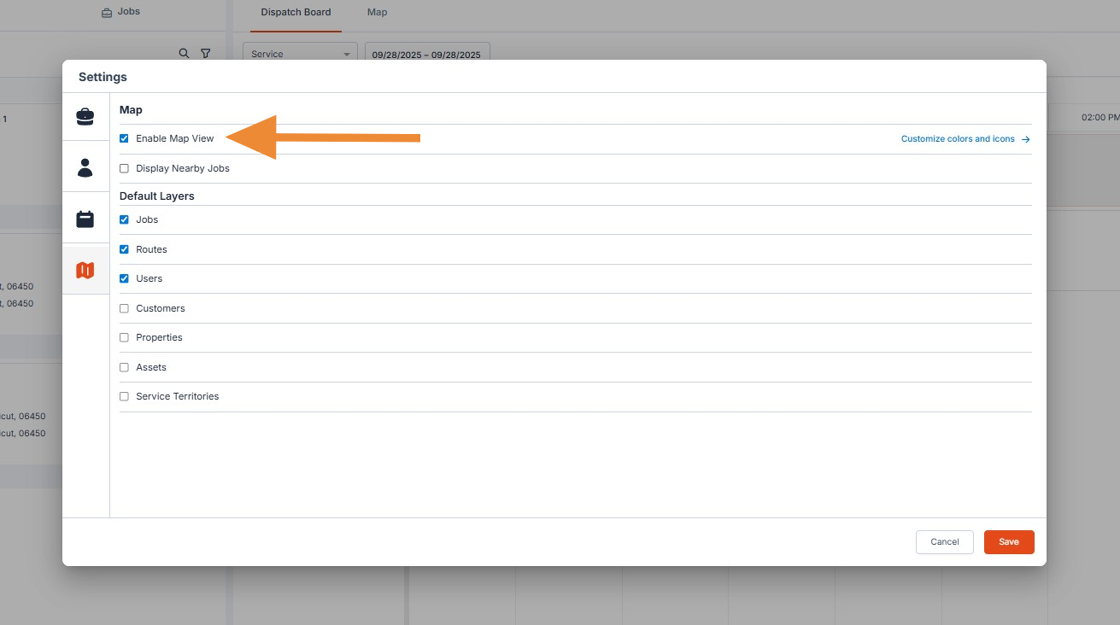
33. Display Nearby Jobs - This setting shows jobs close to the job's your dispatchers queue is filtered to. It's recommended to keep this off since it invalidates the filter's and shows more jobs than the one's we're asking to see.
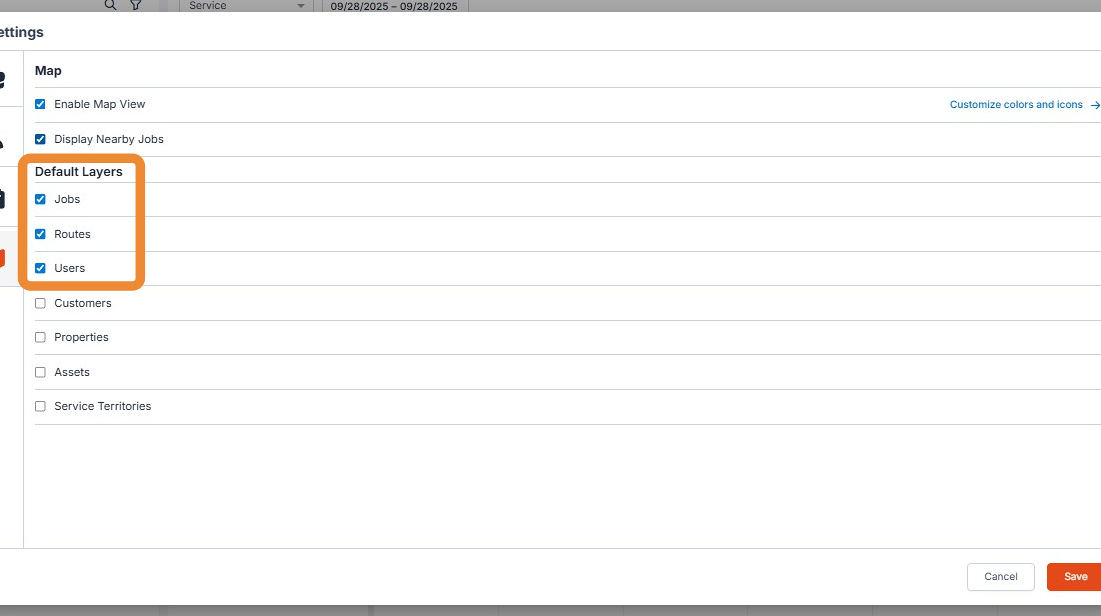
Default Layers
34. We recommend keeping Jobs, Routes, and Users selected for Default Layers. If you take advantage of Service Territories you should also keep those selected.
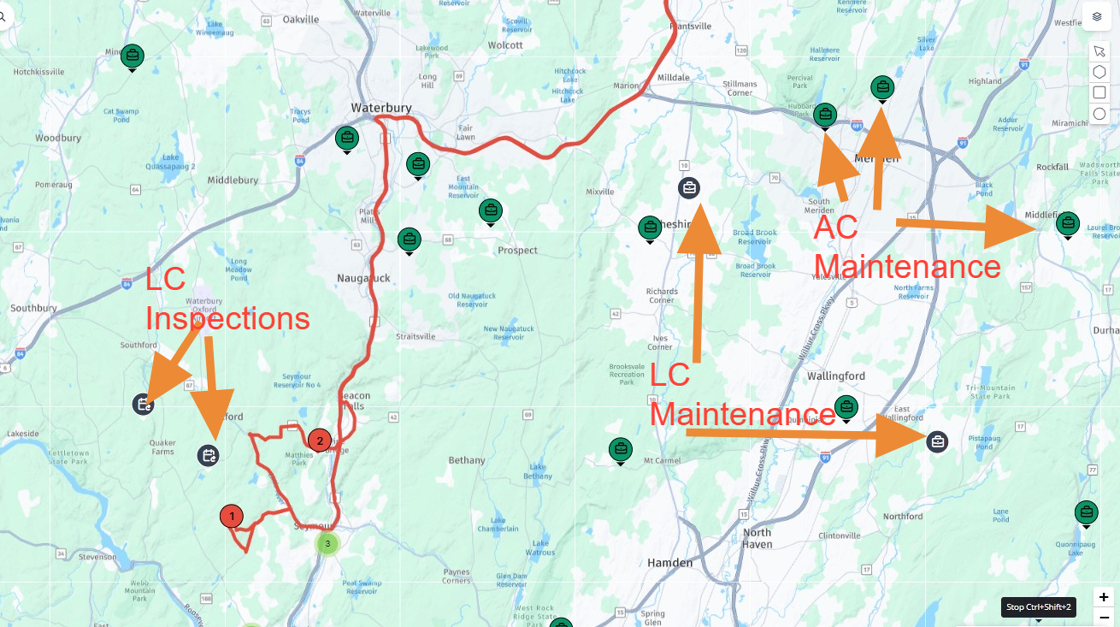
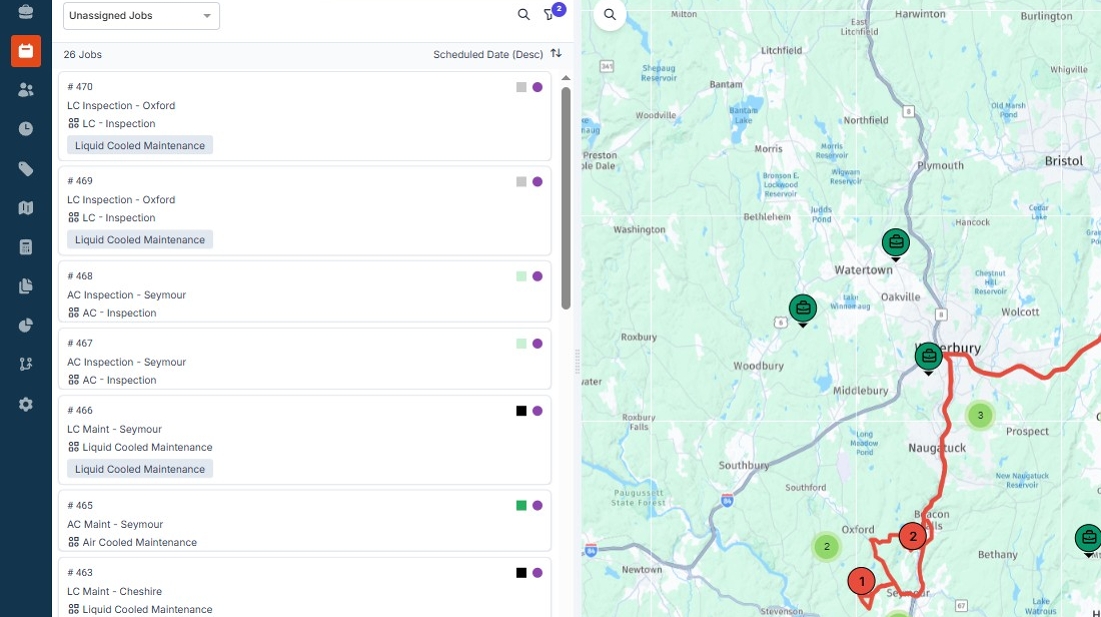
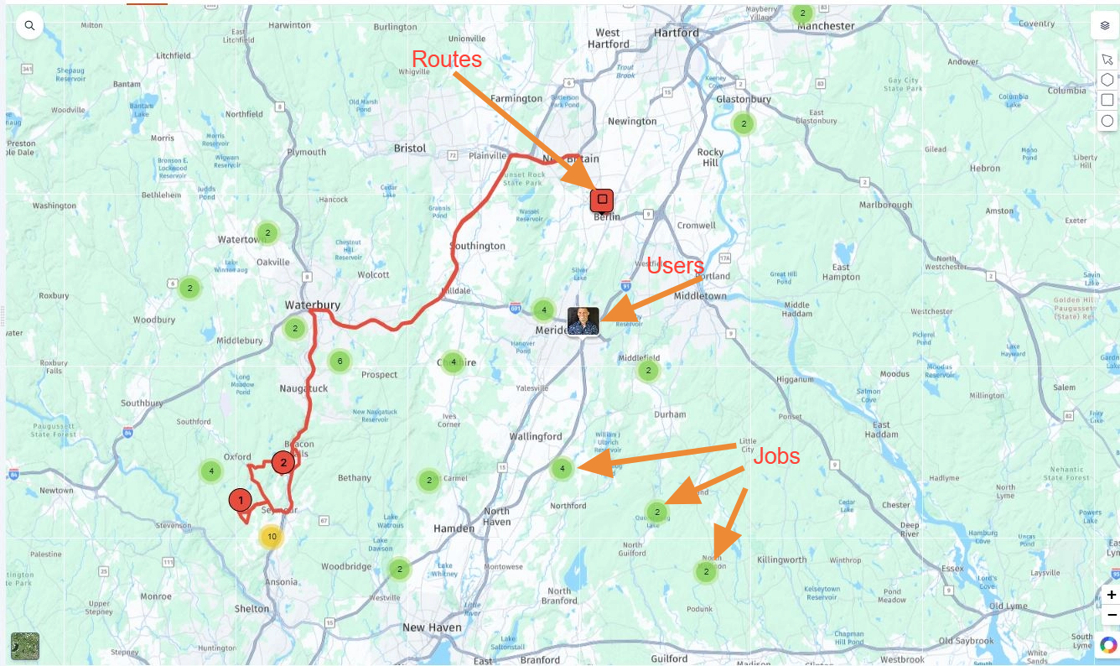
Tip: Here's a screenshot of Users, Jobs and Routes displayed on the map.
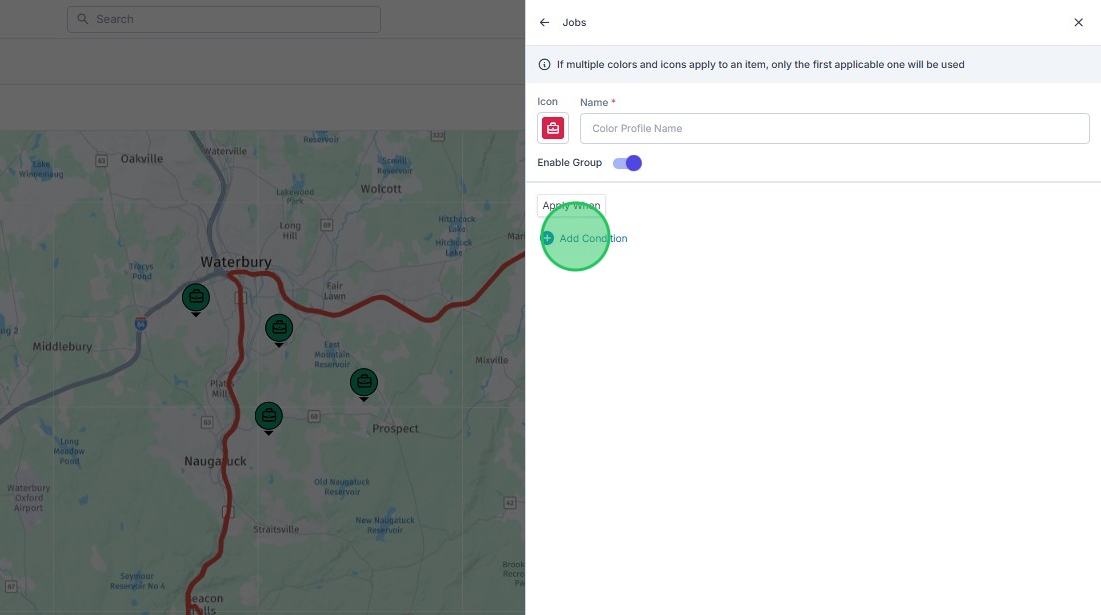
Customize Colors and Icons
Tip: Colors and Icons lets you customize the map screen by updating the Icon displayed for each job. You can customize these icons based on any job properties available.
35. Click "Customize colors and icons"

36. Recommended settings are creating custom Icons and Colors for each job type your business uses.
In the screenshot below you'll see we've created custom icons and colors for Liquid Cooled Maintenance , Liquid Cooled Inspections, Air Cooled Maintenance, and Air Cooled Inspections.
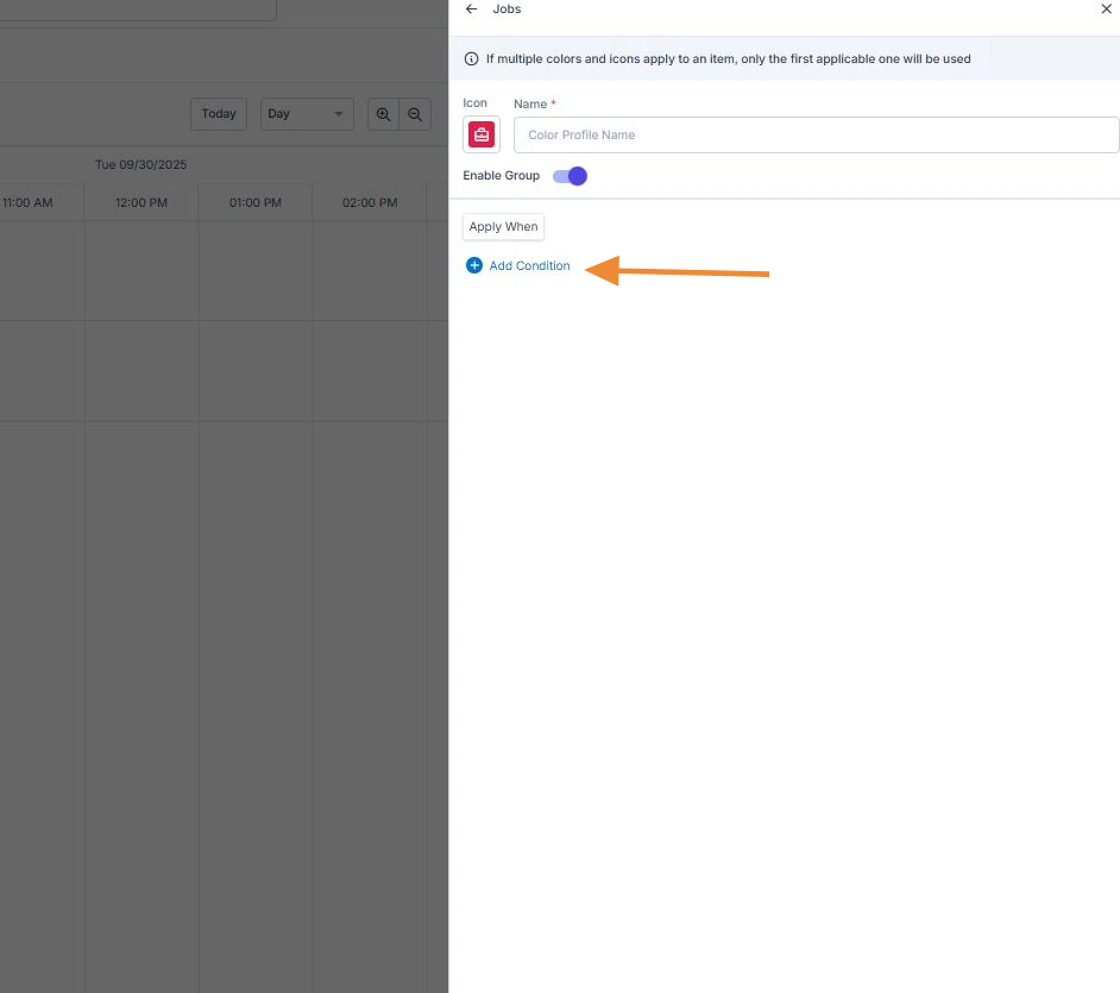
To create your own click +Add next to the Jobs Section.

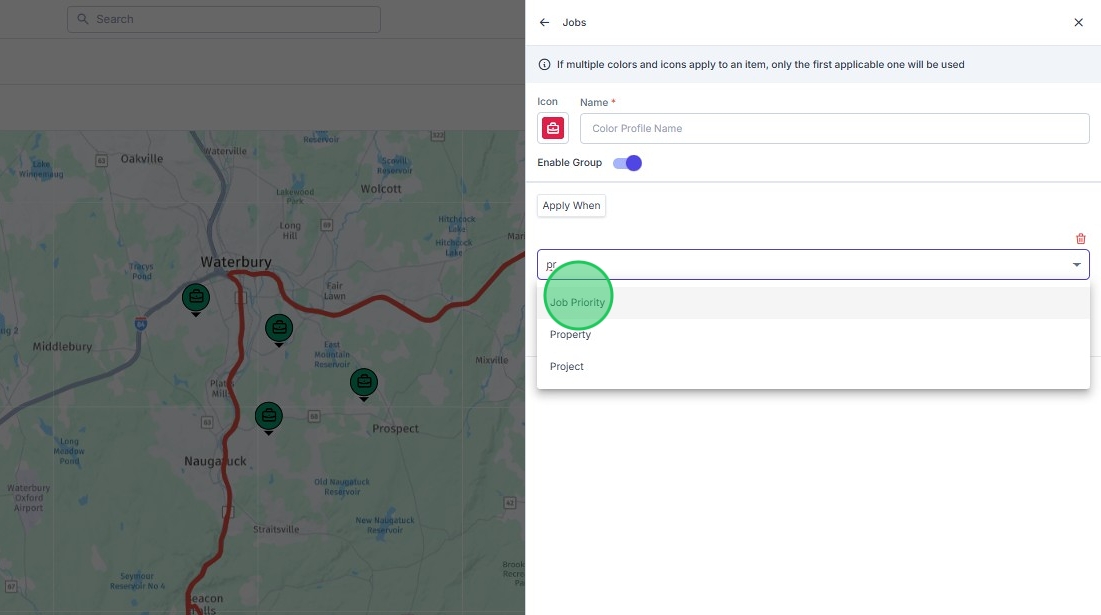
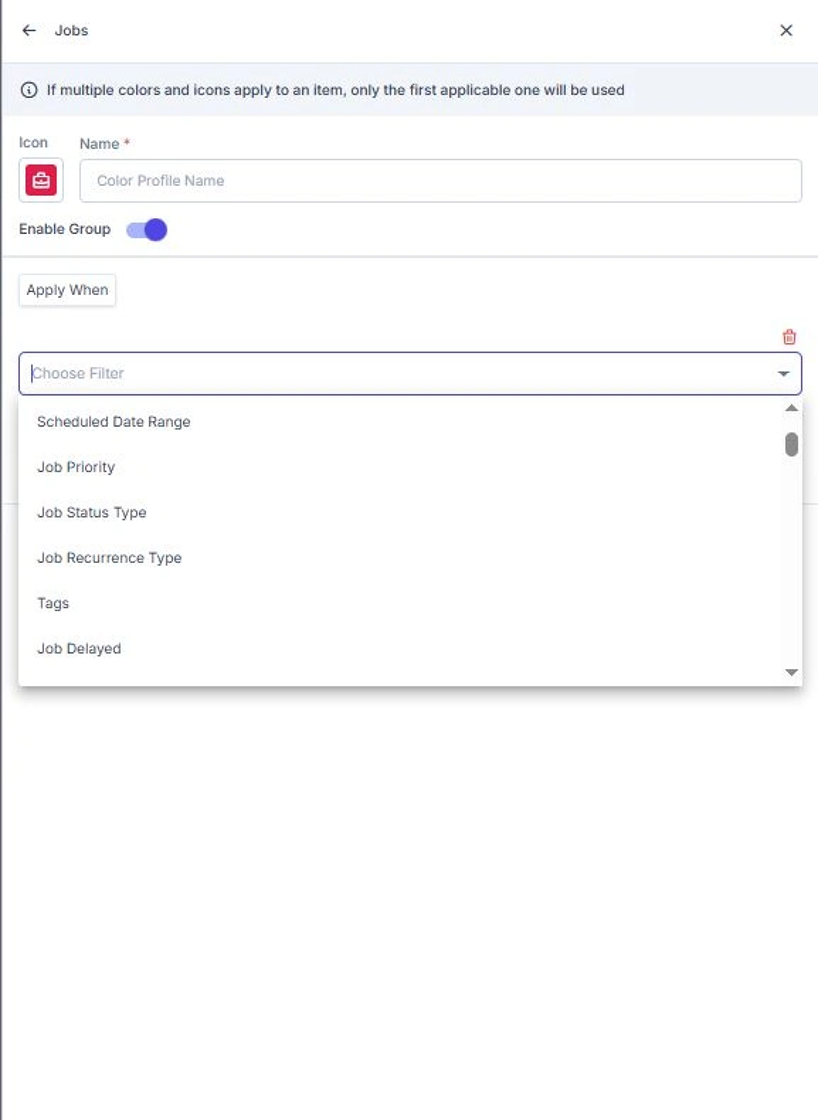
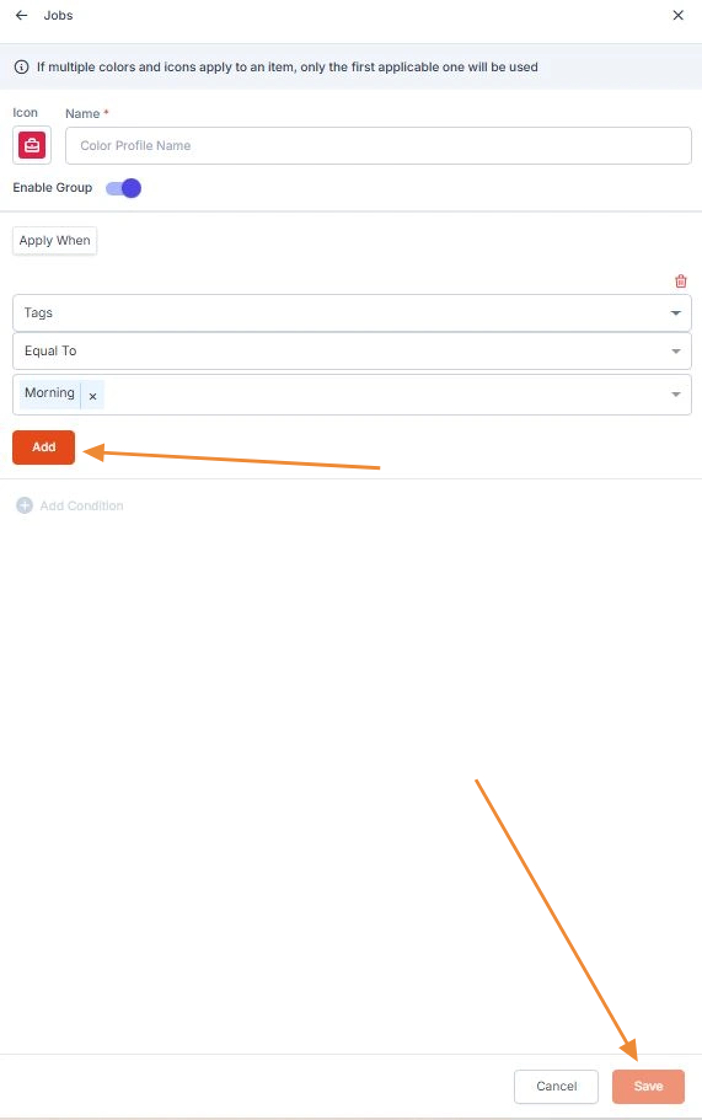
37. Click "Add Condition"
38. Type "pr"
39. Click "Job Priority"
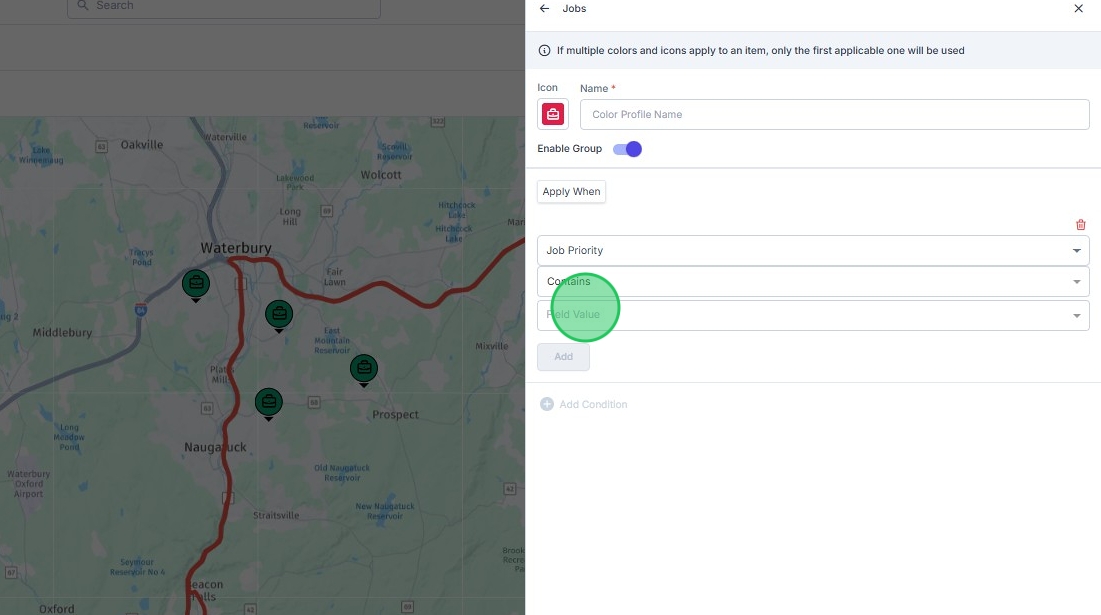
40. Click this text field.
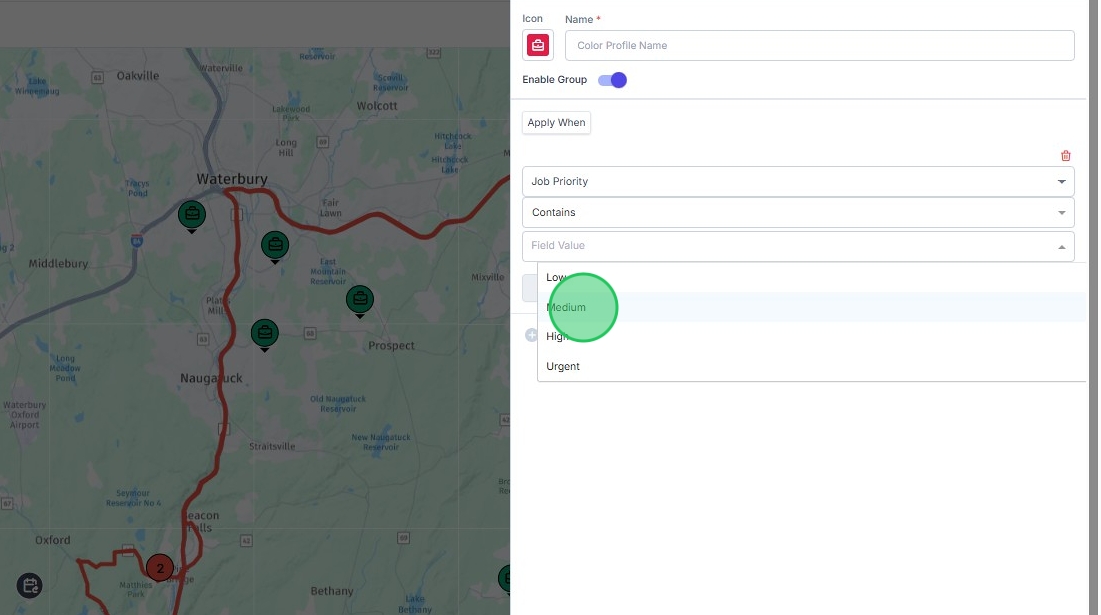
41. Click "Medium"
42. Click here.
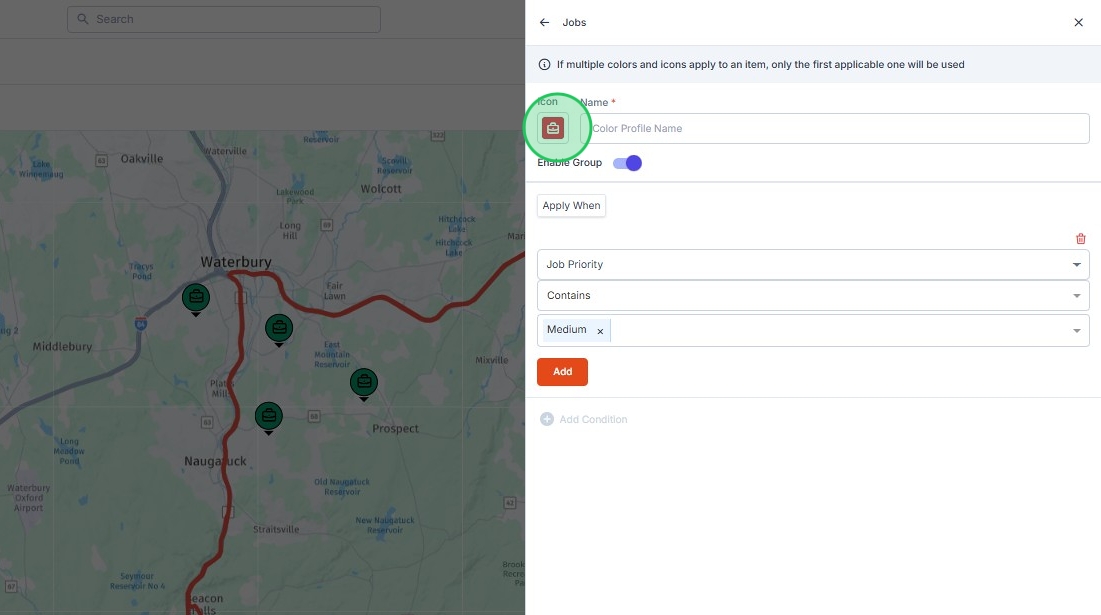
43. Click on the Icon to choose a color and icon to display.
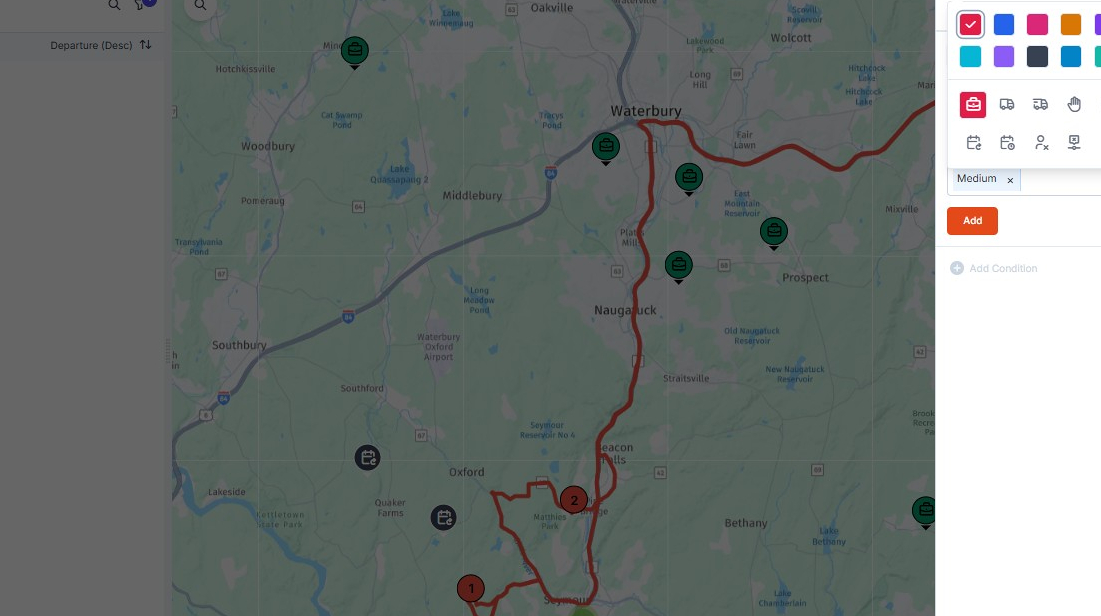
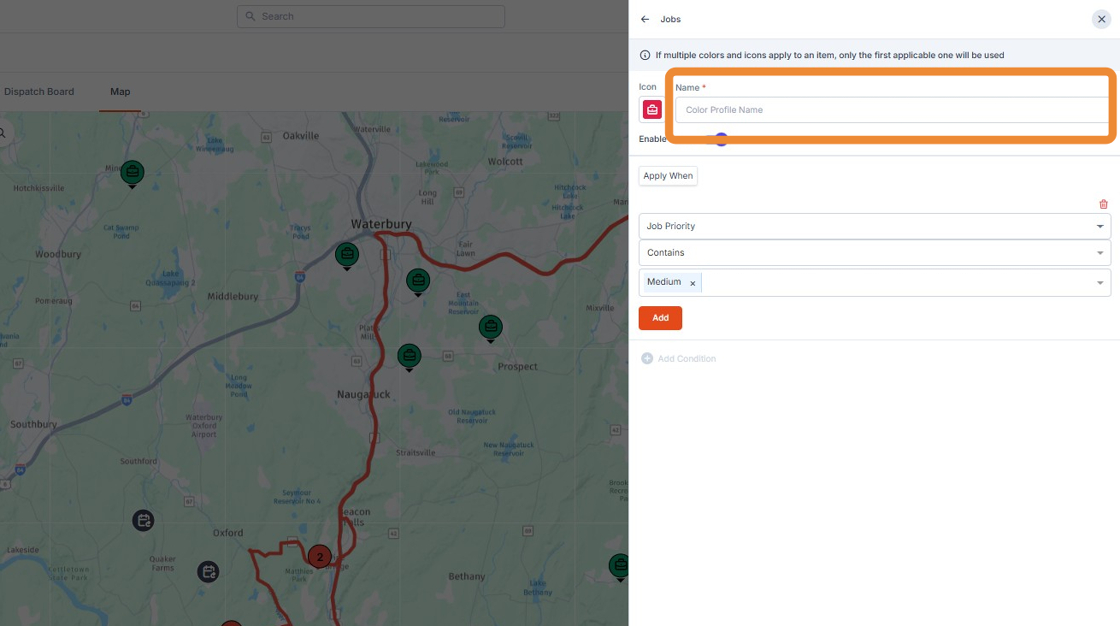
44. Name the filter here
45. Click +Add Condition to create your filter.
46. You can choose from any job property to get the exact scenario you're looking to display.
47. Click Add to save the filter. Click Save to save the Icon
48. Here you'll see the Green toolbox jobs are Air Cooled Maintenance, The Black toolboxes are Liquid Cooled Maintenance and the corresponding Calendars are Inspections.